Imagine flipping the world upside down—not in chaos, but in color. Skies turn black, shadows glow, and familiar photos become unrecognizably beautiful. Welcome to the world of invert colors—a creative technique that transforms ordinary visuals into something truly extraordinary.
What used to be reserved for X-ray scans or retro film negatives is now a modern design trend, a storytelling tool, and a clever hack for everything from digital marketing to accessibility. And the best part? You don’t need to be a Photoshop wizard to use it anymore.
In this article, we’re diving deep into how color inversion works, why it’s making a comeback in the creative world, and how you can use tools like Evoto, Photoshop, or Lightroom to invert colors with precision and purpose.

What Does Inverting Colors Mean?
Inverting colors means flipping each color value to its opposite on the RGB spectrum. Black becomes white, blue becomes orange, green becomes magenta, and so on. This process creates a visual effect that’s striking, surreal, and often artistic.
Technically, this is done by subtracting each color value from the maximum (255), which results in its exact negative. For instance:
- Original RGB: (0, 0, 0) → Inverted: (255, 255, 255)
- Original RGB: (100, 150, 200) → Inverted: (155, 105, 55)
The result? A complete transformation of your image’s visual style—dramatic and often otherworldly.
Creative Ways to Use Inverted Colors in Design and Marketing
Color inversion can be playful or powerful, depending on your goal. Here are just a few creative applications:

- Portraits with a Twist: Invert photos for album covers, experimental headshots, or surreal self-portraits.
- Social Media Campaigns: Use inverted backgrounds or product images as a limited-edition visual theme.
- Print & Merchandise Mockups: Flip logos, shirt designs, or packaging previews to test high-contrast combos.
- Thumbnails & Visual Hooks: YouTubers and content creators often use inverted frames to spark curiosity.
- Mood Boards: Inverted versions of your existing assets can help explore new tones and color energy.
When used strategically, color inversion becomes more than a filter—it’s a creative statement.
Common Ways to Invert Colors (The Easy, The Free, and The Fast)
If you’re just experimenting, you don’t need fancy software. Every major operating system has built-in inversion options, here are the steps, if you want to give it a try:
- Windows: Settings → Ease of Access → Color Filters → Invert
- macOS: Accessibility → Display → Invert Colors
- iOS/Android: Accessibility settings offer color inversion modes
These settings affect the whole screen and are useful for viewing, not editing individual images.
For simple photo inversion, online tools like PineTools or ImageOnline.co let you upload and flip colors in seconds. These free tools are great for quick tests, but they’re limited—no fine-tuning, no batch editing.

If you’re working with content professionally, you’ll want tools that offer more control.
Pro Tools to Invert Colors Like a Creative Director
Adobe Photoshop
Photoshop gives you ultimate control. Press Ctrl + I (or Cmd + I) to invert a layer. For advanced edits, use Curves Adjustment Layers and manually reverse the tone curve. This lets you preserve shadows, isolate colors, and fine-tune every pixel.
It’s powerful, but it comes with a learning curve—and a hefty subscription.
Lightroom
In Lightroom, you can use the Tone Curve to manually invert light and dark points. This is less dramatic than Photoshop’s instant inversion but gives you more nuanced control. Great for photographers working with RAW files or applying consistent edits across batches.
Powerful AI Photo Editor
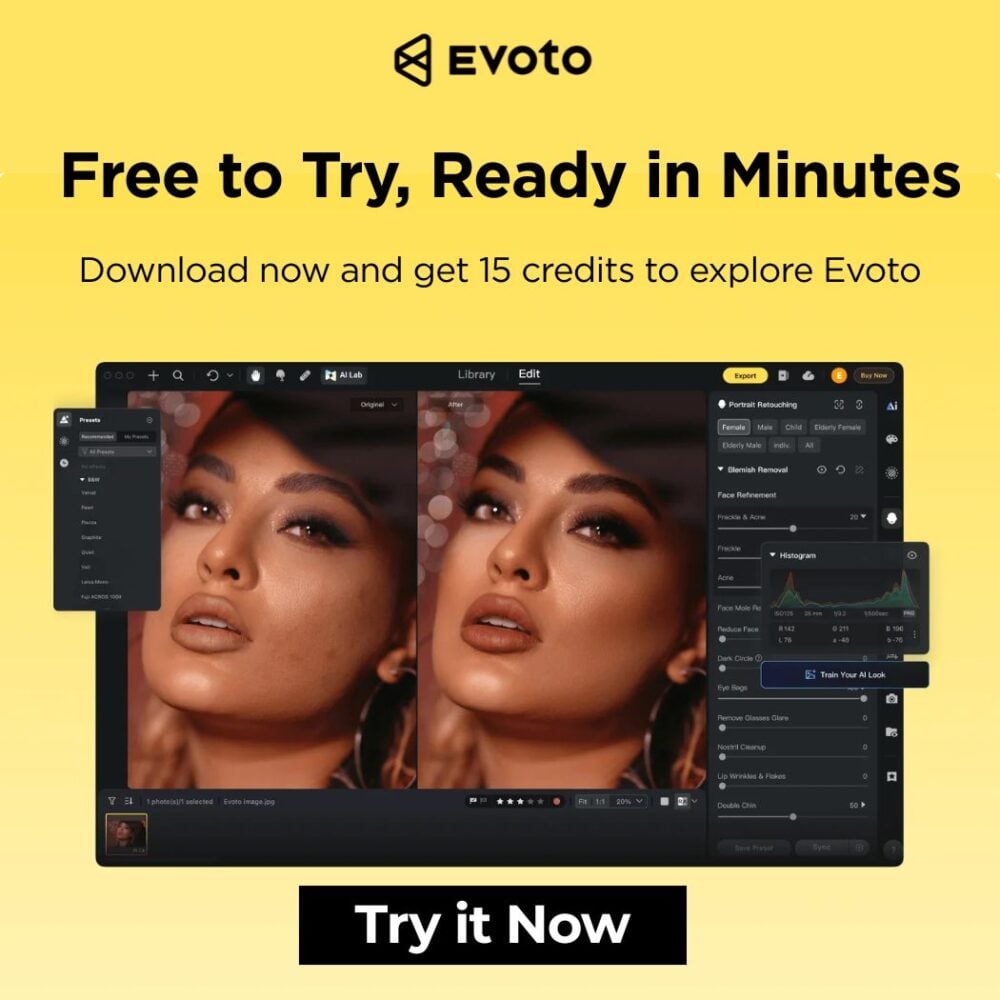
Evoto: A Smarter, Simpler Way to Invert Colors
If you want professional-level results without the steep learning curve, Evoto AI is the perfect middle ground. It’s fast, smart, and beautifully intuitive—especially for color-based editing like inversion.
Here’s how to invert colors using Evoto:
- Open your image inside Evoto.
- Navigate to Color Adjustments and select the Curves panel.
- Flip the endpoints of the curve: drag the black point to the top, and the white point to the bottom.

Done. You now have a fully inverted color image with professional precision—no masking, no plugins, no Photoshop complexity.
Why choose Evoto? Because it’s designed for creators who want control and speed. You can batch edit, preview changes instantly, and experiment without fear thanks to non-destructive editing.
Whether you’re prepping campaign assets or testing creative angles for your brand, Evoto delivers studio-level results in seconds.
Conclusion: Flip Your Perspective, Elevate Your Creativity
Inverted colors aren’t just a trend—they’re a versatile visual tool that belongs in every creator’s toolbox. Whether you’re testing visual contrast, building a marketing campaign, or just exploring a new artistic direction, learning how to invert colors properly can give you that extra spark of innovation.
For quick, casual use, online inverters will get the job done. For deep control, Photoshop and Lightroom are the gold standards. But if you want speed and precision with a modern interface, Evoto AI might just be your new secret weapon.
Powerful AI Photo Editor
So go ahead—flip the switch, reverse the curve, and see your visuals in a brand-new light.
Frequently Asked Questions
Q: Does inverting colors lower image quality?
No, especially when using non-destructive tools like Evoto, Photoshop, or Lightroom. You can revert any time.
Q: Can I use inverted images commercially?
Absolutely. Color inversion is just an effect—you retain full rights over your content.
Q: What’s the fastest way to invert a photo?
If you want high-quality results fast, Evoto’s Curve tool is your best bet. For one-click free edits, use online tools like PineTools.