ID photos seem simple, until the embassy, DMV, or HR department kicks yours back for the tiniest flaw. This in‑depth guide walks you through universal ID photo requirements, popular country‑specific specs, common mistakes, DIY shooting tips, and the best online tools to guarantee approval on the first try.
1. Why ID Photo Requirements Matter
A good ID photo does more than check a box—it can save you from frustrating delays. If your passport or visa photo gets rejected, it could set you back by weeks. Most countries have strict rules to help facial recognition systems do their job, and a blurry or off-center image just won’t cut it. On top of that, a clean, well-lit photo simply looks more professional, whether you’re applying for a job, a visa, or anything official.
2. Universal ID Photo Standards
| Requirement | Typical Range (Check local rules) | Why It Matters |
| Size & Aspect Ratio | 2 × 2 in (US) • 35 × 45 mm (EU) | Fits biometric scanners |
| Recency | Taken within the last 6 months | Matches your current appearance |
| Background | Plain white or light gray | Maximizes contrast for face detection |
| Pose | Head centered, neutral expression, mouth closed | Prevents distortion of facial landmarks |
| Editing | No filters, heavy retouching, or AR effects | Maintains authenticity |
3. Country‑Specific ID Photo Cheat Sheet (2025)
| Country / Document | Size (W×H) | Background | File Specs |
| United States – Passport | 2 × 2 in (51 × 51 mm) | White / off‑white | JPEG, 600×600–1200×1200 px, ≤ 240 KB |
| Schengen Area – Visa | 35 × 45 mm | Light gray | JPEG, >400 dpi |
| Canada – Passport | 50 × 70 mm | White | Paper & digital accepted |
| United Kingdom – Passport | 35 × 45 mm | Light gray / cream | JPEG ≤ 5 MB |
| Australia – Passport | 35–40 mm wide, 45–50 mm high | Light gray | No glasses allowed (2025 update) |
| India – Passport | 35 × 45 mm | White | Head height 25–35 mm |
Tip: Regulations can change, always verify with the issuing authority before submission.
4. What Not to Do
Poses and Facial Expression
Keep it simple—neutral expressions work best. While a soft, natural look is okay, avoid big smiles or showing teeth. These can slightly alter your facial proportions, which may interfere with biometric recognition systems. Make sure your head is straight and not tilted. The full face, from the top of your forehead to your chin, should be clearly visible in the frame.
Glasses and Headwear
Most countries now recommend or require you to remove glasses, especially if they reflect light or obscure your eyes. Even clear lenses can cause issues with glare. As for headwear, religious or medical coverings are usually allowed, but the face must be fully visible—no shadows, no obstruction.
Clothing Tips
Avoid uniforms, logos, or patterns that draw attention. Stick to solid, neutral colors that contrast well with a light background. This helps you stand out clearly in the image and prevents color bleeding that can affect background detection.
Image Quality and Resolution
Don’t try to rescue a blurry or low-resolution photo by using an app to upscale it. Artificially increasing the size usually makes the image look fuzzy and unnatural—and it often fails automated sharpness checks. Always start with a high-quality photo taken in good lighting.

5. DIY: How to Take a Perfect ID Photo at Home
Gear: Smartphone (12 MP+), tripod or stack of books, natural window light.
- Set up lighting
- Face a window; avoid backlighting.
- Place a white sheet or wall 0.5 m behind you to reduce shadows.
- Position the camera
- Lens at eye level, 1 – 1.5 m away.
- Enable 3×3 grid; align eyes on the top‑third line.
- Frame & focus
- Leave equal space above hair and below chin.
- Tap‑to‑focus on eyes; disable portrait blur.
- Wardrobe check
- Solid mid‑tone shirt contrasts with light backdrop.
- Remove earrings larger than 6 mm.
- Shoot & review
- Capture 3–5 options.
- Zoom to 200% to spot blur or artifacts.
6. Choosing an Online ID Photo Tool
When comparing online ID photo makers in 2025, look for:
- Automatic crop & centering based on facial landmarks
- Background replacement to pure white, gray, or blue
- Clothing overlays (e.g., suits for formal visas)
- Compliance checker that simulates embassy approval grids
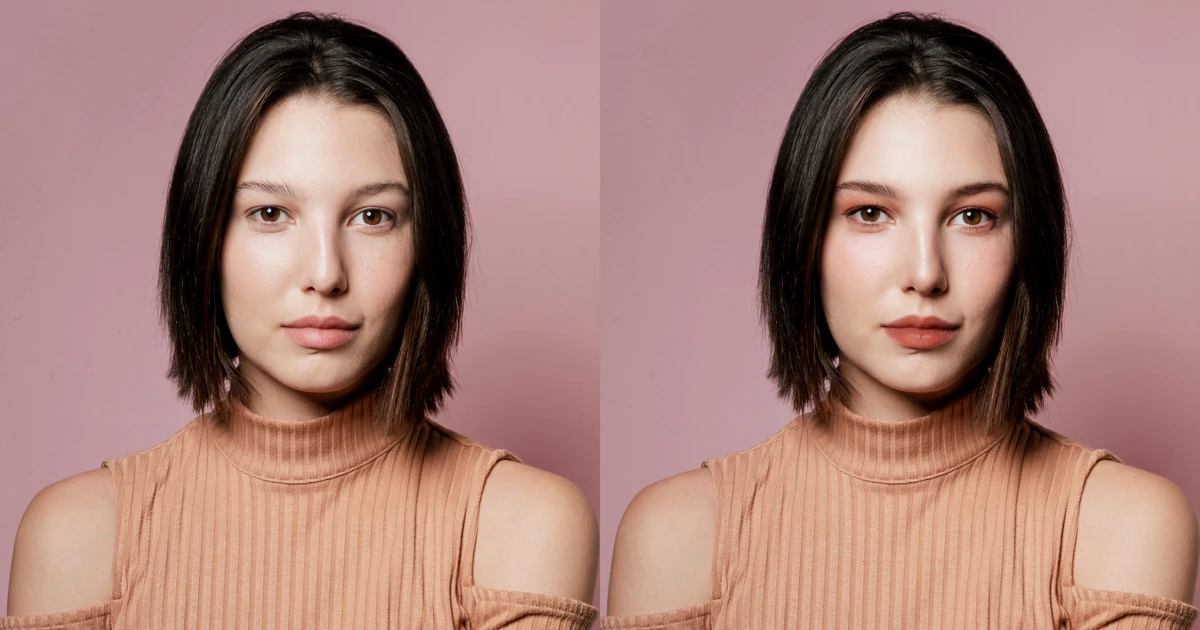
- Subtle natural retouching (blemish removal without altering biometric points)
7. Evoto: Your All‑in‑One Online ID Photo Maker

Evoto ID Photo Maker streamlines every step—no Photoshop skills needed.
- AI‑Powered Auto Crop & Resize – Detects face, applies exact pixel dimensions for 60+ document types.
- Smart Background Changer – One‑click swap to compliant white, light gray, or blue; edges stay crisp.
- Instant Face Centering & Eye‑Line Guides – Aligns features within official grids.
- Clothing Switcher – Add a digital blazer or collared shirt for professional docs.
- Natural Portrait Retouching – Removes glare, mild acne, and lint without touching key landmarks.
- Browser‑Based & Free Preview – Test‑drive edits before exporting.
8. Final Submission Checklist
- Correct dimensions for your document type
- Recent (≤ 6 months) photo date
- Neutral background without texture
- Head height & eye position within guidelines
- No heavy edits beyond basic lighting or dust cleanup
- File format & size match upload portal limits
9. FAQs
Q1: How do I take a baby passport photo?
A: Lay the infant on a white sheet; shoot from above with even lighting. Ensure the head is straight and no hands are visible.
Q2: My background has faint shadows—will it be rejected?
A: Small, soft shadows are usually fine, but harsh outlines fail automation. Use Evoto’s background remover or reshoot with more distance to the wall.
10. Conclusion: Get It Right the First Time
Mastering ID photo requirements isn’t rocket science—just a mix of proper sizing, clean backgrounds, and honest facial representation. Follow the specs in this guide, double‑check the latest rules, and you’ll sail through approvals. If you’d rather skip the manual tweaking, Evoto’s AI‑driven ID Photo Maker delivers a compliant, polished image in minutes. Fewer rejections, less stress—passport stamped sooner.
Ready to create yours?
Give Evoto’s ID Photo Maker a spin. Take control of your next passport, visa, or license photo today.
Evoto AI Photo Editor – Faster Edits, Finer Control