A clear blue sky background can transform a photo from flat to fantastic. Whether you’re shooting landscapes, portraits, or vacation snapshots, a rich blue sky adds contrast, vibrancy, and a feeling of openness. It makes the scene pop and gives viewers that uplifting, sunny-day feeling, even if the photo was taken under gray clouds. For photographers and social media enthusiasts alike, a brilliant sky can make all the difference between a “meh” image and a “wow” moment.
But getting that ideal sky isn’t always easy. Weather, lighting, and even your camera settings can work against you. That’s why learning how to capture—or edit in—a perfect blue sky background is essential for polished, professional-looking photos.

Natural Ways to Capture the Perfect Blue Sky
Before we dive into editing tricks, let’s talk about getting that sky right in-camera. Here are some pro tips for achieving naturally beautiful blue skies:
- Shoot at the right time: Early mornings and late afternoons (golden hours) offer softer light and richer colors. Around midday, skies tend to be the most intensely blue—but beware of harsh shadows.
- Use a polarizing filter: This classic photography tool helps deepen blue skies and reduce glare. It works especially well at a 90-degree angle from the sun.
- Adjust your exposure: Skies often blow out when you’re trying to properly expose darker foregrounds. Try underexposing slightly or using exposure compensation.
- Lower your ISO: A high ISO can introduce noise and dull colors. Keep it low for crisp, clean skies.
- Shoot in RAW: This gives you more flexibility in post-processing, especially when tweaking color and light.
Still, even with the best planning, skies don’t always cooperate.
When Nature Doesn’t Cooperate: The Case for Sky Replacement
Sometimes the weather just doesn’t play nice. You get gray clouds, blown-out highlights, or washed-out blue. Instead of scrapping the shot, sky replacement lets you upgrade your background without reshooting.
This once-advanced technique is now accessible to everyone thanks to AI-powered tools. Whether you’re working on a professional real estate photo or your last beach selfie, you can easily swap in a better sky to enhance mood, balance exposure, or create a surreal effect.
Sky replacement has become a widely accepted editing technique, as long as the result looks natural—or intentionally artistic.

Traditional Editing Methods: Manual Blue Sky Enhancement
If you prefer a hands-on approach, you can manually enhance your skies using tools like Lightroom, Photoshop, or similar editors. Here’s how:
- Adjust hue and saturation: Use the HSL (Hue, Saturation, Luminance) panel to boost blues and refine their tone.
- Use graduated filters: Add depth to skies by darkening the top portion of the photo with a gradient filter.
- Increase clarity and dehaze: These tools can make skies crisper and reduce the haze that often dulls blue tones.
- Selective masking: Manually select the sky and enhance it separately from the rest of the image, using layers and adjustments.
While effective, these methods can be time-consuming, especially for beginners. That’s where AI steps in to save the day.
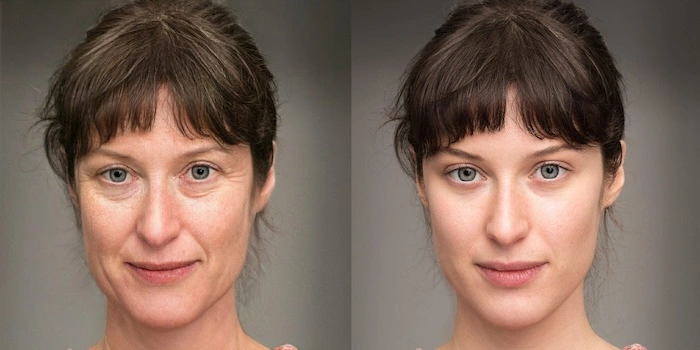
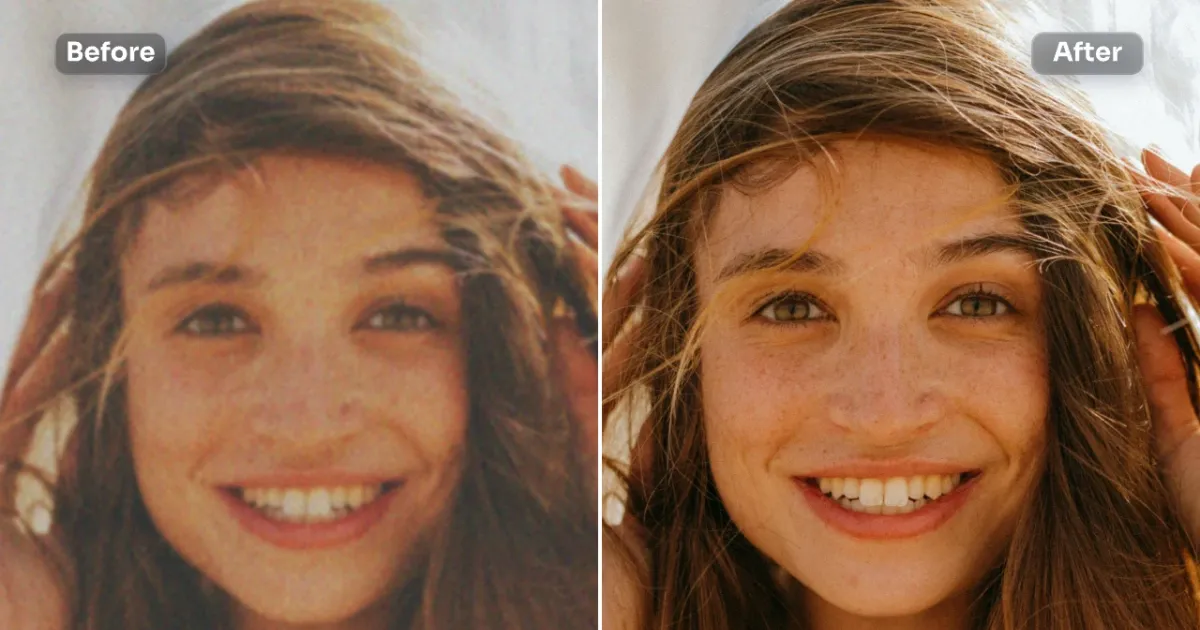
Bonus Tip: One-Click Blue Sky Backgrounds with Evoto
Want a stunning blue sky with zero hassle? Evoto’s AI Sky Replacement makes it incredibly simple to enhance or swap skies—no complex tools, no masking, no frustration.
With just one click, Evoto detects the sky area in your image and lets you:
- Replace it with a variety of realistic or artistic sky templates
- Instantly enhance blue tones to match your subject and lighting
- Maintain edge details like hair, buildings, or tree branches for a seamless look
The best part? You don’t need any design experience. Whether you’re editing portraits, travel shots, or social media content, Evoto brings your vision to life—fast.
With Evoto, you’re not limited to just clear blue skies. Try dreamy sunsets, starry nights, or even upload your own custom sky. Evoto automatically adjusts lighting on people and scenery to match your new backdrop—and yes, it even updates water reflections to keep everything looking natural and polished. Try Evoto’s sky editing tool today and turn cloudy memories into clear, bright masterpieces.
Step-by-Step: How to Replace a Blue Sky Background in Photo
Here’s a simplified step-by-step process using both traditional and AI-based methods:
Method A: Traditional Software (e.g., Photoshop)
- Open your photo and duplicate the layer.
- Use the Select > Sky tool or manually select the sky using quick selection tools.
- Refine edges for smooth transitions, especially around trees or hair.
- Insert your new sky image on a layer below.
- Color match and blend to adjust lighting, tone, and perspective.
Method B: Evoto’s One-Click Tool
- Upload your photo to Evoto.
- Select the Sky Replacement tool.
- Choose from a wide range of sky presets or enhance the current sky.
- Fine-tune the result using lighting and temperature sliders.
- Export your image and enjoy a perfect sky—done in seconds.

Final Thoughts: Let Your Photos Shine Under a Perfect Sky
A vibrant blue sky can make your photos feel alive, clean, and full of energy. Whether you’re shooting straight from the camera or enhancing your images later, don’t underestimate the power of the sky in your composition.
Thanks to tools like Evoto, even beginners can create stunning, professional-looking edits with ease. But even if you prefer manual methods, understanding how to work with the sky—whether it’s clear, cloudy, or completely replaced—gives you full control over your final image.
So the next time your sky isn’t quite right, don’t delete that shot. Fix it, enhance it, or transform it—and let your creativity take flight under the perfect blue sky.
Evoto AI Photo Editor – Faster Edits, Finer Control