Blurring effects help highlight subjects and reduce visual distractions, making them a powerful tool for both technical and artistic photo editing. Whether you’re going for a cinematic style, a dreamy look, or a nostalgic vintage vibe, the blur effect enhances your visuals in creative ways. This article will walk you through the most common blur effects, when to use them, and how to apply them using sophisticated photo editing software, Photoshop, and Evoto AI.

Let’s explore how you can turn any image into a cinematic masterpiece using the blur effect on pictures.
Common Types of Blur Effects and Aesthetic Use Cases
Let’s begin by exploring the different types of blur effects available, each offering unique visual qualities that serve both functional and artistic purposes.
Types of Blur Effects:
- Gaussian Blur – Smooths out hard edges and creates a dreamy softness. A staple in both Photoshop and Evoto, it’s a versatile blur filter.
- Lens Blur – Simulates shallow depth of field, mimicking DSLR camera focus for a professional feel.
- Motion Blur – Adds directional streaks that suggest movement and speed, ideal for action shots.
- Radial Blur – Spins or zooms from the center, making it perfect for creating dynamic or surreal visuals.
- Background Blur (Bokeh) – Isolates the subject by softly blurring the background, drawing the eye to the main focus.
Now that we’ve covered the technical variations, let’s look at how these blur styles contribute to the aesthetic quality of an image.
Aesthetic Purposes:
Blur effects do more than just soften an image—they influence how we perceive mood and focus.
- They focus attention on the subject by removing background distractions.
- They set emotional tones, whether romantic, mysterious, or nostalgic.
- Many editors love using blur to create a fuzzy effect Photoshop look, enhancing mood and ambiance.
- When combined with blurred grain or fog noise texture, blur helps replicate the charm of analog film photography.
Understanding the visual impact of blur is key, but knowing when and where to apply it is just as important. Let’s explore a few popular scenarios where blur elevates photo quality and storytelling.
Common Retouching Scenarios:
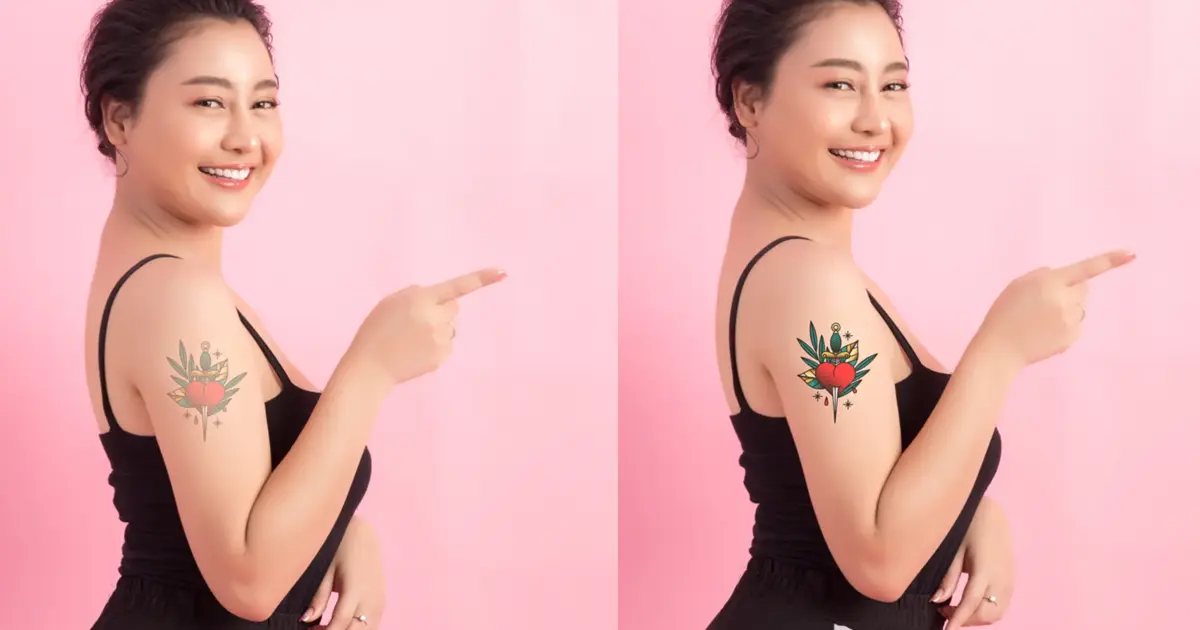
- Portrait photography: Use background blur to highlight faces and soften the surrounding environment.
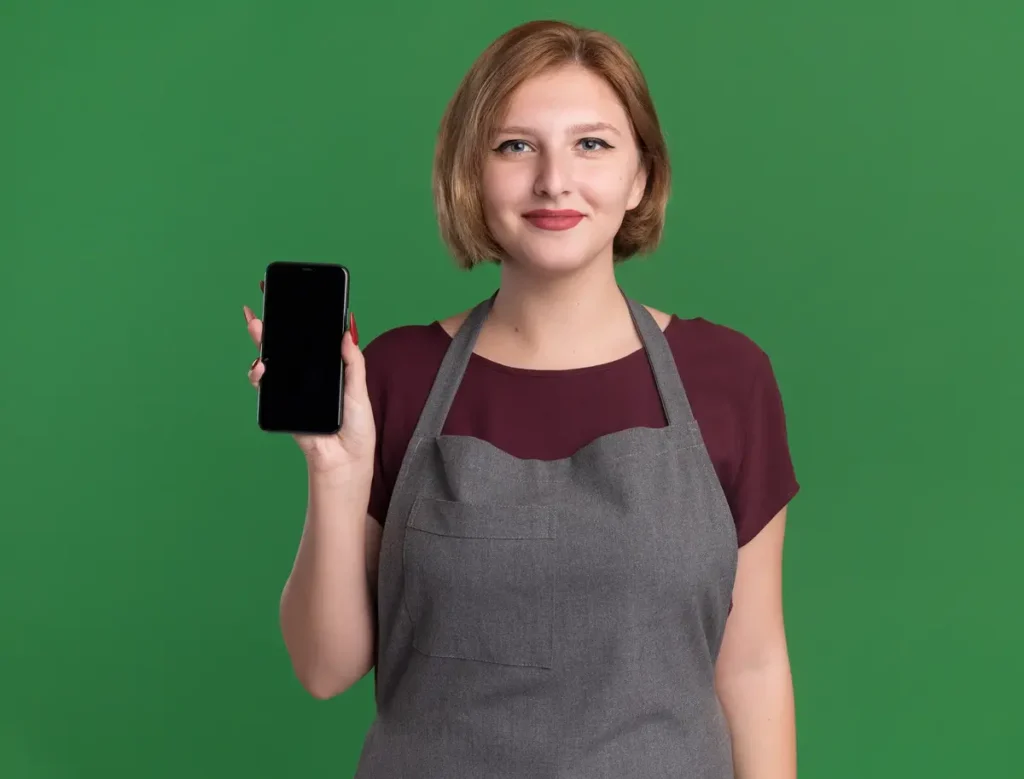
- Product photography: Blur the backdrop for a crisp, distraction-free product presentation.
- Travel photography: Introduce motion blur to emphasize the energy and movement of a scene.
- Social media edits: Combine blurry filter effects with grain for a soft, modern aesthetic that performs well on platforms like Instagram.
- Fashion shoots: Layer in gradient blur, haze effect, and grain to achieve a stylized, editorial finish.
How to Add Blur + Grain Effects in Photoshop
Photoshop gives you ultimate control over applying blur effect photo styles manually. Follow these steps to blend Gaussian effect, grainy blur, and more in your compositions.
Steps to Apply Blur + Grain in Photoshop:
- Open your image in Photoshop
- Convert the layer to a Smart Object so you can edit non-destructively
- Navigate to Filter > Blur > Gaussian Blur. Adjust the radius to achieve the desired softness

- Create a new layer and fill with 50% gray. Go to Filter > Noise > Add Noise. Use Uniform and Monochromatic settings
- Change the layer’s blending mode to Overlay or Soft Light. Lower opacity for a subtle grain touch
- Use layer masks to apply the blur effect on pictures selectively. (Optional)
- Sharpen the subject using Smart Sharpen to retain texture where needed
This technique lets you build a cohesive edit with both blurry gradient and grain textures for a nostalgic touch.
How to Use Evoto to Add Blur Effects
If Photoshop feels time-consuming, Evoto offers an AI-powered, fast, and intuitive way to apply artistic blur effects. It’s ideal for users who want quick results without sacrificing creativity.
Evoto uses its Dehaze slider to simulate a natural foggy lens or haze filter that gently softens the image. This can be applied across the entire photo or to specific zones with selective masking.
Let’s walk through the key features of Evoto’s blur and grain tools.
1. Add Blur Using Dehaze
Start by uploading your photo to Evoto. Then, navigate to the Color Adjustment panel and locate the Dehaze slider. To introduce a soft foggy or smudge blur, drag the slider to the left. Adjust the strength until you achieve the desired level of softness.

This AI-powered blur mimics the gentle Gaussian filters, making it perfect for portraits, dreamy landscapes, or ethereal editorial looks.
2. Apply Blur + Grain Together
Once you’ve added the blur using Dehaze, you can enhance the visual texture by layering in grain. Head to the Grain section in Evoto’s panel. Increase the Grain Density to introduce texture, and adjust the Grain Size to make it fine or coarse, depending on your desired look.

This combination of blurred grain and soft blur creates a nostalgic, stylized appearance—something often referred to as the fuzzy effect Photoshop users love.
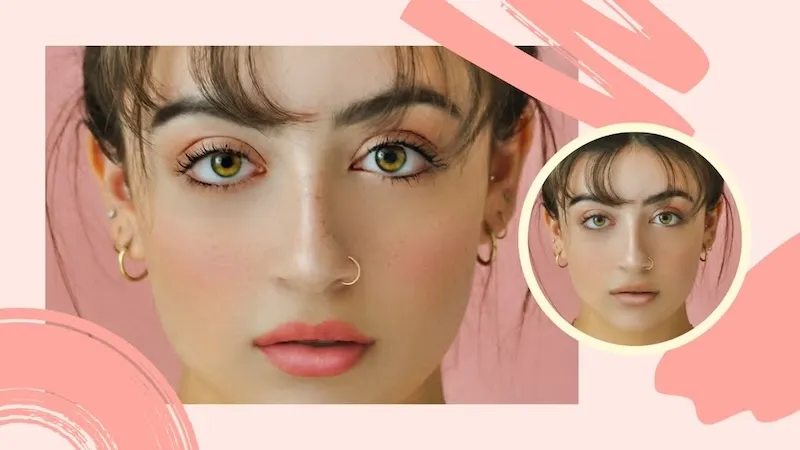
3. Aesthetic Color Editing with AI Color Match + Blur
To elevate your edits with a cinematic touch, take advantage of AI Color Match alongside blur. Navigate to AI Color Adjustment > Create Color Reference. Upload a reference photo with gradient tones or a film-inspired color palette. Apply the color scheme using AI Color Match, then fine-tune with Temperature, Tint, Contrast, and Vibrance for better accuracy.

Finally, use the Dehaze slider again to blend tones smoothly and soften the image.
Layer in grain to create a cohesive blurry gradient look that works beautifully for moody editorials or artistic social media posts.
4. Create and Save Custom Blur Preset
Once you’re satisfied with your combined adjustments—Dehaze for blur, AI Color Match for tones, and Grain for texture—you can save your unique style for future use. Click Save Preset, give it a name like “Cinematic Blur Mood,” and save it to your library.
This makes it easy to batch edit images with the same blurred glass effect Photoshop typically requires more time and manual effort to replicate. With Evoto, it’s a one-click transformation.
Tips and Precautions for Using Blur Effects
While blur can be a powerful tool for enhancing your images, it’s important to apply it with care to avoid over-editing or reducing image clarity. Below are a few key tips and precautions to help you make the most of the blur effect without compromising quality:
- Don’t overuse blur—it can make images look unnatural or too flat
- Use masking tools to avoid blurring important details like eyes or logos
- Combine blur with:
- Clarity: to retain subject texture
- Sharpness: to enhance focused areas
- HSL sliders: for adjusting color contrast post-blur
- Always check at 100% zoom before finalizing your edit
A smart approach ensures your image retains both emotion and clarity.
Powerful AI Fotor Editor
Summary
The blur effect is a powerful editing tool for storytelling and style. Whether you’re using manual methods in Photoshop or AI automation in Evoto, you can create dreamy, cinematic, or trendy looks with ease. Combine blurry photo effect, grain, and color grading for a polished edit. Save your favorite looks as presets and transform your workflow—no matter your skill level.
Ready to create your best blur effect photo yet? Try Photoshop for hands-on precision or Evoto for fast, beautiful AI edits.