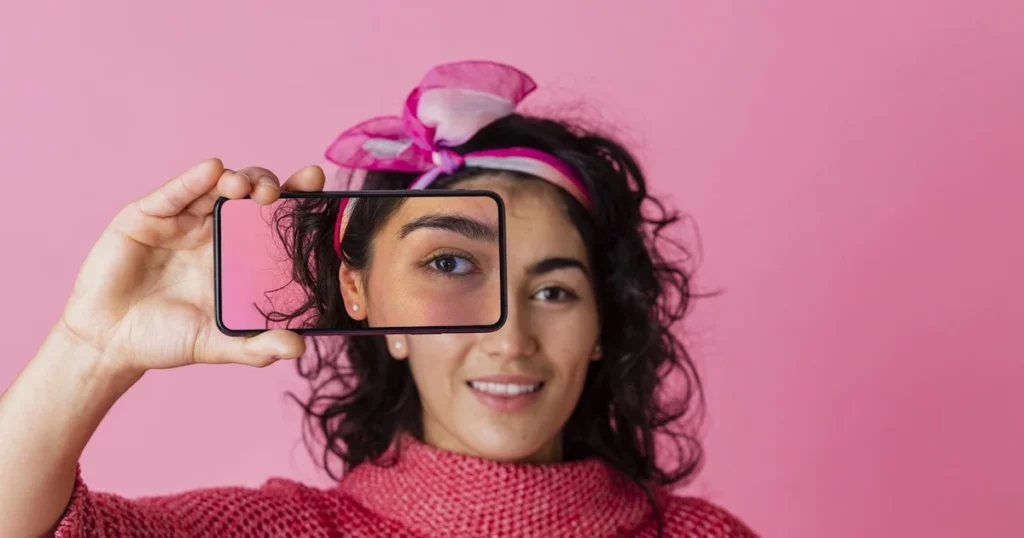
The blurry gradient effect has become a creative staple in modern photography and digital design. This technique blends soft transitions of color with controlled blur, allowing photographers and editors to guide the viewer’s attention, add depth, or create a dreamy, atmospheric tone.

Whether you’re working on portrait photography, product shots, or editorial layouts, blur gradient effects can subtly direct focus while softening distractions or harsh transitions. These gradients add emotional weight and cinematic flair to visuals, making them a favorite in fashion campaigns, lifestyle edits, and brand storytelling. Below, we explore how to apply this effect in Photoshop and how an AI Photo Editor offers an AI-powered alternative.
How to Add a Blurry Gradient Effect to Photos in Photoshop
If you’re wondering how to make a blurry gradient, Adobe Photoshop is a great place to start. Here’s a quick step-by-step guide:
- Open your image in Photoshop.
- Create a “New Gradient Fill Layer” by selecting the “Gradient Tool” and drawing a linear or radial gradient across the image.
- Adjust the gradient colors and direction to suit the photo’s mood.
- Once the gradient layer is in place, go to “Filter” > “Blur” > “Gaussian Blur” to apply softness to the gradient.

- Change the blending mode to “Soft Light” or “Overlay”, and adjust the opacity to blend it naturally.
- Use layer masks to control where the blur gradient appears, especially if you want to retain sharpness on the subject.
This basic workflow offers a smooth and artistic Photoshop gradient blur result.
Read More: Blur Effect Photo Editing: Master Blurry Styles
Create Blur Gradient Effects with Evoto
Evoto AI Photo Editor makes creating blur gradients easier with its smart AI tools. By combining AI color matching with a customizable blurring feature, you can achieve high-quality results in just a few steps.
- AI Color Matching: This feature allows you to upload a reference image so Evoto automatically maps gradient tones.
- Customizable Blurring: Evoto’s Clarity and Dehaze adjustment tools let you add blur touch to a photo without manual masking.
How to Use Evoto to Add Blur Gradient to a Photo
Evoto’s streamlined workflow is perfect for photographers and editors who want powerful tools without the complexity. Here’s how to add blur gradient to photo on it.
Apply Gradient Color to a Photo
Step 1. Download Evoto to your Windows and iOS desktops. Open Evoto and upload your image.
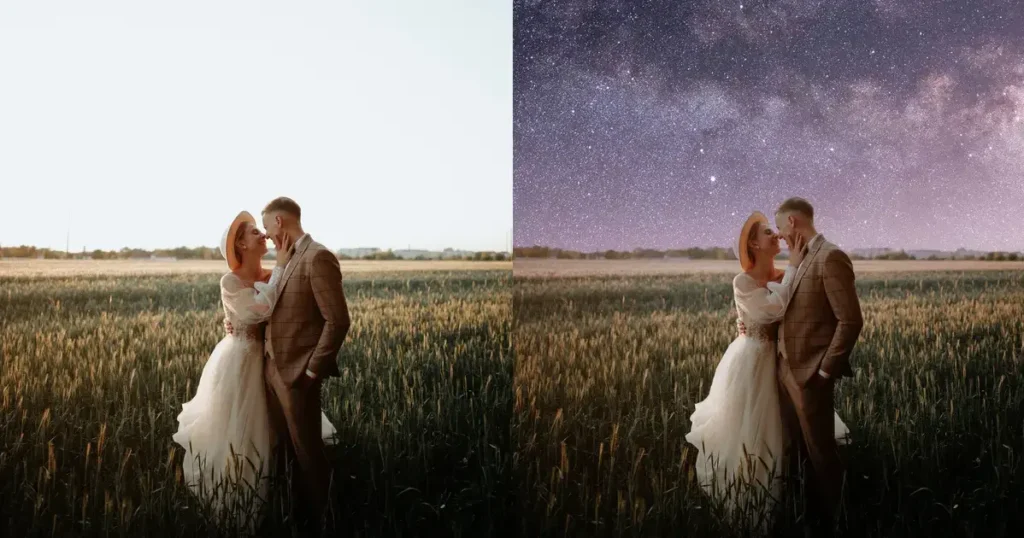
Step 2. Navigate to the “Color Adjustment” section, and select the “AI Color Matching” feature. Upload a reference image or select one from the “Preview” if you want to match specific gradient tones (like a warm sunset or colorful warm lighting).

Step 3. Select your photo and click on the reference photo in the “Color Match” panel. Evoto will automatically detect the lighting and coloring zones and overlay a blurry gradient across the photo.

You can fine-tune the color matching amount using the on-screen slider.
Step 4. Also, you can use the masking tool to apply the color matching to specific areas. Just choose the part you don’t want to transfer the color style, then activate the connection and decrease the corresponding sliders of tone and color to zero.

Add Blur Effect on a Photo
After adding a gradient tone to your photo with AI Color Matching, the next step is to apply the blur effect to the photo.
Step 1. Go to the “Color Adjustment” panel and locate the “Basic” > “Presence” section.
Step 2. To apply blur, simply decrease the strength of “Clarity” and “Dehaze”. This is how Evoto simulates a misty effect in Photoshop without complex filters.

FYI, the Dehaze means to reduce haze from images, resulting in clear pictures. So if you decrease the intensity of dehaze, you’ll get a blurred image.
Save Your Blurry Gradient Edits as a Custom Preset
Not limited to that, you can combine the blurry editing with gradient coloring for a fully customizable blurry gradient generator workflow. Then save it as a preset to batch edit a suite of photos in a few clicks.
Step 1. After completing your edit, click the “Save Preset” tab to create a new one with the current edit settings.
Step 2. Name it something recognizable (e.g., “Dreamy Blur Gradient”), also choose a group and preset type. Note, a combination preset type is better if you have made various changes to the photo.

Step 3. Save all your current settings, including color matching and blur, to batch process on future photos. This saves time and keeps your style consistent across multiple shoots.
That’s all about how to make a blurry gradient on a photo with Evoto.
Tips to Perfect Your Photos When Adding Blur Gradient Effect
To get the best results from your blurry gradient edits, keep these tips in mind:
- Avoid over-editing: Too much blur or overdone gradients can make your photo look unnatural. Keep it soft and subtle.
- Use local masks strategically: Evoto’s AI lets you apply color and blur to isolated areas, like skin, hair, lips, clothing, background, and more. This is effective for more nuanced control of color and tone transfer on specific areas separately.

- Preview before saving: Always check the final output at 100% zoom to ensure details aren’t lost where they shouldn’t be.
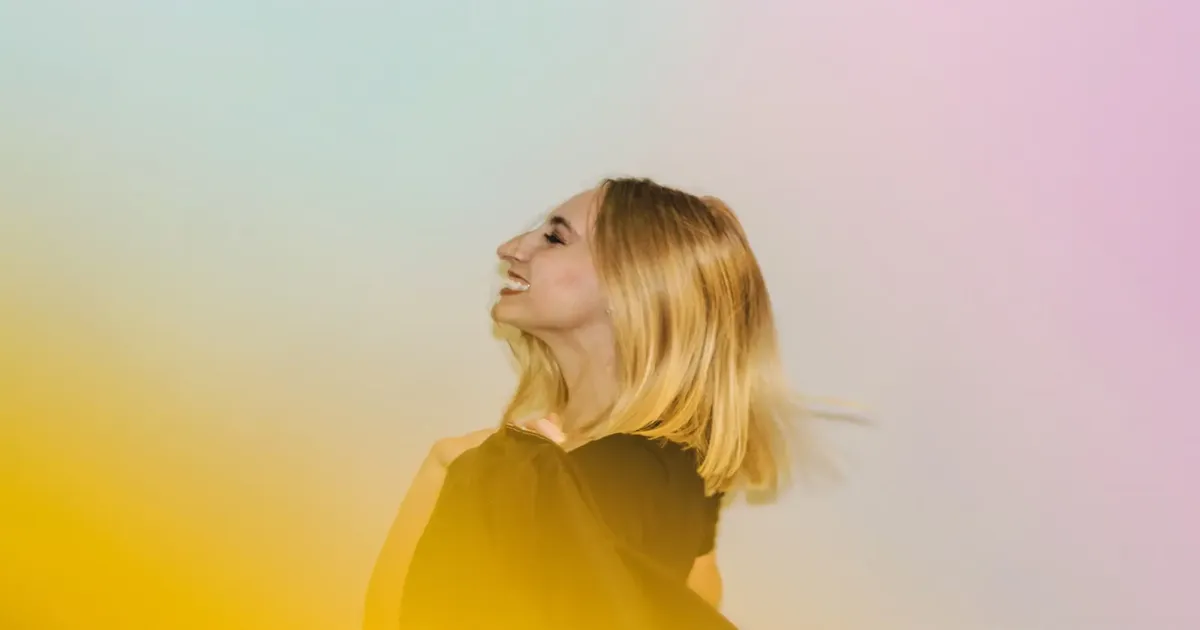
A gentle, well-placed blur gradient can transform a flat image into a cinematic masterpiece.
Conclusion
Blurry gradient effects are a powerful yet subtle way to enhance the visual mood, draw attention, and soften hard transitions in photos. While Photoshop offers manual control, Evoto stands out for its AI-powered, user-friendly features. Whether you’re working on editorial portraits or atmospheric product shots, Evoto provides the fastest and smartest way to bring your creative vision to life.
Try the tutorial now and see how easily you can elevate your photos with gradient blur.