In the professional world of digital photography, design, and content creation, compress image isn’t just a matter of convenience—it’s a necessity. Whether you’re delivering assets to clients, preparing your portfolio for web display, or publishing high-end content, keeping image sizes under control while maintaining visual quality is critical.
This guide will walk you through the key considerations for image compression, how to do it without sacrificing quality, and how tools like Evoto streamline the process for professional creatives.

Why Image Compression Is Essential
Image-heavy websites and portfolios often suffer from long load times if files aren’t optimized. This can harm user experience, SEO rankings, and even conversion rates. Compress image ensures your work loads quickly, looks sharp, and meets technical requirements across platforms—from client websites to social media and press kits.
If you’re running an e-commerce website, oversized product images can drastically slow down your site, frustrate users, and lower your search rankings.
If you’re a wedding photographer, you’ll likely be exporting and sharing hundreds of high-resolution shots. Compression helps speed up delivery without compromising beauty.
And for educators or school yearbook teams, managing dozens of student portraits or event photos becomes smoother when files are light but clear.
For professionals, compression is also about workflow efficiency. Smaller files are easier to store, transfer, and organize, especially when handling hundreds of assets.
Evoto AI Photo Editor – Faster Edits, Finer Control
What Is Image Compression?
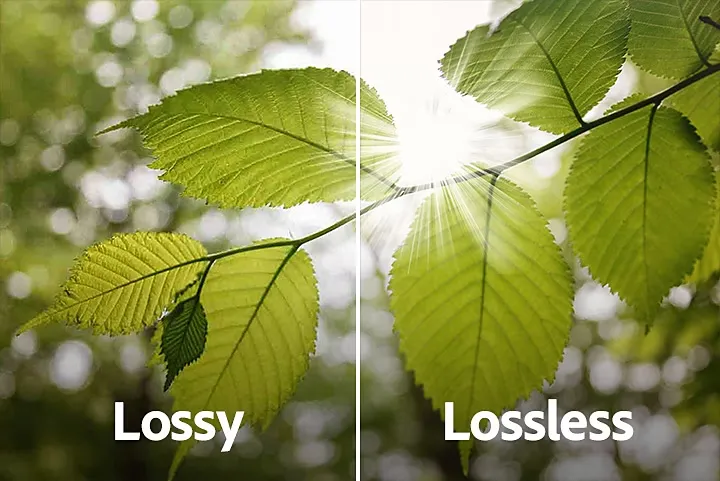
Image compression, or compress image, reduces the file size of an image without noticeably affecting its visual quality. There are two primary methods: lossy and lossless compression.
Lossy compression removes some image data to reduce size, which may result in slight quality changes.
Lossless compression, on the other hand, keeps all the original data intact while trimming file size through smarter encoding.

Understanding when and how to use each method is key for professionals who need to strike a balance between file size, quality, and delivery requirements.
Compress Image Prep: The Pro Checklist
Before you compress, assess the image’s final purpose.
Resize oversized photos to appropriate dimensions, use modern formats like WebP or AVIF for web display, and adjust resolution based on output—72 DPI is fine for digital, while print needs 300 DPI or more.
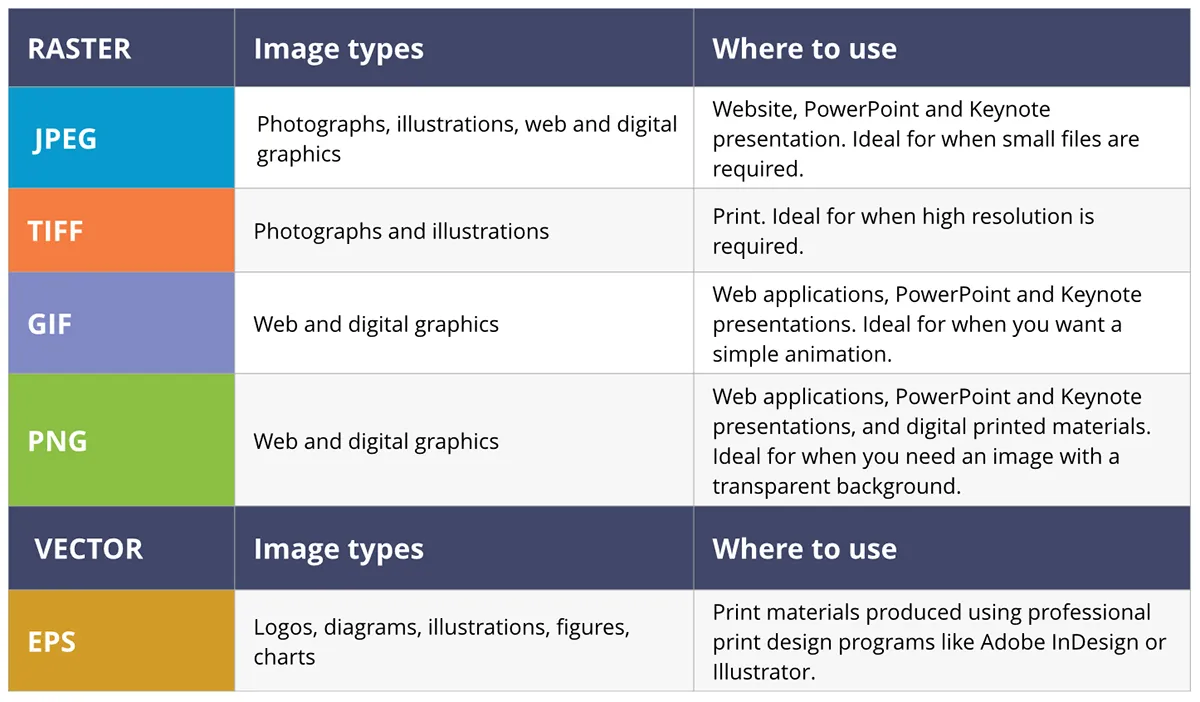
Choosing the right format also matters: JPEG for general use, PNG for transparency, and WebP for sharpness and small file size.

Reliable Tools to Compress Images Like a Pro
Professional creators often prefer more control than basic web tools offer.
While TinyPNG and Squoosh are great for quick fixes, platforms like Photoshop and Lightroom offer more precision. However, not everyone has time for complex workflows.
That’s where modern solutions like Evoto come in.
Compressing Images with Evoto: A Streamlined Workflow
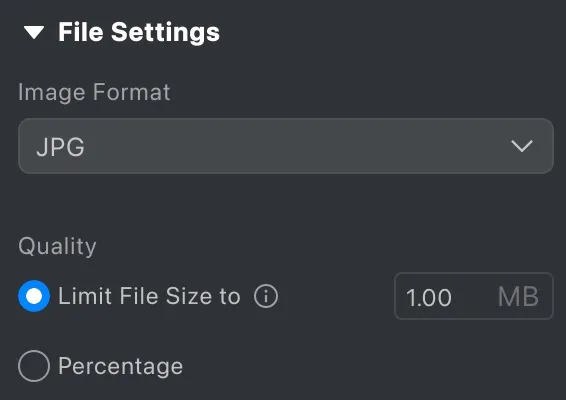
Evoto is built for creators who care about both aesthetics and efficiency. It combines advanced portrait editing with smart export tools that include file compression settings. In the export panel, you can set the output file size directly—for example, limiting the final image to 1MB as shown in image below. This feature is a game-changer for professionals delivering large batches of work to clients or uploading galleries to the web.

Unlike traditional editing tools, Evoto handles resizing and compression in one intuitive step, reducing the number of apps or processes you need. You can also maintain consistent output quality across a series of images thanks to batch export features.
Best Practices to Preserve Quality
Always preview your output after compression!
If you’re preparing assets for clients, export test samples and review them at 100% zoom. Avoid compressing images more than once, as each cycle may reduce clarity. Most importantly, save your master file in a high-resolution format to keep an untouched version for future use.
With Evoto, you maintain full creative control while saving time. The built-in compression ensures your files are optimized without degrading the edits you’ve worked so hard to perfect.
Evoto AI Photo Editor – Faster Edits, Finer Control
FAQs: Compression for Professionals
How much compression is too much?
If you’re seeing banding, blur, or pixelation at 100% zoom, you’ve gone too far. Stick to moderate settings or set a minimum size in Evoto.
Is file size or resolution more important?
Both matter, but for web performance, file size is often the top priority. For print, resolution takes the lead.
What’s the ideal format for compression?
Use JPEG or WebP for general web display. For portfolios or client previews, ensure the format fits their use case.
Final Thoughts
Compressing images as a professional isn’t just about shrinking files—it’s about delivering your work efficiently and effectively. Smart compression preserves your edits, respects your time, and enhances your client-facing materials.
Evoto makes this part of the workflow effortless. You get professional-grade editing, seamless batch export, and compression all in one clean platform.
Don’t let heavy files weigh down your creative output. Streamline your process with Evoto today.


