Why Wrinkle Editing Matters in Modern Photography
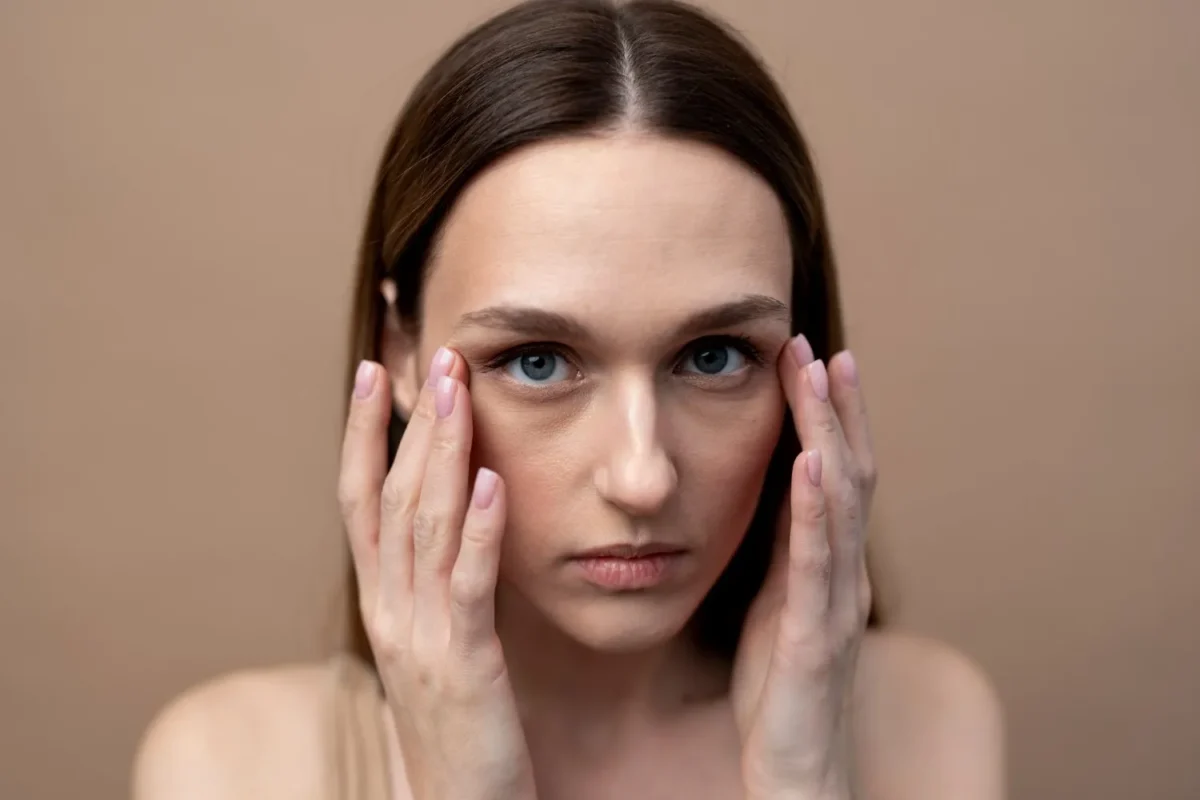
In today’s image-conscious world, even the most striking portraits can be overshadowed by visible forehead wrinkles, eye bags, and neck lines. These subtle signs of aging often become exaggerated under harsh lighting or high-resolution cameras, making many individuals self-conscious. Whether it’s for social media, professional headshots, or personal branding, the desire to remove wrinkles in a photo stems from a wish to look refreshed, without appearing over-edited.
This has fueled demand for natural-looking touch-ups that edit wrinkles in a photo without sacrificing authenticity. Modern AI photo editor tools now offer fast, precise, and non-destructive ways to retouch skin, setting a new standard in effortless enhancement.

Understanding the Different Types of Wrinkles in Photos
Effective wrinkle editing begins with recognizing that not all wrinkles are the same. Each type presents unique structural and aesthetic challenges, requiring tailored approaches to achieve seamless results. Below are the primary categories encountered in portrait photography:
- Forehead Wrinkles: These deep, horizontal lines often result from repetitive expressions like raising the eyebrows. Their prominence can make a subject appear tired or stressed, but over-editing risks flattening the face’s natural contours.
- Expression Lines: Found around the eyes and mouth, these lines shift with facial movements, such as smiling or squinting. Editing them requires care to preserve dynamic expressions without creating a stiff appearance.
- Eye Bags and Dark Circles: Puffiness and shadows under the eyes distort light reflection, creating a fatigued look. Correcting these involves balancing texture smoothing with realistic light distribution.
- Neck Lines: Horizontal creases on the neck are often overlooked but highly visible in portraits. Unlike facial wrinkles, they require distinct techniques to blend with the skin’s natural folds.
Understanding these differences is crucial for precise editing. Misjudging a wrinkle’s type or overapplying corrections can lead to unnatural results, such as overly smooth skin or distorted expressions. This overview connects the motivations for wrinkle editing to the technical strategies that follow, ensuring a logical progression into the tools and methods used.
Read More:
- Guide to Remove Wrinkles from Photo for Best Portrait Face
- Guide to Remove Crow’s Feet in Outdoor Portraits with AI
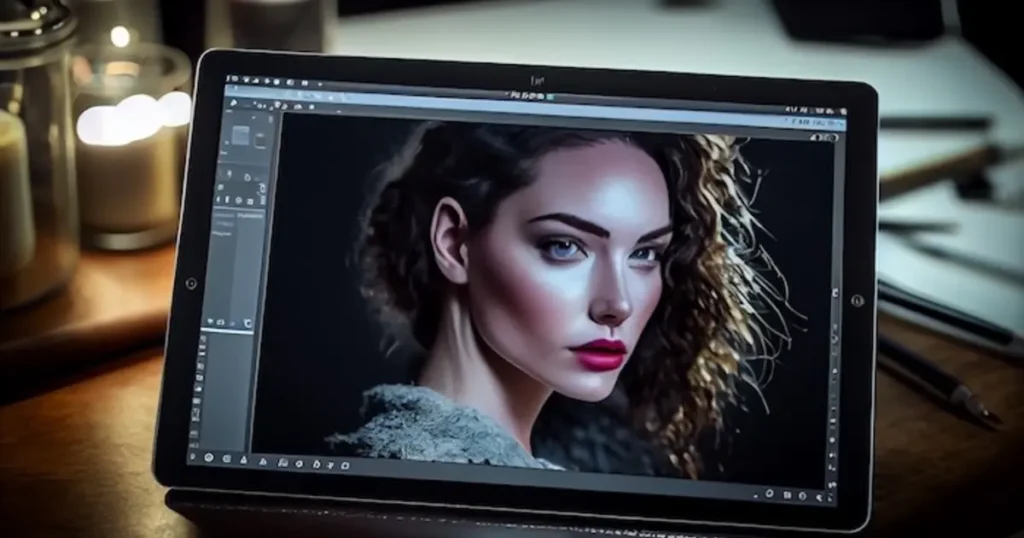
How AI Photo Editors Work to Remove Wrinkles
AI photo editors have redefined portrait retouching by combining speed with precision. These tools leverage advanced algorithms, including facial recognition and skin texture mapping, to identify wrinkles and distinguish them from intentional features like smile lines or dimples
Photo editors like Evoto AI use deep learning models trained on thousands of portraits to detect and refine specific areas, whether it’s softening forehead lines or brightening under-eye shadows. This targeted approach minimizes the risk of over-editing, ensuring the face retains its natural depth and character.
You can try the online wrinkle remover of Evoto AI for basic wrinkle removal, or go for professional wrinkle smoothing on the Evoto software.
By offering adjustable sliders and real-time previews, these tools empower users to fine-tune results with ease. This section bridges the conceptual challenges of wrinkle editing with the practical workflow that follows, preparing readers for a step-by-step guide.
Step-by-Step: Removing Forehead Wrinkles, Eye Bags, and Neck Lines with AI
With Evoto AI Photo Editor, anyone can quickly and precisely remove wrinkles using AI photo editor features without affecting natural facial expressions. Here’s how to edit wrinkles in photos while maintaining texture and realism.
Step 1: Upload Your Image
- Launch Evoto AI and click the “+” icon to upload your portrait photo.
- Once loaded, go to the “Portrait Retouching” panel located on the right toolbar.


Step 2: Navigate to “Facial Wrinkles” Section for Forehead Lines
- Under “Portrait Retouching”, scroll down to Facial Wrinkles under Blemish Removal.
- Adjust the “Forehead Wrinkles” slider. Start around 30–50 for light smoothing, or go up to 100 for deeper wrinkle softening.
- Use the preview to ensure the edit enhances but doesn’t flatten natural expression.

Step 3: Soften the Eleven Lines
- Still under “Facial Wrinkles”, find “Eleven Lines” (the vertical lines between the brows).
- Increase the slider gradually (e.g., 20–40) to fade the depth without erasing character lines.
- These edits help convey a more relaxed appearance without making the face look artificial.

Step 4: Remove Eye Bags and Dark Circles
- Go to “Blemish Removal” > “Face Refinement” > “Eye Bags”. Click to open detailed options.
- Increase the “Eye Bags” slider slowly and monitor the under-eye area closely.
- You may also fine-tune “Dark Circles” above the “Eye Bags” option for a brighter under-eye region.
- Avoid maxing both settings simultaneously to maintain eye depth and realism.

Step 5: Target Neck Wrinkles
- Scroll to “Body Refinement” > “Neck Wrinkles”.
- Raise the slider just enough to even out deep horizontal lines on the neck.
- Keep adjustments moderate to retain some natural folds that reflect real anatomy.

Step 6: Review and Finalize
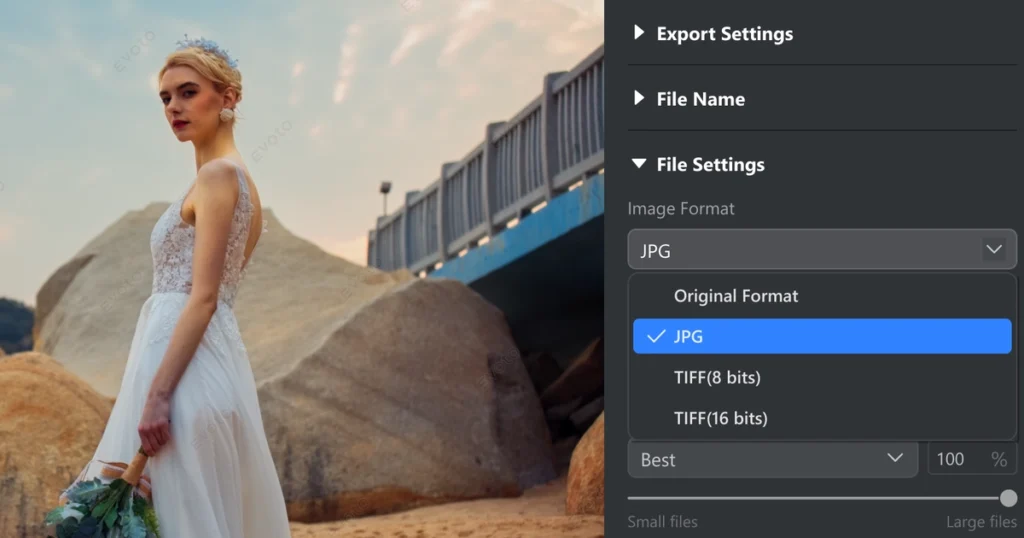
Before exporting, zoom out to view the entire portrait. Use the “Before & After” toggle (located at the bottom right) to compare the edited image with the original, ensuring a cohesive and natural result.

If the skin appears overly smooth, dial back specific sliders to restore subtle texture. Once satisfied, save the image or proceed to additional retouching tasks, such as lighting adjustments.
This workflow ensures precise, zone-specific edits that enhance without overcorrecting. It connects the technical capabilities of AI tools to practical application, setting the stage for advanced tips and best practices.

Efficiency Tips for Streamlined Editing
To maximize productivity and consistency, incorporate these strategies into your wrinkle-editing workflow:
- Leverage Presets for Batch Editing: After perfecting your settings, save them as a preset by clicking “Save Preset” in Evoto AI. Name the preset descriptively (e.g., “Natural Wrinkle Smoothing”) and apply it to similar portraits for uniform results. This is ideal for studio shoots or large photo sets.
- Use the Before & After Toggle Frequently: Regularly compare your edits to the original image to maintain balance. The “BA” button provides an instant visual check, helping you avoid over-editing.
- Maintain Consistency Across Images: When editing multiple portraits, apply the same preset or settings to ensure a cohesive look, especially for projects like event photography or branding campaigns.
These tips enhance the practical workflow, preparing readers for the best practices that ensure polished results.

Best Practices for Natural Results
Achieving a refined yet authentic look requires careful technique and restraint. Follow these guidelines to edit wrinkles effectively:
- Fine-Tune Manually: Avoid relying solely on auto settings, which can over-smooth skin and erase character. Adjust sliders incrementally to tailor edits to the subject’s unique features.
- Edit at Full View: Zooming in too closely can lead to excessive corrections that look unnatural when viewed at normal scale. Always review edits in the context of the entire portrait.
- Test Across Devices: Check your edited image on multiple screens (e.g., desktop, tablet, phone) to ensure the results translate well across different displays.
- Preserve Expression: Ensure edits don’t flatten dynamic features like smile lines or crow’s feet, which convey personality and emotion.
These practices prevent common pitfalls, ensuring edits enhance rather than detract from the subject’s natural appeal. They build on the step-by-step guide, offering actionable advice for professional-quality results.
Common Mistakes and How to Avoid Them
Even with powerful AI tools, certain errors can compromise the quality of wrinkle edits. Here’s how to steer clear:
- Over-Smoothing Skin: Excessive smoothing creates a plastic, unrealistic look. Counter this by using moderate slider settings and checking the “Before & After” view regularly.
- Ignoring Lighting Context: Wrinkles are affected by light and shadow. Ensure edits align with the photo’s lighting to avoid inconsistent texture or unnatural highlights.
- Neglecting Neck and Jawline: Focusing only on the face can leave neck lines or jaw creases unedited, creating a disjointed appearance. Always address these areas for a cohesive result.
- Overlooking Batch Consistency: When editing multiple images, inconsistent settings can disrupt visual harmony. Use presets to standardize edits across a set.
By avoiding these mistakes, editors can maintain authenticity and professionalism, reinforcing the importance of thoughtful application.
Final Thoughts: Blending Technology with Human Sensitivity
AI photo editors like Evoto AI have made wrinkle editing more accessible and efficient than ever, but the best results still hinge on human judgment. Think of AI as a skilled assistant—capable of precise enhancements but reliant on your direction to preserve personality and context. When editing wrinkles, aim to refine rather than erase, creating portraits that feel vibrant and true. These edits should complement broader retouching goals, such as optimizing lighting, color balance, or composition, to elevate the overall image.
As you explore wrinkle editing, experiment with AI tools to discover their full potential. Use them to streamline repetitive tasks, but always guide the process with an eye for subtlety and authenticity. The most compelling portraits don’t hide age—they celebrate the subject’s unique beauty, refined with care and creativity. This guide lays the foundation for mastering wrinkle editing, with later sections diving into advanced techniques and creative applications.