Grainy Gradient effects are trending in the photo editing world, adding rich texture, depth, and emotional tone to visual storytelling. Whether you’re a digital artist, photographer, or designer, exploring this creative overlay gives your photos a cinematic edge. Curious how to apply it effectively? Keep reading to unlock powerful tools and techniques.
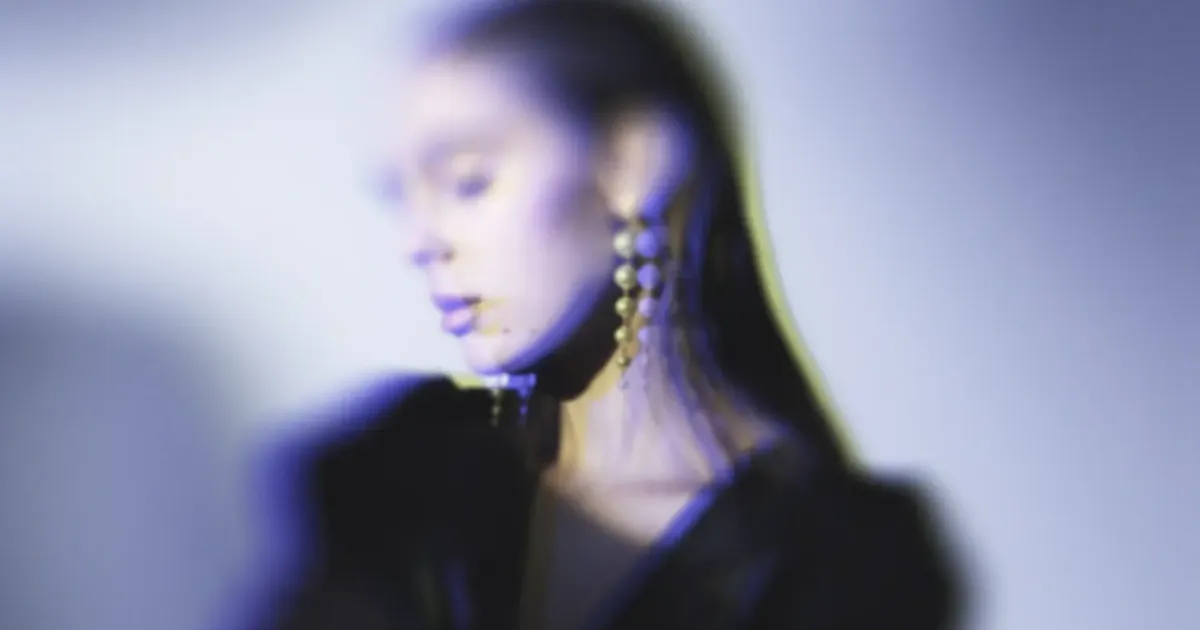
What You Need to Know About Grainy Gradient Color on Photos
Before knowing how to add a grainy gradient to your photos, let’s get a deep understanding of what the grainy gradient effect is and why it is appealing.
What is a Grainy Gradient?
A gradient effect is a visual transition between two or more colors. It creates depth, contrast, or harmony, depending on the combination and direction. Common types of gradients include:
- Linear: A straight transition from one side to another.
- Radial: A circular transition, often from the center outward.
- Angular: Rotates colors around a central point.
- Diamond: Forms a diamond-shaped color pattern.
- Reflected: Mirrors the gradient on both sides from the midpoint.
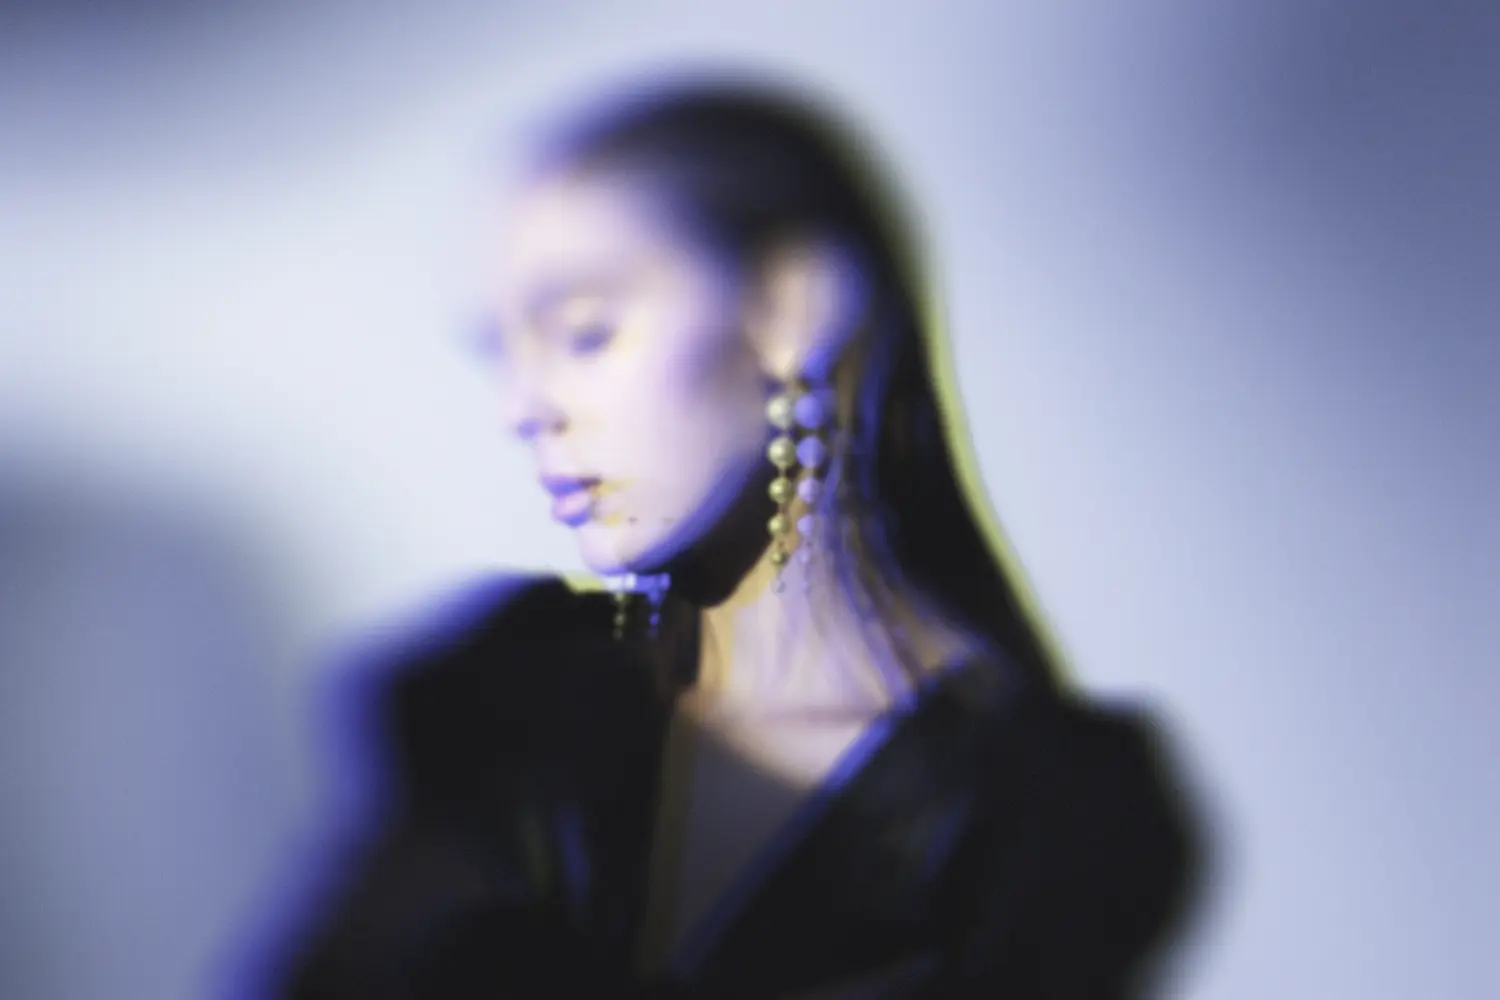
But what sets a grainy gradient apart? It merges graduated color shifts with subtle, intentional gradient noise—a textured, speckled overlay that adds emotion, depth, and realism. The grain mimics analog film aesthetics, making modern photos feel timeless.
Noisy gradients break the perfection of digital gradients, avoiding flatness and creating organic richness. A grainy textured gradient can evoke nostalgia, drama, or warmth, depending on the color scheme used—like a red-blue gradient for intensity or a purple white gradient for softness.
Why People Use Grainy Gradient?
The rising use of gradient grain is rooted in artistic expression. Photographers and creators add it to evoke mood, enhance atmosphere, and avoid the synthetic look of digital gradients.
Here’s why it’s widely used:
- Depth and Emotion: Adds cinematic flair.
- Texture and Contrast: Avoids flat visuals.
- Mood Design: Color transitions influence viewer emotion.
- Creative Backgrounds: Used in posters, album covers, and portraits.
Common use cases include editorial photography, Instagram aesthetics, digital art, brand visuals, and cinematic posters. You can easily add grainy gradient to a photo for subtle texture or bold, creative statements.
How to Add a Grainy Gradient Effect to Photos in Photoshop
To create a noisy gradient in Photoshop, follow these more detailed steps:
- Open your high-resolution image in Photoshop.
- Go to the Layers Panel, click the New Layer icon, and name it “Gradient Overlay.”
- In the toolbar, select the Gradient Tool. Click the gradient preview box to open the Gradient Editor.
- Click and drag across your new layer to apply the gradient. Adjust the direction, angle, and length based on the photo’s composition.
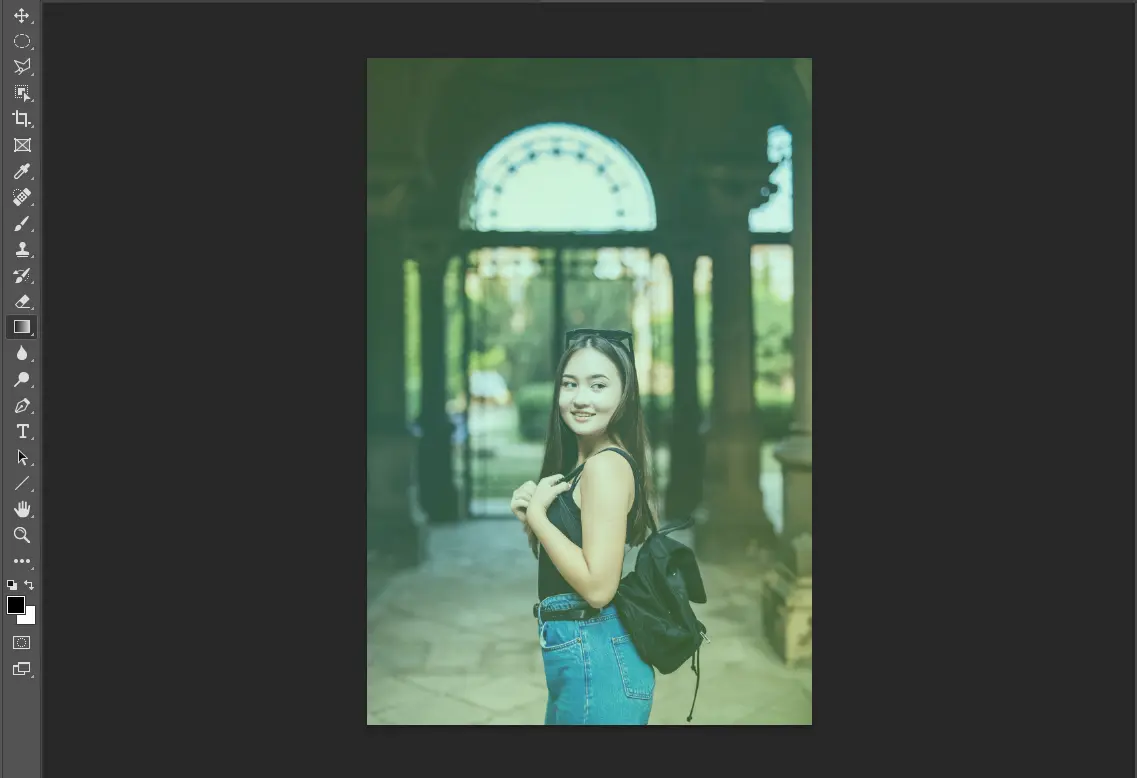
- With the gradient layer selected, go to Filter > Noise > Add Noise to add grain to the photo.
- Change the Blend Mode of the gradient layer to Overlay, Soft Light, or Multiply.
- Fine-tune the effect and preview the result for high-quality output.
Done! You now have a beautiful grainy gradient effect in your photo.
How to Use Evoto to Add Grainy Gradient to a Photo
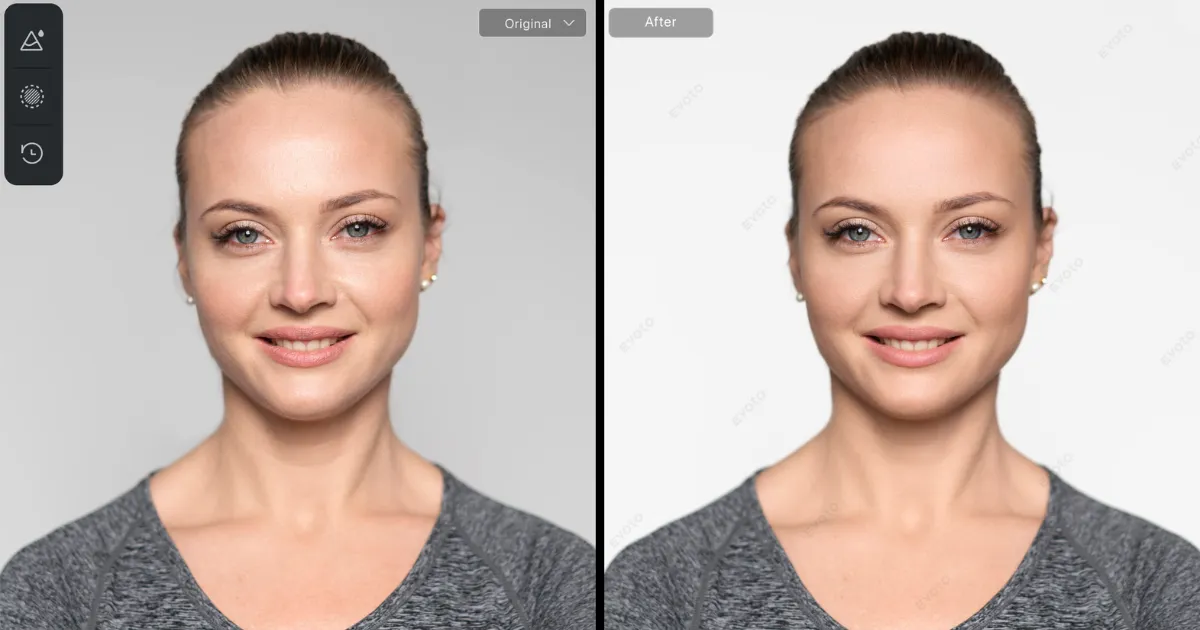
Evoto offers a smarter way to design a grainy gradient. By combining AI color matching and gradient controls, you can apply detailed transitions and noise textures in seconds.


Powerful AI Fotor Editor
Apply Gradient Effect to a Photo Using AI Color Matching
Step 1. Open Evoto and import the image you want to edit.
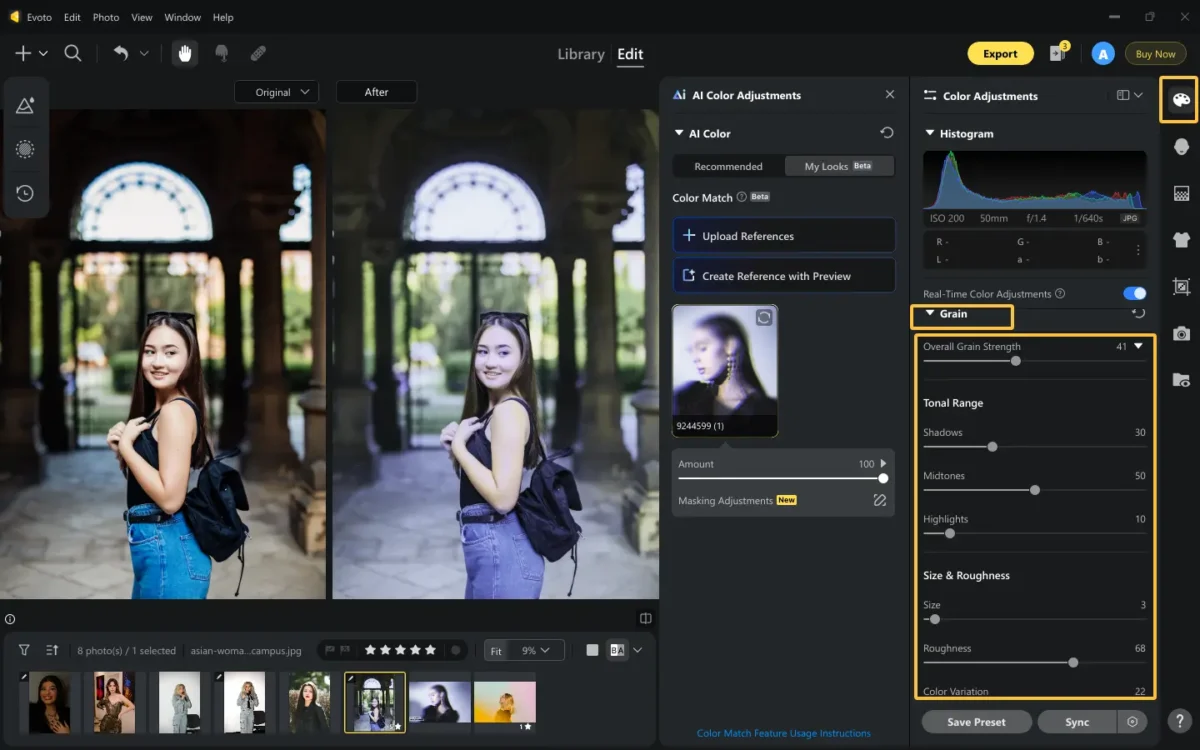
Step 2. Navigate to the right feature list and click on Color Adjustment. Swipe down to the AI Color Adjustment > Create Color Reference.
Here you can upload a reference photo with your preferred gradient palette or choose a reference from the Preview.
Step 3. Select the photo as a reference from the Preview and click on the option “create reference with Preview”.
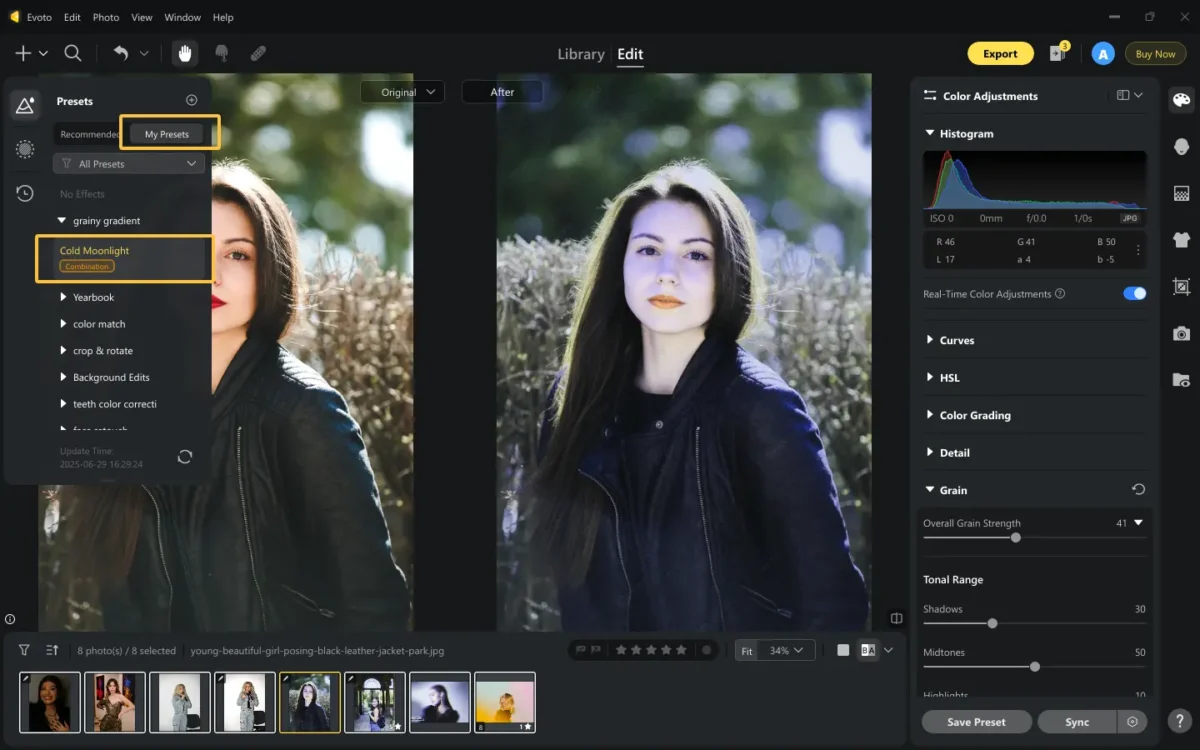
Step 4. Then choose your target photo in the Preview and click on the reference photo under the Color Match panel. The AI will apply a soft, graduated color transition to your target photo.
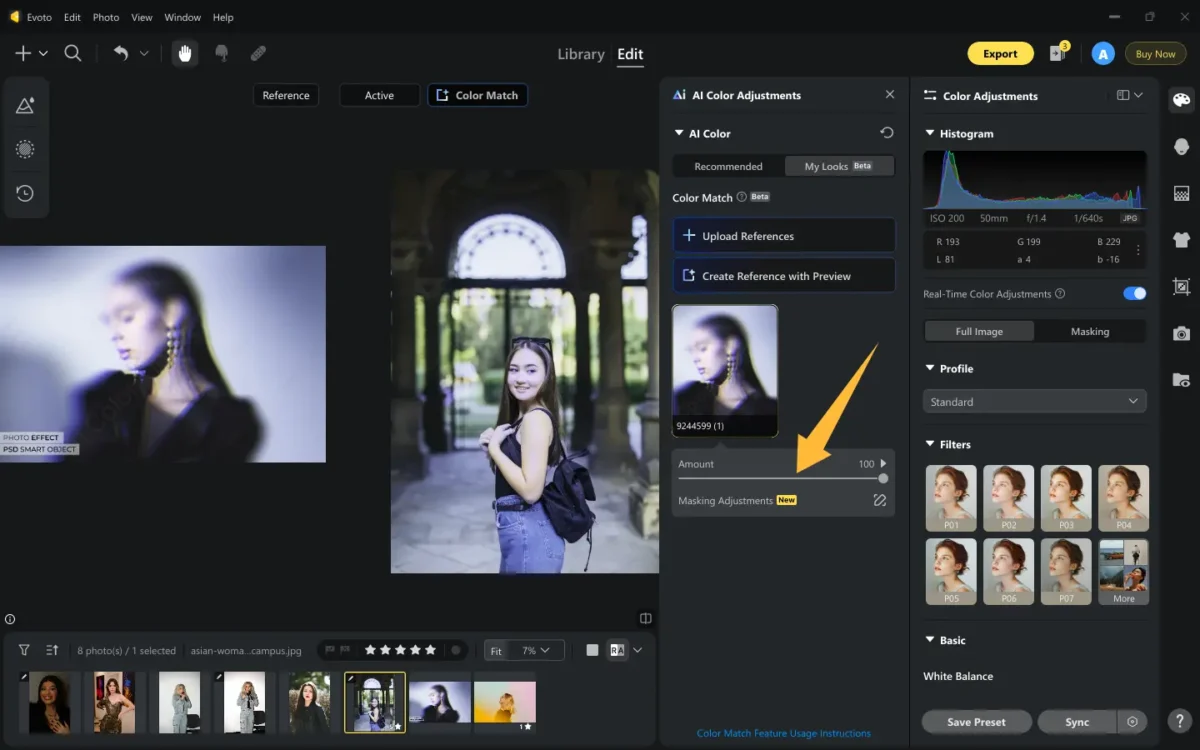
Plus, you can move the slider of AI Match Amount to adjust the gradient strength.
Add Gradient Color and Grainy Effect to a Photo
Since you’ve add a wanted gradient tone to your photo using AI Color Matching, next, you go ahead to add grainy effect to it.
Step 1. Start with the edited gradient photo.
Step 2. Still in the Color Adjustment section > Grain > Increase the value of the Overall Grain Strength properly.
Step 3. Toggle the slider of “Tonal Range” and “ Size & Roughness” to customize the intensity, size, and sharpness of the grain. Also, finture the color variation to blend the grain textured gradient smoothly.
Create a Preset Filter for Grainy Gradient
After you’ve perfected the photo with appropriate edits, you can save it as a preset and batch process it for a group of images at once.
Step 1. Click Save Preset or “Ctrl+Shift+N” and name the preset, choose a group and a preset type for it (Combination is better for you to flexible check the needed fliters).
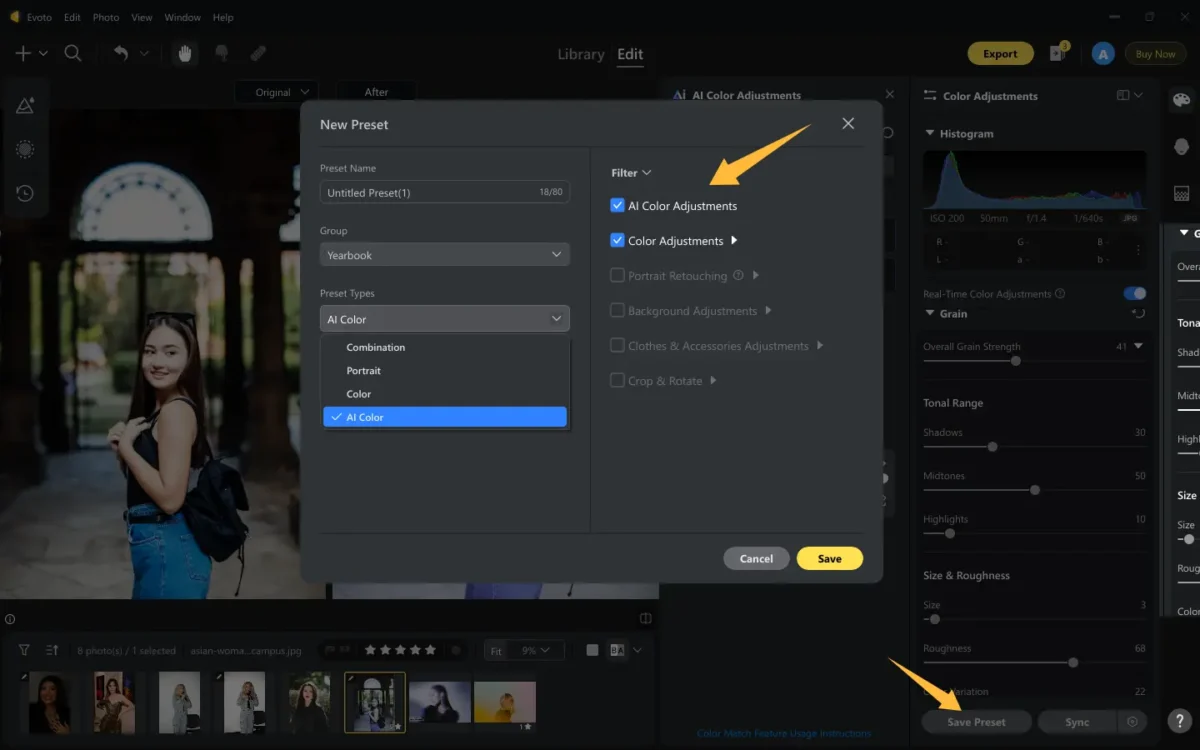
Step 2. Check the filters you want to keep into the preset, and save it finally.
Step 3. If you want to use it on other photos, go to the Preset > My Preset to find the saved preset. Select the photo you want to edit and click on the preset, then the edits will be automatically applied.

