Many photographers struggle with portraits that just don’t feel right. Faces look flat, expressions seem dull, or the light feels harsh and low.
You might have the right camera, lens, or pose, but still end up with photos that miss that emotional spark. These problems often come from poor lighting, either too much, too little, or coming from the wrong angle.
This guide will help you solve those problems by teaching you how to work with light, not just use it. You’ll learn how to shape it, balance it, and make it part of the story you’re telling through your photos.
No matter if you’re working in strong sunlight, a darker indoor space, or a mix of lighting, learning how to manage light in portrait photography will greatly enhance your final shots.
What Is Portrait Photography and Why Lighting Matters?
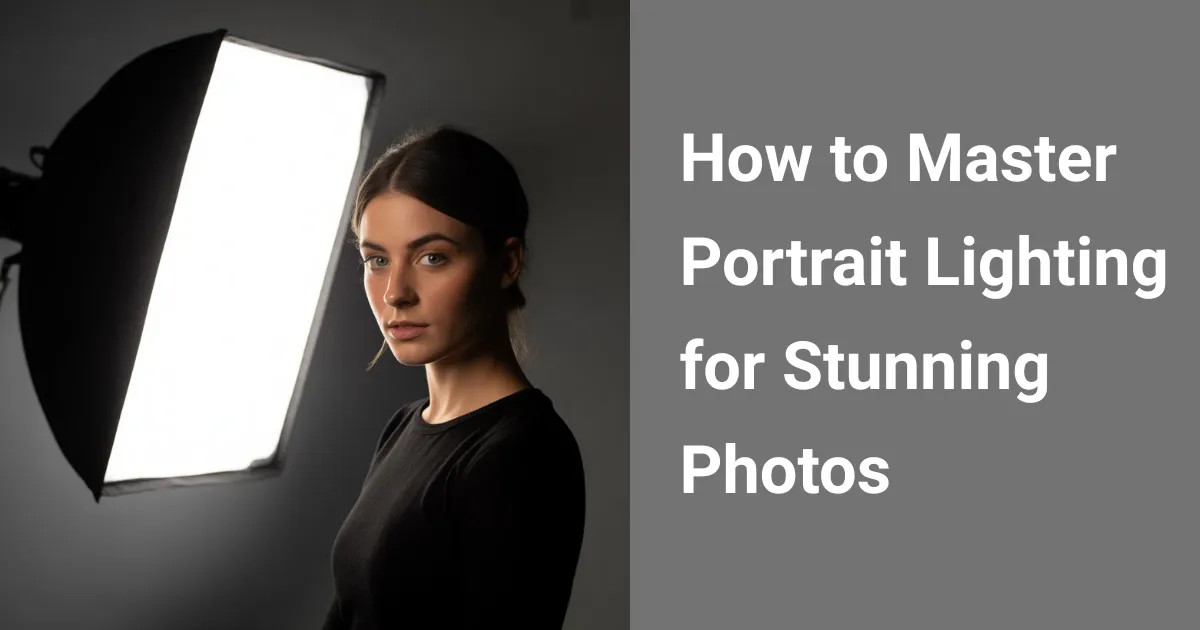
Portrait photography is the art of capturing a person’s mood, personality, and emotion. While the subject is the main element, it’s the lighting that gives the photo its feeling. Light helps shape the face, highlights facial features, and creates depth.
A good portrait photographer uses light to guide the viewer’s eye. Strong shadows or soft highlights can evoke a sense of calm, curiosity, or even emotion in the viewer. This is why lighting setups are so important. Without it, portraits often look flat or dull.
Natural vs. Artificial Light: Pros, Cons & When to Use Each
Natural light comes from the sun. It’s free and easy to find. It changes throughout the day and creates different moods. Golden hour lighting, for example, is soft and warm, perfect for outdoor portrait photography. You’ll catch it right after the sun comes up or just before it goes down.
Artificial lighting in photography comes from lamps, flashes, and other tools. It gives you more control.
You can shoot at any time and adjust the light to match your vision. But it takes practice to use well, especially when working with studio strobe or speedlight tools.
Understanding Everyday Natural Light
Natural light can be beautiful. But it’s not always easy. On bright days, the light can be harsh. This usually results in a mix of intense and soft lighting areas within the scene. To make soft light, you can shoot on cloudy days or use diffused lighting near windows.
Window light is great for beginners. Window light photography gives soft shadows and is easy to manage. Position your subject close to a window so natural light can illuminate them softly.
When to Choose Artificial Studio Light
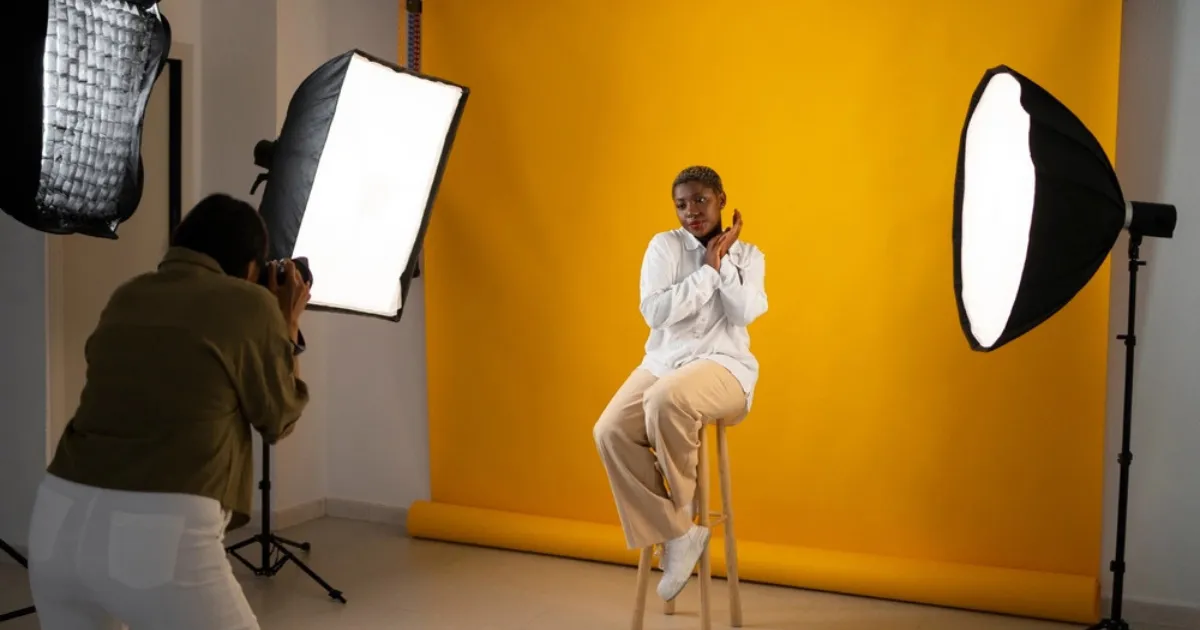
If you’re shooting in a dark room or at night, you need artificial lighting in photography. A softbox lighting setup is a good place to start.
It spreads light and makes skin look smooth. A camera flash or studio strobe adds extra punch.
Use a light source for portraits from an angle, not straight on. That helps shape the face. Avoid flat light that hides expression. Learn to move lights around and test angles.
Hybrid Lighting Techniques
Sometimes you can mix both. For example, use natural light from a window and a speedlight to fill shadows. This is called a hybrid lighting technique. It gives you balance and keeps the photo looking real.
Keep an eye on color temperature. Light in the shade tends to look cooler, while sunlight gives off a warmer tone. Studio lights may be different. Matching tones is key when blending light types.
How to Master Natural Light for Portraits
You don’t need fancy gear to get great results. It’s really about timing and picking the right spot. Natural light photography can give you amazing results if used well.
Try shooting during golden hour lighting. When the sun is lower in the sky, it casts a softer glow and subtle shadows—perfect for flattering portraits. The soft light gently hugs the face, making skin tones look smooth and natural. Your background will also look warmer.
1. Shoot at the Right Time of Day (Golden Hour Tips)
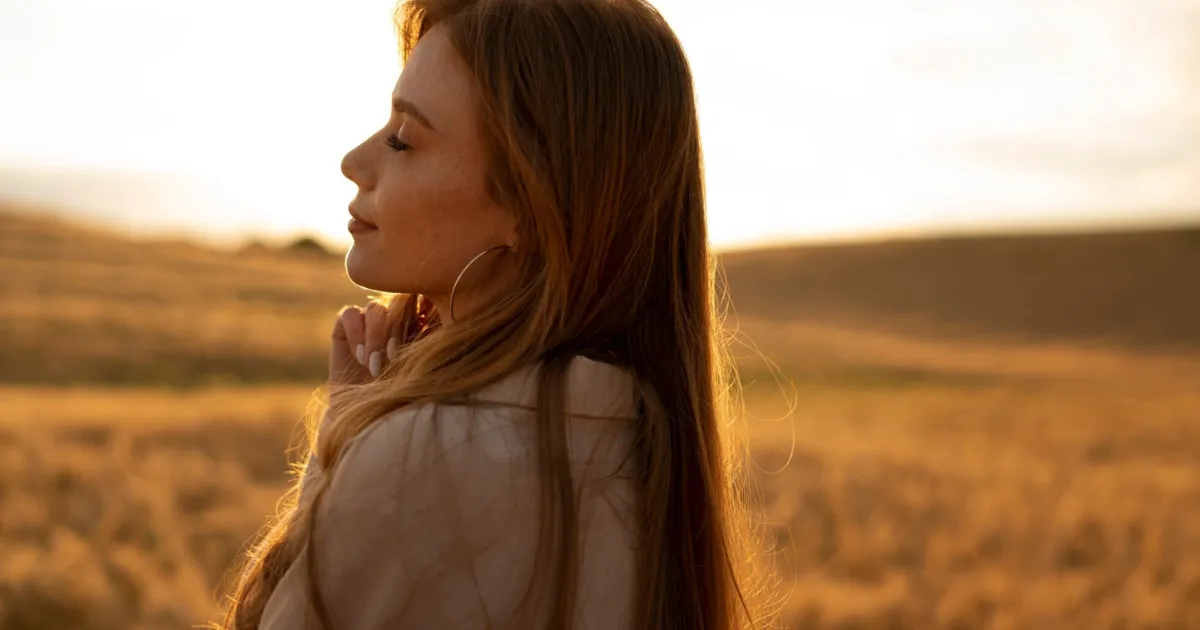
Golden hour happens twice daily. It’s best because the light is not too harsh. Shadows are long and soft.
Try to avoid taking photos around noon, as the overhead sunlight can be too intense and unflattering. It causes shadows and contrast that are hard to control.
If you must shoot at noon, look for reflective surfaces for lighting. A white wall or sidewalk can bounce light back and soften shadows. Use shade if needed.
But what if you miss the perfect light? No worries—Evoto can help. If you’re short on time or missed that golden sunset, just use Evoto to swap in a beautiful blue sky or golden hour glow. Not only can it replace the background, it also smartly adjusts the lighting to match—so your final image still feels natural and perfectly lit.
2. Pay Attention to the Direction of Light
Light direction shapes the subject’s face. Side light gives depth. Front light flattens features. Backlight can create a silhouette effect if used well. Watch how the shadows fall.
Turn your subject slightly toward the light. This helps you control highlights on the facial features and keeps the subject’s expression natural. Moving just a few steps can make all the difference.
3. Use Reflectors for Balanced Exposure
A simple reflector can fix harsh shadows. Bounce board photography is a cheap way to add fill light. A simple whiteboard or a reflective surface like a silver reflector can help bounce light where you need it.
Hold the reflector below or beside the face. This will open the shadows and give you a good lighting setup. It makes eyes look brighter, too.
4. Create Catchlights for Lively Eyes
Catchlight in the eyes makes portraits more engaging. They give life to the eyes. Without them, subjects may look dull. Use light from a window or a reflector placed near the face.
Catchlights should be small but noticeable. Watch closely while you shoot. Move the light if needed to place it in the eyes.
5. Capture Silhouettes for Creative Effect
Sometimes, backlighting creates art. A silhouette effect hides detail but shows shape. It works well during sunset. Position your subject between the camera and the light.
Set your exposure settings for the bright background. That way, the subject goes dark. These techniques can help add depth, mood, and emotion to your portraits.
Essential Lighting Equipment for Portraits
Tools help, but you don’t need them all at once. Just start with the basics. Later, you can build your kit as your skills grow.
A reflector, a softbox lighting setup, and a simple camera flash are good starters. Use them with purpose. Every piece of a photography tool has its own role.
1. Softboxes: What They Are and How to Use Them
A softbox spreads light to create soft shadows. It makes the subject look clean and smooth. Use it close to your model for best results.
You can also control where the light falls. That’s important for shaping your subject’s face and reducing glare or hot spots.
2. Bounce Boards & Reflectors: Light Redirection Made Easy
Bounce board photography helps in tricky spots. Use a board or reflector to bounce light back onto your subject. It fills shadows and softens contrast.
White bounces soft light. Silver or gold adds warmth or coolness. Try both and see what works best.
3. Light Modifiers: Umbrellas, Diffusers, and Grids
Light-shaping tools help you control light. Umbrellas spread it wide. Diffusers make light softer. Grids narrow the beam and focus it.
Each one gives a different look. Learn what each does. Practice in different settings. This builds your lighting skills.
4. Choosing the Right Lens for Lighting Conditions
Lenses affect your lighting, too. A wide lens may capture too much background. A tight lens lets you focus on the subject.
Look for lenses with wide apertures like f/1.8. These let in more light and help in indoor photography lighting setups.
Portrait Lighting Setups for Beginners
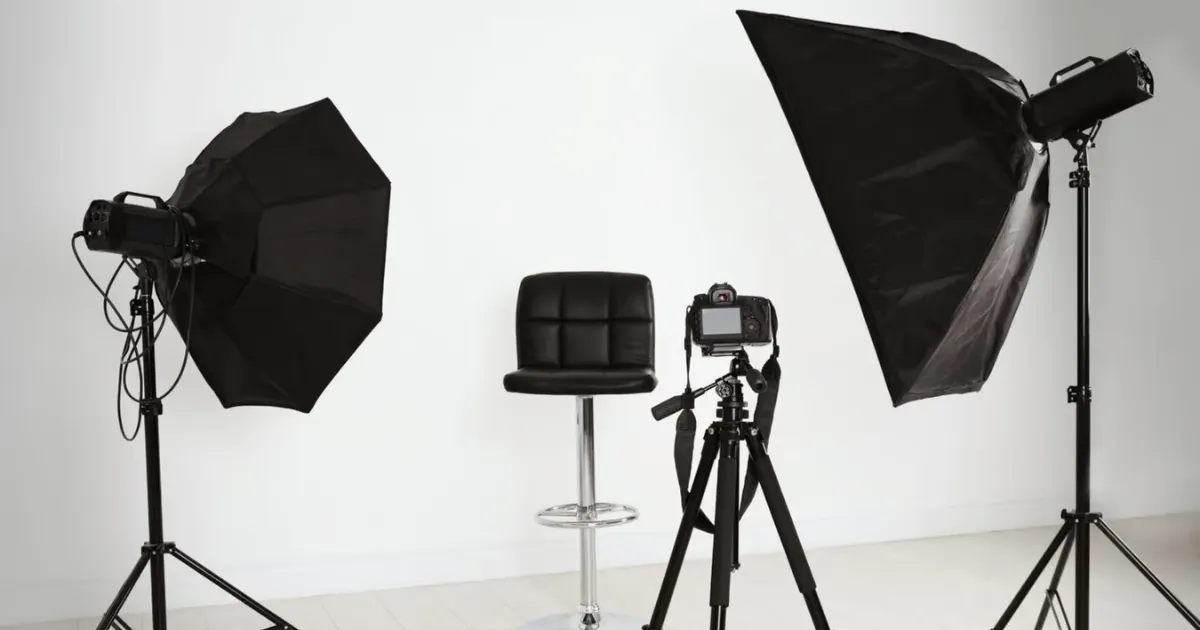
You don’t need to start with five lights. One or two lights can do a lot if you place them right. Start simple and learn how each position changes the look.
Try different angles, heights, and distances. Move the light around your subject and watch how the shadows shift.
1. One-Light Setup (Key Light Only)
One light, placed at 45 degrees from your subject, gives a nice shadow on one side of the face. It’s an easy setup that works well for most beginners.
Use softbox lighting or a large window. It adds shape and depth while keeping it simple.
2. Two-Light Setup (Key + Fill Light)
You can use another light or even a reflector to brighten up the darker areas. This balances light on both sides of the face.
It’s ideal for black and white portrait lighting because it keeps the detail while showing contrast.
3. Rembrandt Lighting
This traditional style forms a small triangle of light under the eye using just a single light. It adds mood and depth.
Move the light higher and to the side. Watch for the triangle of light under the eye. That’s how you know it’s Rembrandt lighting.
4. Butterfly Lighting
The light is positioned slightly above and in front, casting a soft shadow below the nose—great for beauty portraits.
Placing a reflector below the chin can help even out the light. This softens the look and adds shine to the skin.
5. Loop and Split Lighting
Loop lighting creates a small shadow next to the nose. It gives a gentle, natural look. Move the light slightly to the side.
Split lighting divides the face into light and dark. It’s used for dramatic portrait lighting. Perfect for moody or strong portraits.
Working with Your Subject: Posing and Interaction
Lighting alone is not enough. You need the subject to feel relaxed. A great photo shows emotion, not just light.
Talk to your subject. Make them laugh or think. Keep it natural.
1. Keep Poses Natural Yet Expressive
Let your subject move a bit. A tilted head or relaxed hand adds life. Avoid stiff poses.
Work with angles. Let the light shape the body. Try changing your angle, shooting from a higher or lower position can make the photo more engaging.
2. Engage With Your Subject for Genuine Expressions
Talk while shooting. Ask questions. Keep the mood light. Real smiles and thoughtful looks come when the subject feels safe.
Use soft voice tones and give space. Don’t overdirect. Let them be themselves.
3. Capture the Right Moment
The best photos come between poses. Watch for those tiny reactions. Shoot a little before and after every pose.
Use burst mode if needed. Stay alert and ready.
Making Your Portrait Lighting Better with Evoto
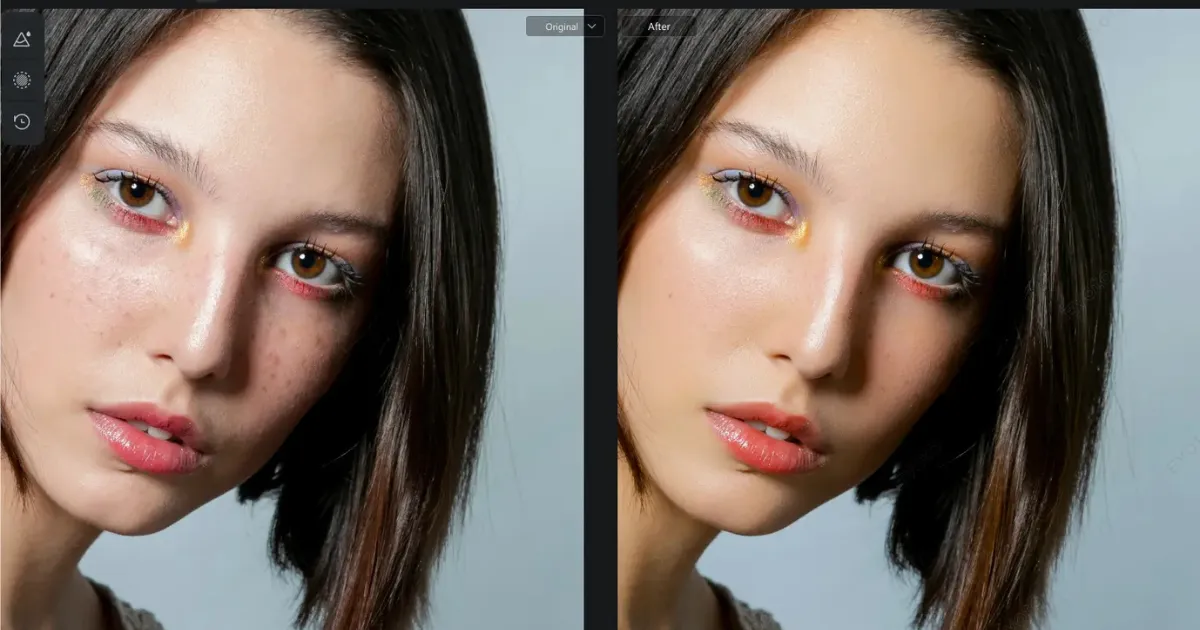
Sometimes, when you get the lighting right during the shoot, the photo still needs a bit of fine-tuning. Faces might look too dark, highlights could be too strong, or the overall feel might not match what you saw in real life.
Evoto Photo Editor helps you fix common lighting issues quickly, making it easier to get professional-looking results even if you’re new to editing.
With a few small adjustments, you can brighten up key areas, soften harsh shadows, or fix overexposed photos without losing the natural look. You can balance shadows, highlight eyes, or fix overexposed photos with a few clicks.
Tips to Improve Your Portrait Lighting Skills
The more you shoot, the more you learn. Practice with different setups and light types.
Test what works. Then test what doesn’t. Mistakes help you grow.
Practice Daily With Different Light Sources
Use lamps, flashlights, or sunlight. Mix them and take notes. This builds confidence and teaches control.
Even 10 minutes a day makes a big difference over time.
Analyze Light in Everyday Scenes
Observe how light naturally hits surfaces around your home or in everyday environments. Watch movies and see how they use light.
Ask yourself: where is the light source for portraits in this scene?
Challenge Yourself With Different Environments
Shoot in hard places. Bright rooms, dark halls, or cloudy parks. Learn to adjust quickly.
Use a different gear or none at all. Force yourself to adapt.
Keep a Lighting Setup Journal
Write what you did. Draw your setup. Add photos. Over time, you’ll build a personal guide.
Review it to learn faster. It’s better than relying on memory alone.
Final Thoughts: Lighting Is Your Creative Superpower
Learning how to master portrait lighting for stunning photos is a skill that grows with time. Use light like a brush. Shape it, move it, control it.
When you get the lighting setup right, everything else falls into place. Keep practicing. Great portraits start with great lighting.


