In portrait photography, the quest for the perfect leg shape is a common goal for both photographer and subject. Whether it’s a fashion shoot, a social media post, or a personal portrait, getting your legs done in Photoshop has become a popular game-changer.
Photoshop has a comprehensive range of precise adjustment tools that can help you achieve a natural lean leg effect, enhance the beauty of your portrait, and boost your subject’s confidence. So, this guide will walk you through the steps to achieve leg slimming in Photoshop, ensuring images look flawless and professionally edited.
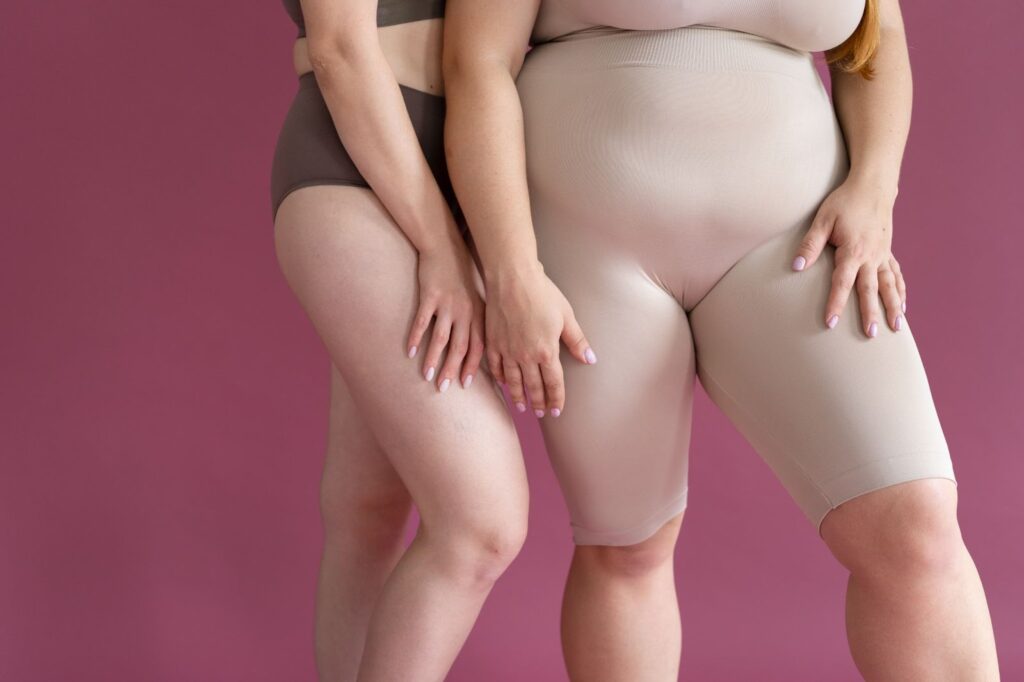
In addition, this article will also introduce Photoshop’s best AI Portrait Retouching alternative, Evoto Photo Editor, to help you easily solve the problem of how to slim legs in photos.
About Leg Slimming in Photoshop
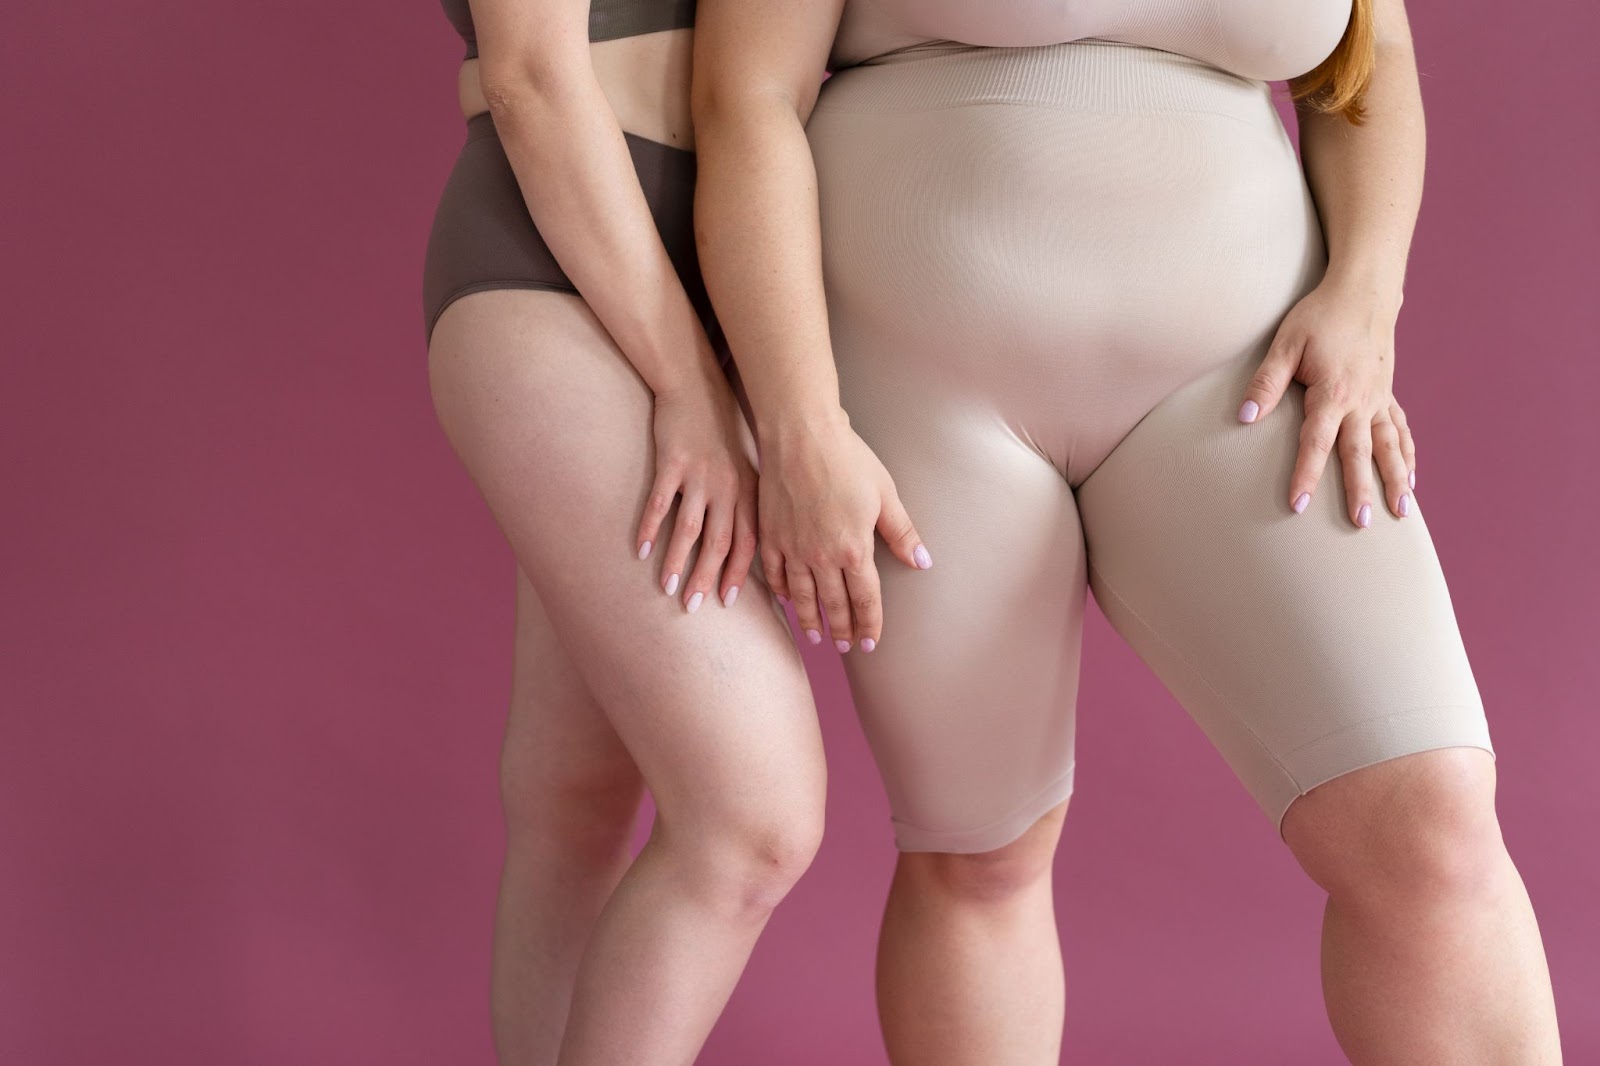
Leg slimming in Photoshop refers to the process of altering the appearance of legs in photographs to make them look slimmer and more proportionate. This technique is particularly useful in scenarios when the subject’s legs are too fat to match the whole body shape and where camera angles or lighting may distort the natural shape of the legs.
By using Photoshop’s advanced tools, photographers can subtly reshape and refine leg contours to enhance the overall aesthetics of the image. Common techniques include using the Liquify tool, warp tool, and other adjustment options to create a balanced and natural look.
Reasons for Getting Leg Slimming in Photoshop
There are various reasons someone might want to slim legs in Photoshop.
- For photographers, enhancing the aesthetics of a photo is often the primary goal. Slimming legs can help create a more balanced composition, especially in full-body portraits where proportions are crucial.
- Additionally, camera angles can sometimes distort the natural shape of the legs, making them appear wider or uneven. Wide-angle lenses, for example, can make legs appear wider or shorter than they are. Leg slimming techniques allow photographers to correct these distortions, resulting in a more attractive image.
Leg slimming in Photoshop is commonly applied in various scenarios, including portrait photography, fashion shoots, and personal social media posts.
- In portrait photography, the symmetry and coordination of the figure is very important, and the legs can show the natural beauty of the body of the subject.
- In fashion photography, where the focus is on the overall look and presentation of the model, slimming the legs can enhance the visual appeal of the outfit and the model’s figure.
- For personal social media posts, individuals often seek to present themselves in the best possible light, and leg slimming can help achieve a more polished and confident appearance.
Evoto – The Most Efficient AI Photo Editor
How to Slim Legs in Photoshop
Using Photoshop to slim legs will bring professional results with precise and accurate adjustments. Follow this step-by-step guide to figure out how to slim body inPhotoshop.
Step 1. Open Your Image in Photoshop
Start by opening the photo you want to edit. Ensure that the image resolution is high enough for detailed editing.
Step 2. Duplicate the Layer
Before making any changes, duplicate the original layer (Ctrl + J). This allows you to work non-destructively.
Step 3. Select the Liquify Tool. Go to Filter > Liquify
The Liquify tool on Photoshop is one of the most powerful tools for slimming legs.
Step 4. Adjust the Brush Settings
In the Liquify panel, select the Forward Warp Tool. Adjust the brush size according to the area you want to edit. A larger brush will give smoother results.
Step 5. Slim the Legs
Gently push the edges of the legs inward to create a slimmer appearance. Be cautious with your movements to avoid making the image look unnatural.
Step 6. Use the Freeze Mask Tool
If there are areas of the image you don’t want to alter, use the Freeze Mask Tool to protect them.
Step 7. Refine the Shape
After slimming the legs, switch to the Smooth Tool within the Liquify panel to refine the shape and ensure the transitions are smooth.
Step 8. Check Your Work
Toggle the preview on and off to compare the original and edited versions. Make further adjustments if necessary.
Step 9. Finalize the Edit
Once satisfied with the leg slimming in Photoshop, press OK to apply the changes. Make any final adjustments using the Dodge and Burn tools to add subtle shadows and highlights for a more natural effect.
According to the above steps, you can precisely tune the leg shape with Photoshop’s powerful tools. But for new beginners, Photoshop can be complex and time-consuming to get started. So if you want to slim legs with ease, Evoto AI is the best alternative that caters to amateurs and professionality. It will auto-finish leg slimming within a few clicks.
Best Alternative Tools for Leg Slimming
For those looking for a simpler, more intuitive option, the Evoto AI Photo Editor offers a fantastic alternative for leg slimming.
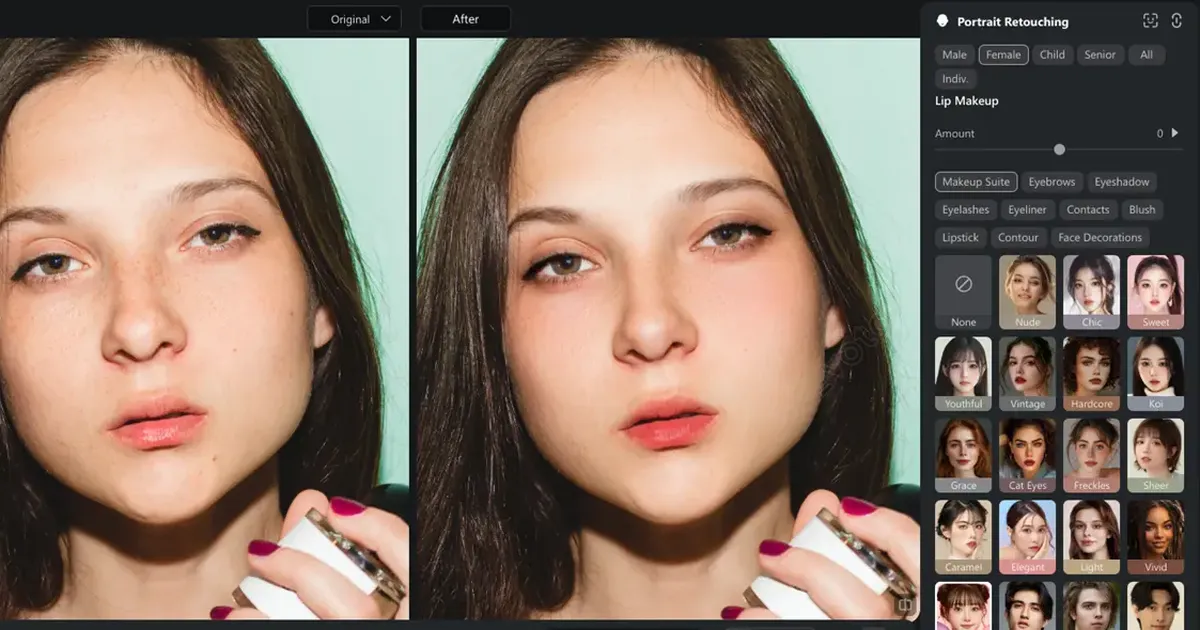
Evoto AI is designed to streamline the editing process with AI-driven features that make photo retouching quick and easy. You can quickly start with its intuitive interface and an easy-to-navigate toolbar. The tool’s AI capabilities allow for automatic full body reshape, including adjusting leg width and leg length, height, and the details for head, neck, arm, breasts, waist, and hips.
Moreover, its batch processing and one-click enhancements make it accessible to users of all skill levels. Here’s how you can slim legs in Evoto Photo Editor.
How to Slim Legs in Evoto AI
Step 1. Download Evoto AI Photo Editor to your Windows and Mac desktop. Begin by uploading your image to the Evoto platform.
Evoto – The Most Efficient AI Photo Editor
Step 2. Navigate to Portrait Retouching > Full Body Reshape, and Evoto’s AI automatically detects body contours.
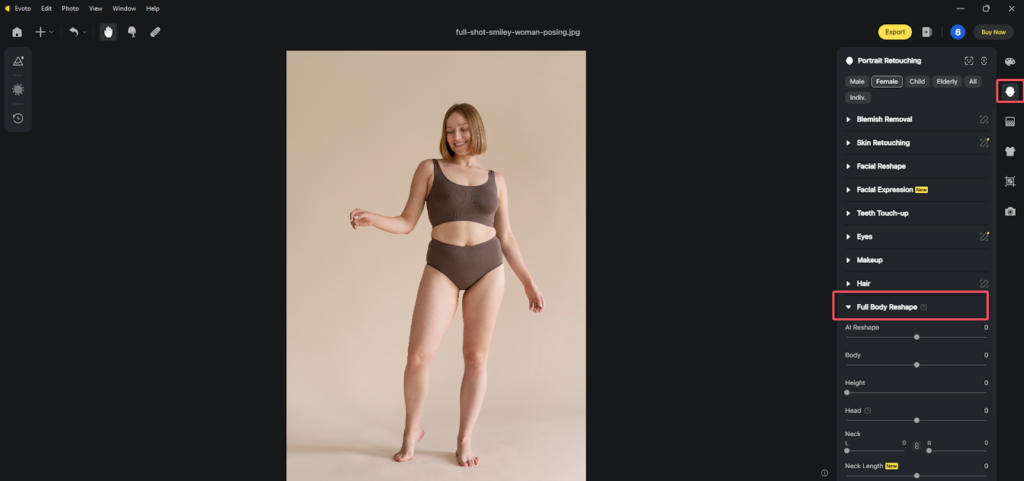
Step 3. You can simply apply AI Reshape and adjust the value of body size to enhance the whole shape.
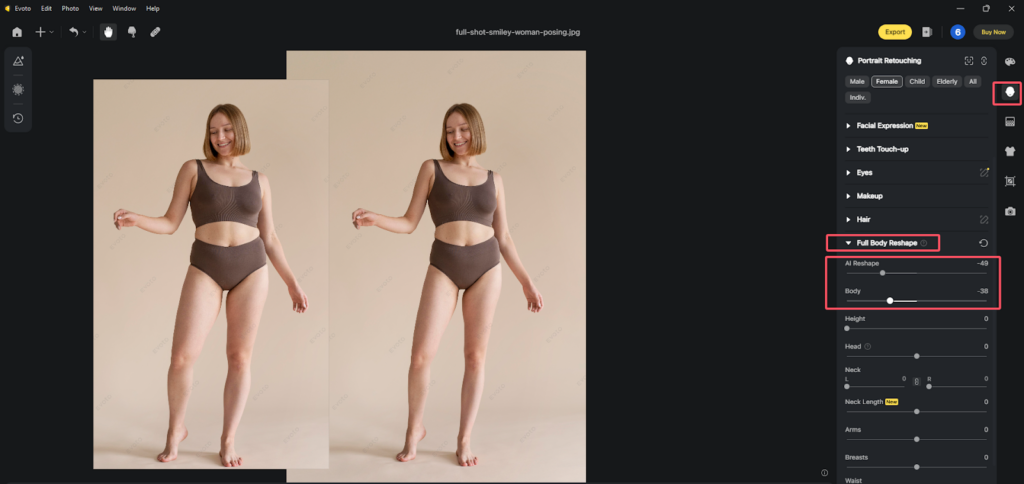
Also, you can go to the Leg Width and Leg Length adjustment section. Use the slider to control the intensity of the leg slimming effect. Ensure that the slimming effect is applied evenly, maintaining natural proportions.
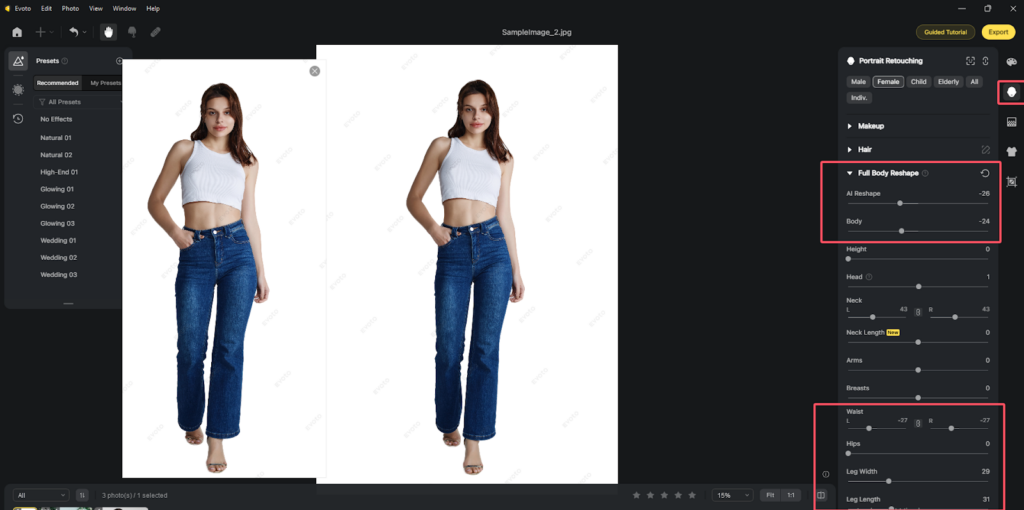
Step 4. Preview the changes in real-time. If satisfied, apply the changes with a single click.
Step 5. (Optional) You can save the leg slimming enhancements as a preset and batch process a series of photos for the same subject, which also saves a lot of time and effort.
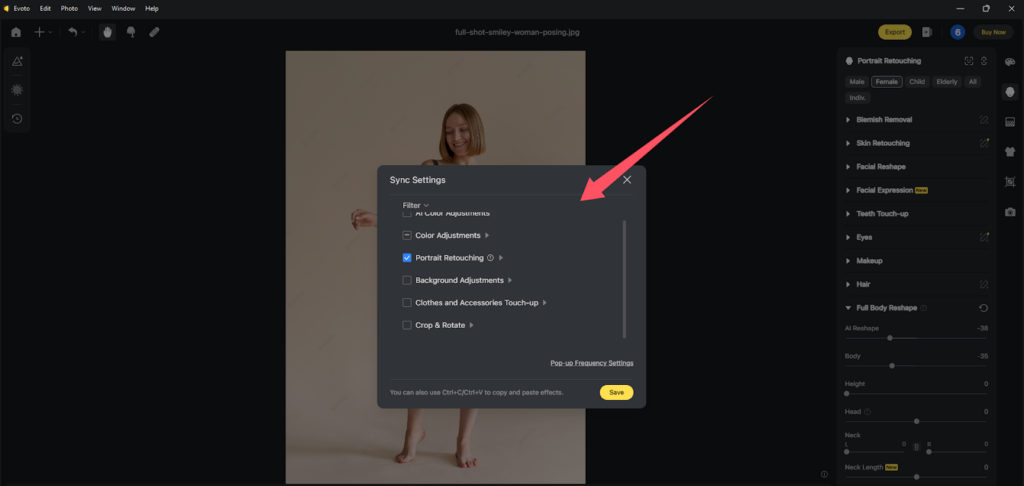
Step 6. Once the edits are complete, export the image in your desired format and resolution.
Evoto’s user-friendly interface and powerful AI-driven features make it an excellent choice for photographers and casual users alike. Whether you’re new to photo editing or looking for a more efficient alternative to Photoshop, Evoto provides a hassle-free way to achieve professional results.
Evoto – The Most Efficient AI Photo Editor
Conclusion
Why slim legs in photograph editing? Because the good-looking leg shape can enhance the natural beauty of the subject, and create both beautiful and professional character photography. While Photoshop offers unparalleled flexibility, achieving legs slimming in Photoshop requires a good understanding and long-term practice of the tools and techniques available, which is not very practical for the eager novice.
Tools like Evoto AI provide a more convenient option for those who want to lengthen their legs and improve their photos with minimal effort. Try both methods to see which one best suits your needs.

