Have you ever taken the perfect photo, only to be distracted by glowing red eyes? The dreaded red eye photo effect can ruin even the most well-composed shot. But don’t worry—there are simple ways to remove red eye from photos! This guide explains what causes red eyes, how to eliminate them, and tools like Photoshop and Evoto AI that act as effective red eye removers.

What Does Red Eye Mean in a Photo?
Red eye occurs when a camera flash reflects off the subject’s retina at the back of the eye, which often happens in low-light conditions. This causes the pupils to appear unnaturally red in photos. A photo with red eyes can look unsettling or eerie, making portraits feel less genuine and appealing.
The Causes and Effects of Red-Eye Photos
The main reason red eye appears is the flash of a camera bouncing off the retina when pupils are dilated in low-light settings.
Common conditions that contribute to red eye include:
- When shooting in low-light environments, the pupils will widen, making reflections more likely.
- If taking photos using direct flash, the light will travel straight into the eye and reflect, resulting in red eyes.
- Especially when the subjects are looking directly at the camera, this maximizes the reflection path to the lens, causing obvious red pupils.
Impact of red eye on the final image:
- Red pupils in photos may distract the viewer’s attention.
- Eyes are important to convey emotions in photos. Red eyes will destroy the emotional connection in portraits or group photos.
- The photo’s obvious or large area of red eyes adds eerie vibes to the whole image. Also, they make even well-shot photos look less polished and amateurish.
3 Ways to Remove Red Eye: Step-by-Step Guides
Whether you’re a beginner or an expert, there are several ways to remove red eye effectively. Here’s how:
How to Correct Red Eye in Photoshop?
Using Photoshop is one of the most reliable photo editing tools to correct red eye. Here’s how to do it:
- Open your image in Photoshop. Go to “File” > “Open” and select your red-eye image.
- Select the Red Eye Tool. Find it nested under the “Spot Healing Brush” in the toolbar. You can right-click the “Spot Healing Brush” to find it.
- (Optional) Customize the Tool Settings. You can adjust pupil size and the darkness amount in the options bar. A pupil size of 30–50% usually works well.
- Click on the Red Eyes. Zoom in and click directly on each red pupil. Photoshop automatically adjusts it to a more natural tone.
- Fine-Tune the Result. Use the “Burn Tool” or “Dodge Tool” if needed to make small adjustments.
Read More: Step-by-Step Guide to Dodge and Burn in Photoshop, Lightroom, and AI Tools
This is how you fix red eye in Photoshop with precision.
How to Edit Red Eye Photo with Evoto AI
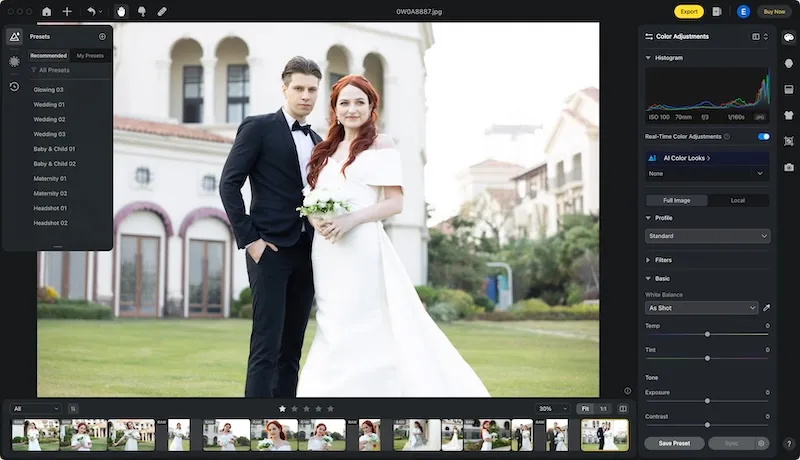
Evoto AI is a powerful AI photo editor that includes a built-in red eye corrector to make this process even easier. Here is how to remove red eye with this red eye remover:
Step 1. Download and install Evoto onto your desktop. Upload your image.
Powerful AI Fotor Editor
Step 2. Go to the “Portrait Retouching” panel. Select the “Eyes” feature, and activate the “Red Eye Removal” button on the right sidebar. Evoto detects and corrects red eyes automatically using AI.
Step 3. Zoom in on the photo with the hotkey Ctrl+Plus(+), and preview the red eye removal result.
If the final result matches the eye’s natural tone, you can synchronize the red eye correction to batch edit a set of photos in a few clicks.
Step 4. Click “Export” to save your corrected photo.
Bonus Tips: When taking photos in low-light conditions, you’d better review and fix the red eye photos immediately. Evoto’s tethered shooting feature is exactly good at this.
With just a few clicks, you can eliminate red eyes effortlessly.
Powerful AI Fotor Editor
How to Get Rid of Red Eyes in Pictures Using Evoto Color Mask
For more advanced edits, the “Masking” tool in Evoto AI offers full control to remove red eyes.
Step 1. Still in Evoto’s editing panel. Upload the photo you want to remove red eye from photo.
Step 2. Navigate to the “Masking” under the “Color Adjustment” panel. Select the “Person” tab > “Iris”. Zoom in on the photo for detailed edits.
Step 3. Target the red “Curve” section. Drag down the red curve to decrease the red color of the pupil.
Step 4. Then, go to the red “Hue”. Adjust hue, saturation, and luminance. Tweak these settings to shift red tones to a more natural eye color.
Step 5. Finalize the edit and export your image.
This technique is perfect for users looking to precisely fix eyes in photos with more color control.
Read More: Best 15 Red Eye Removers: Get Rid of Red Eyes for Flawless Photos
Which is Your Perfect Red Eye Remover: Evoto vs. Photoshop
Both Evoto and Photoshop are excellent red eye removers, but they cater to different types of users and editing needs.
Evoto AI is perfect for beginners or casual editors who want fast, accurate results without the complexity. With 1-click automatic correction powered by AI, Evoto makes it incredibly easy to remove red eyes in pictures. It also provides more advanced options like color masking for users who want more control, without sacrificing ease of use. The only limitation is that it is supported on desktop devices temporarily.
On the other hand, Photoshop is ideal for professionals and experienced users who prefer manual control. It offers precise tools for red eye correction, allowing users to fine-tune every detail. However, this level of control comes with a steeper learning curve. Users need to navigate multiple tools and settings to get the desired result, which may not be suitable for quick or casual edits.
Precautions for Fixing Red Eyes in Photos
While editing, keep these tips in mind to avoid overcorrection:
- Don’t overcorrect eyes. Slightly fine-tuning brings natural results, while over-editing can turn eyes gray or lifeless.
- While removing red eyes, always zoom in to maintain detail and avoid mistakes.
- Keep eye color natural for realism and ensure the color of the two eyes is the same.
- Before starting red eye correction, save the original file before making changes. Or use a red eye remover that supports redo editing like Evoto AI, or non-destructive retouching like Photoshop.
- Properly use feathering or soft edges for seamless blending.
- Don’t apply red eye correction to other red objects or reflections.
These tips ensure that your eyes in the final image look clean and natural.
Conclusion
Now you know how to correct red eye in photos using both manual and AI-assisted methods. Whether you use Photoshop to remove red eye or try Evoto’s red eye remover online, eliminating red eyes will dramatically improve your portraits.Try Evoto AI Photo Editor today for a quick, smart, and professional solution, and take your photography to the next level!