Whether you’re applying for a passport, visa, or just need a professional-looking photo for work or school, taking an ID photo might sound like a task best left to the experts. But the truth is, you can absolutely take a high-quality ID photo at home, as long as you follow the right steps.
In this complete guide, we’ll show you how to take a compliant ID photo using just your phone (or camera), a clean wall, and a few smart tips. No need for expensive studio sessions or long waits. Let’s dive in.

Why Taking a Good ID Photo Matters
ID photos are used for official documents, meaning they come with specific requirements. And unfortunately, even a small mistake—like the wrong background color or a slightly tilted head—can lead to rejection. That’s why understanding the essentials is so important.
The good news? Most of these rules are pretty straightforward, and once you know what to watch for, taking your own ID photo becomes quick and stress-free.
How to Take a Good ID Photo?
Step 1: Set Up Your Space
The first step is choosing where to take your photo. You’ll want a well-lit space with a plain background. A smooth white or light gray wall works perfectly. Natural daylight is your best friend here—just avoid direct sunlight or harsh shadows.
If you don’t have a tripod, no problem. You can set your phone on a stable surface like a table or shelf. The key is to make sure the camera is at eye level and positioned about 1.5 to 2 meters away from where you’ll stand.
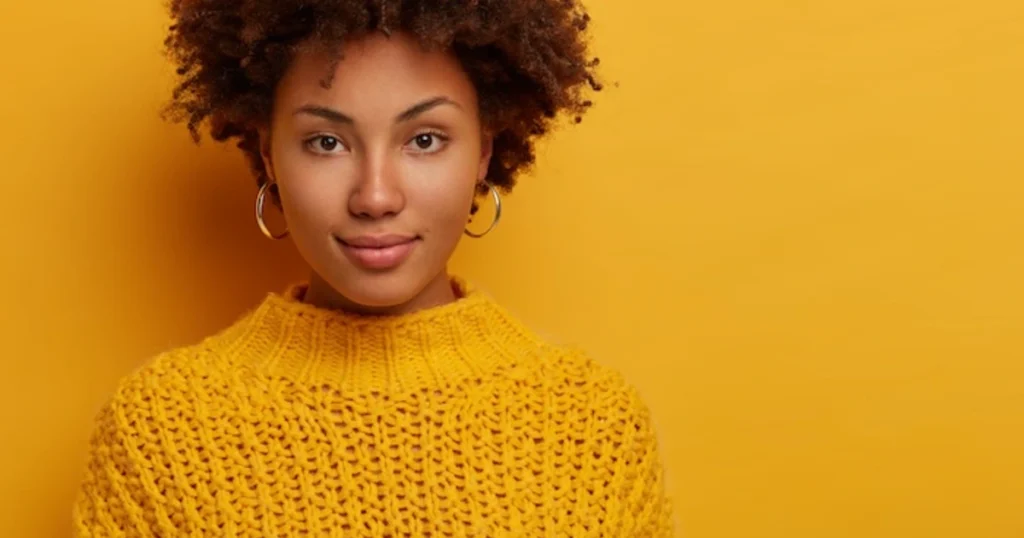
Step 2: Dress Simply and Avoid Distractions
For clothing, go with something simple that contrasts with the background—nothing white if you’re standing against a white wall. Avoid patterns, logos, and uniforms unless required. Take off hats, sunglasses, headphones, or anything else that might obscure your face. Your goal is to look neutral, clean, and clear.
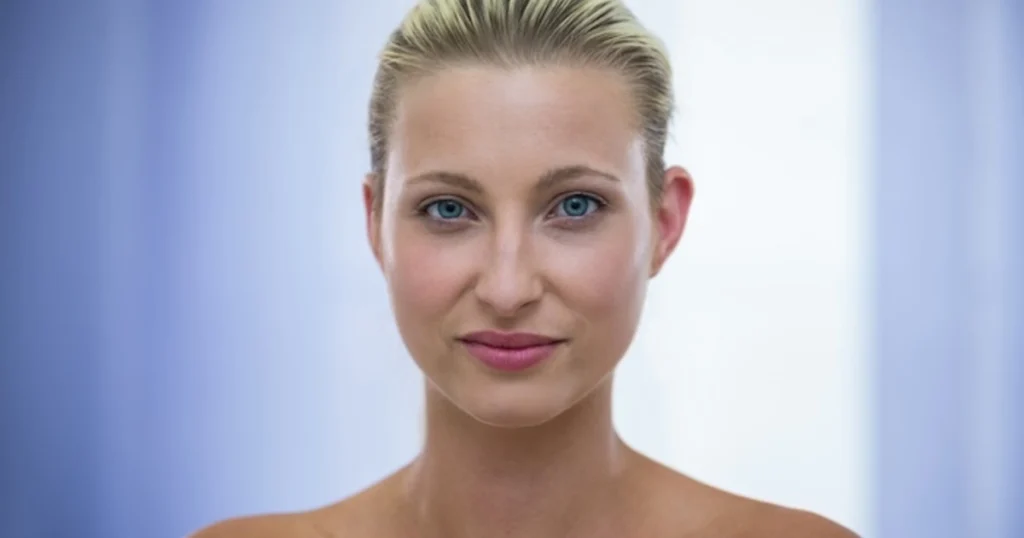
Step 3: Pose Like a Pro
Stand up straight and face the camera directly. Keep your head level, eyes open, and mouth closed. A neutral expression is best—no big smiles or raised eyebrows. Think “passport photo chic.” And take a few shots just in case. You’ll want to have options to choose the clearest, most compliant one.
Step 4: Edit the Right Way
Once you’ve picked your best shot, it’s time to crop and adjust. You don’t need fancy software—just something that lets you resize your image and adjust brightness or contrast if needed. Be careful not to use beauty filters or retouch facial features. Most official photo checks will reject anything that looks digitally altered.
If your background isn’t perfectly white, you can use tools like Evoto AI Photo Editor to clean it up. It offers quick background removal and smart cropping to meet photo size standards in just a few clicks.

Common ID Photo Standards You Should Know
Every document has its own rules, but many follow similar guidelines. Here’s a quick reference:
| Requirement | Standard |
| Background | White or light gray, solid color |
| Head position | Centered, facing forward |
| Facial expression | Neutral, no smile |
| Accessories | No hats or glasses (unless required) |
| Clothing | Contrast with background, no white |
| Resolution | Minimum 300 dpi |
| Photo format | Usually JPEG or PNG |
| Size (common formats) | 2×2 inches (U.S.), 35x45mm (EU, Asia) |
Make sure to check the specific requirements for your country or institution before submitting.
Pro Tips for a Studio-Quality Result
If you want to take it up a notch, here are a few tricks:
- Use your phone’s timer mode so you can pose calmly without rushing.
- Clean your camera lens before shooting for maximum clarity.
- Shoot during the day when natural light is soft and even.
- Edit only for brightness, contrast, and background cleanup. Never alter your appearance.
Tools like Evoto come in handy here, especially for background adjustments and sizing. It’s fast, user-friendly, and perfect for anyone who wants studio-level results without the studio.
How to Edit Your ID Photo with Evoto
Editing your ID photo at home? Evoto makes it quick and painless. With powerful tools like background replacement, cropping, and natural retouching, you can create a studio-quality ID photo in minutes—without worrying about technical skills or rejections.
Straighten Your Photo
After uploading your image, start by using the photo straighten tool. Your head and shoulders should be level, and your face should be directly facing the camera. Evoto lets you rotate and align easily so your photo meets official guidelines.
Crop to Standard Size
Next, head over to the crop tool. Choose a preset size—2×2 inches for U.S. IDs or 35x45mm for many international documents. The grid helps you position your face correctly, keeping your eyes at the required height and your head centered.
Change the Background
Didn’t have a perfect white wall? No worries. Use Evoto’s AI-powered background changer to replace your background with a clean, solid white or light gray—just like official ID photo studios do. It detects and removes cluttered or colored backgrounds in seconds while keeping your edges sharp and natural.

Retouch Gently and Naturally
Evoto’s portrait retouching tools let you brighten the image, even out skin tone, and smooth minor imperfections—all while keeping your natural look. Avoid heavy edits or beauty filters; just stick to small refinements to make your photo look polished but still realistic and compliant.
With Evoto, the entire process—from import to export—takes just a few minutes, and you’ll end up with an ID photo that looks professional, clean, and ready to be accepted anywhere.
Final Thoughts
Taking your own ID photo might feel intimidating at first, but with the right setup and a little patience, it’s totally doable. You don’t need expensive gear or technical skills—just good light, a clean background, and attention to detail.
And if you want to make things even easier, Evoto’s photo editing tools can help you crop, clean up the background, and prep your photo to meet official standards—all in a few minutes.
Ready to create a perfect ID photo from home?
Try Evoto AI Photo Editor — for effortless background removal, smart cropping, and photo cleanup. No more studio appointments, just pro results in a click.