

TL;D
- How to create double exposure without Photoshop: upload a subject, add an overlay, pick a blend mode, dial tone, export—illustrative 8–15 min/look · July 2026 · not an industry average.
- Start blend with Screen, Overlay, Soft Light, or Multiply—table first, sliders second.
- Photoshop double exposure still wins for three-plus layers, custom brushes, and in-app CMYK handoff—know the row before you promise same-day delivery.
“I can do it in Photoshop—just give me an hour per frame.”
Every wedding and fashion studio has heard that line. The couple loved a skyline-through-the-face sample. They want two album variants and a Stories crop before Friday. Your retoucher knows the double exposure Photoshop recipe: duplicate base, clip mask, Screen, hand-paint hair, merge, reopen for revision two.
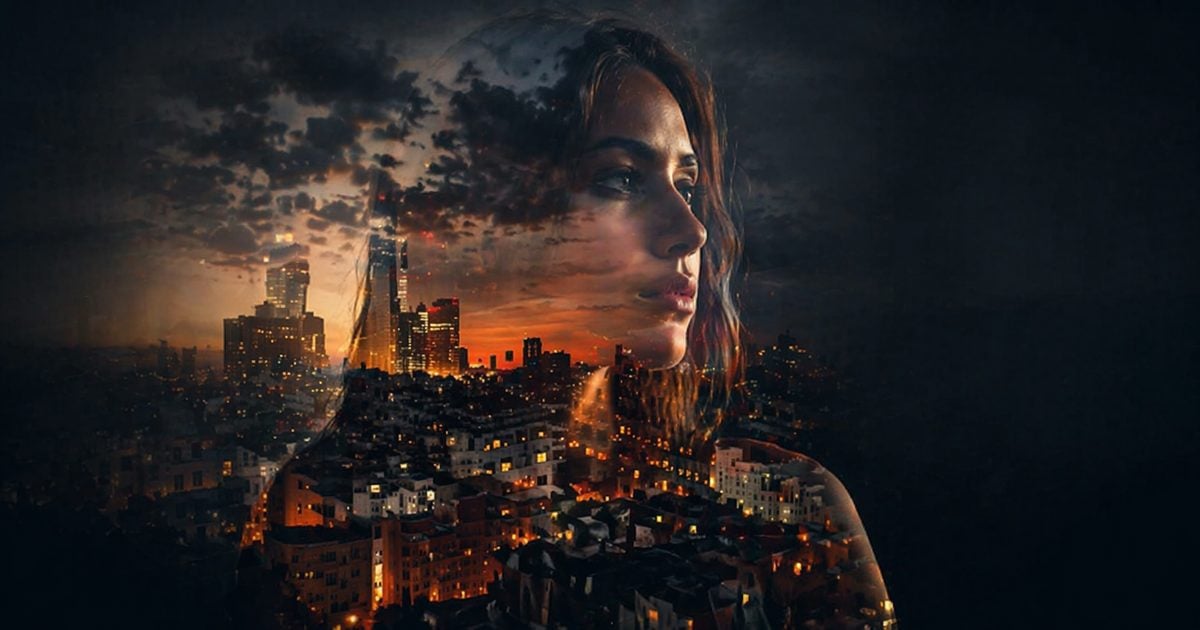
That hour-per-frame math kills peak-season margins. How to create double exposure without Photoshop is not a hobby shortcut—it is a delivery-hour path for studios (and hybrid creators) who live in Lightroom culls and need a clean two-layer silhouette look tonight.
This guide leads with the two-layer path you can run now, then shows when a classic Photoshop double exposure stack still earns its keep.
Scope gate: Two-layer silhouette art = this guide. Full background replacement with props = full scene replacement vs silhouette overlay—different feature, different minutes row.
If you already know the blend mode you want, skip ahead to the decision table. If you need the clicks in order, start here—four steps, the same path studios use when double exposure Photoshop tutorials feel too slow for Friday delivery.
Step-by-Step — Create Double Exposure without Photoshop (Two-Layer Path)
How to create double exposure without Photoshop on a clean profile or strong silhouette—four steps aligned to Evoto Double Exposure. Illustrative total: 10–14 min · July 2026.


Powerful AI Photo Editor
Step 1 — Upload a Subject Image
Open the two-layer silhouette compositing workflow. Click Upload Image and add your subject (JPG, PNG, or WebP). The canvas sizes to your file. With the mask toggle on, a default mask cutout runs so the silhouette is ready to carry texture.
Turn Mask off only if you need the full, unmasked subject file back.
Step 2 — Import an Overlay Image
Add the overlay—landscape, sky, texture, or scene. Blend modes unlock once both layers are loaded. Use Move Up if the merge reads backwards and you need to swap layer order.
Step 3 — Adjust Mask, Blend, Tone, and Layer Position
Choose Overlay, Screen, Soft Light, or Multiply. Set Opacity, then fine-tune Brightness, Exposure, and Contrast so both layers share one light story. Open Edit Mask for flyaway hair, fur, or group edges—Subject Only keeps brushwork on the detected person or animal. Drag, scale, rotate, flip, or reorder until the skyline sits where the album crop needs it.
Step 4 — Export the Double Exposure Image
Preview the finished effect. Export as JPG, WEBP, or PNG. Standard-quality exports suit mood boards and social proofs (softer than full resolution). High-resolution originals cost 1 Credit per image—use them for wedding albums and lab print files. Preview first; upgrade when the client approves.
That walkthrough is how to create double exposure without Photoshop path for the 80% case—strong subject, licensed overlay, one revision cycle.
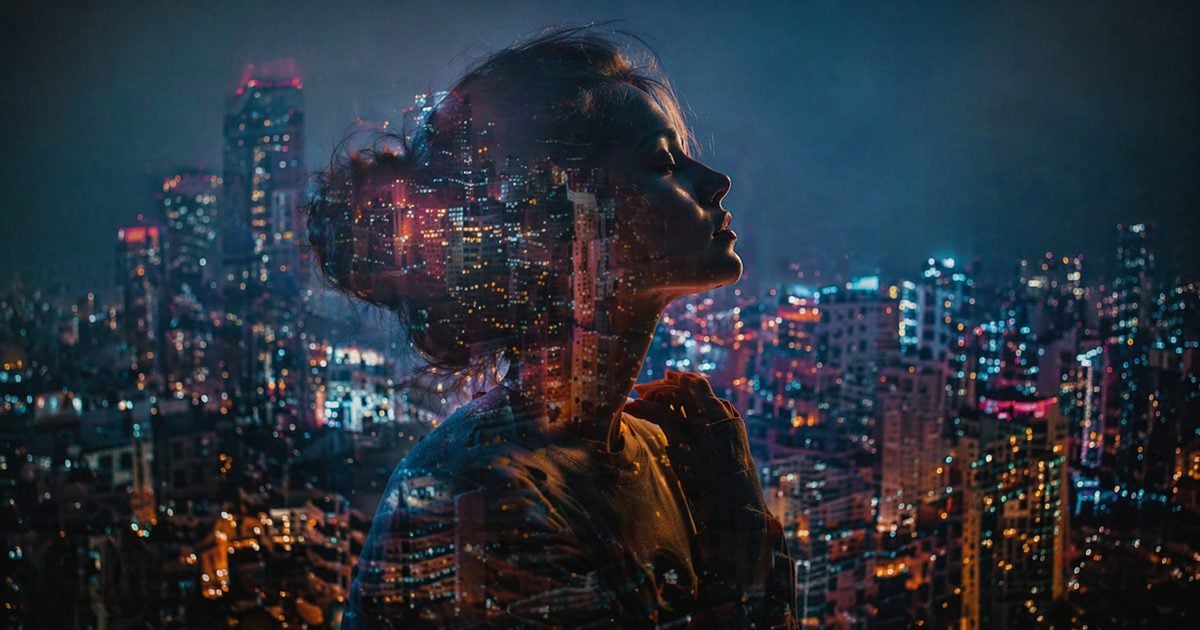
Minutes only stick if the blend row is right. Use the table below the same way you pick a LUT family—start with mode first, then Opacity and Tone.
Blend Mode Decision Table — Start Here, Not in a Forum Thread
Double exposure Photoshop threads debate Screen vs Overlay for hours. Studios need a decision row.
Order: blend mode → Opacity → Brightness / Exposure / Contrast.
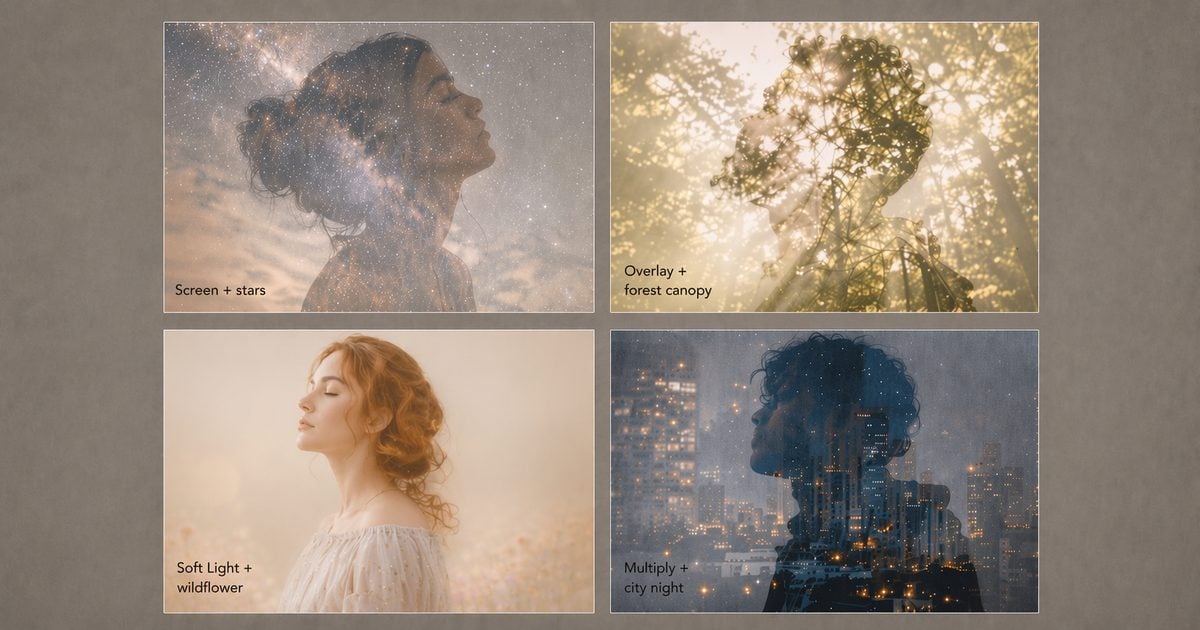
| Subject + overlay pairing | Start blend mode | Tone note | Common miss |
|---|---|---|---|
| Dark profile + bright sky/stars | Screen | Raise Exposure if lights are buried | Overlay muddies neon |
| High-contrast silhouette + forest/canopy | Overlay | Soften Contrast on skin edges | Screen blows highlights |
| Wedding couple + wildflower meadow | Soft Light | Opacity 60–75% | Multiply kills pastels |
| Profile + neon city night | Multiply | Push Contrast for poster drama | Screen loses noir edge |
Hybrid creators following a double exposure Photoshop tutorial can use the same four steps—skip the layer-stack setup, keep the blend logic. Double exposure Photoshop search intent often stops at “which mode?”—lock the row before you chase slider perfection.
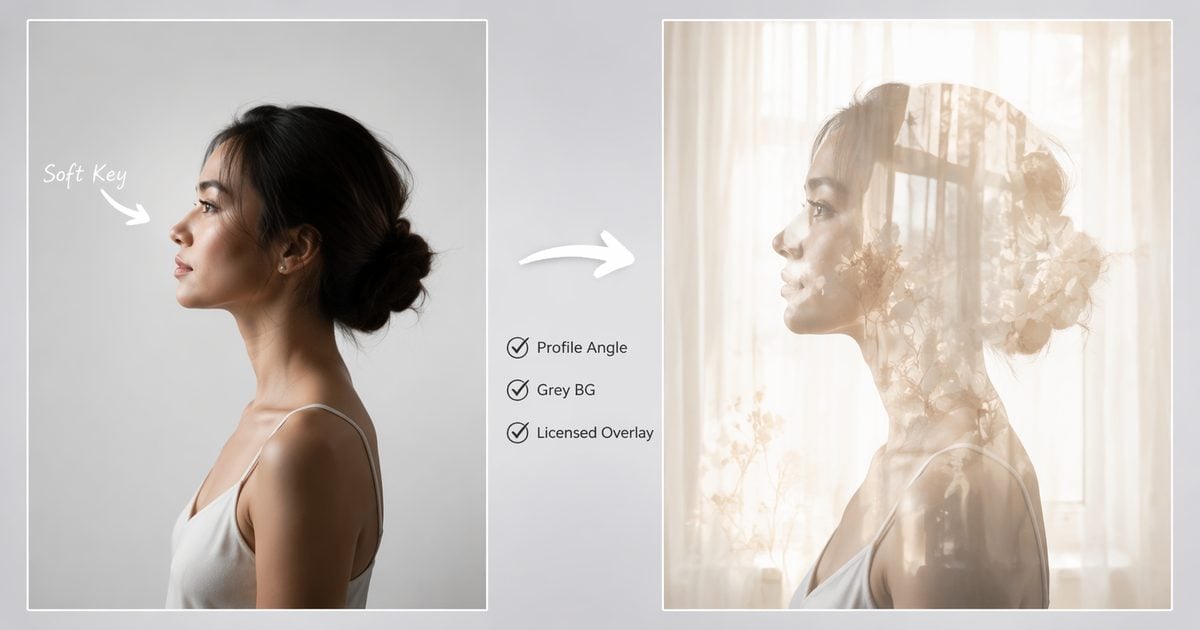
Before you open the editor, the capture has to earn the mask—same rule as any other double exposure Photoshop delivery: garbage silhouette in, amateur look out.
Capture + Asset Checklist — Before You Open Any Editor
How to create double exposure without Photoshop still fails if the silhouette is garbage.
Subject capture
- Profile, 3/4, or a front portrait with enough facial depth for texture to read (city looks can pierce a front face—plan light, not only profile)
- Grey, white, or soft seamless preferred
- Leave headroom for overlay texture—do not crop at the crown
Overlay assets
- Own or license textures—no unlicensed stadium marks in client delivery
- Match the color-temperature family to the session when you can
- Resolution ≥ subject’s long edge
Pre-blend prep
- Skin-finish heroes when Soft Light meadow is on the menu
- Export LR stills as JPG/PNG/WebP; avoid heavy vignettes you cannot undo inside two layers
Even clean capture fails open when you rush the mask. Treat the next table as your export-night loupe checklist—not a shame list.
Failure Modes — When the Two-Layer Path Looks Amateur
| Symptom | Likely cause | Recovery |
|---|---|---|
| Hair/veil halo | Busy background behind the subject | Edit Mask · Subject Only |
| Flat “paste” look | Wrong blend mode | Switch Screen ↔ Overlay; rebalance tone |
| Double-chin merge | Overlay Contrast too high | Lower Contrast; drop Opacity |
| Client says “too fake” | Wrong pairing for the couple | Re-pair—see 12 subject–texture pairings |
| Print banding/soft print | Social-tier export upscaled | Re-export high-resolution credit tier |
Before/after standard: Pores and hair texture survive at 100%. The overlay adds story, not smear. If you would not sign a 16×20, do not export.
Once the two-layer path is clear, it helps to know when a classic double exposure Photoshop stack is still the honest tool—not every brief is two layers.
PS Layer Stack vs Two-Layer Path — When Double Exposure Photoshop Still Wins
A double exposure Photoshop stack is legitimate. Adobe’s guidance on combining images with Auto Blend Layers assumes you already live inside Photoshop and own the revision loop. For a single fine-art print, that stack is fine.
For session add-ons—two looks per couple, exported tonight—the stack creates three problems:
- Revision tax. Client wants the skyline shifted 10% left. In PS, that is often mask work or a merge reopen. In a two-layer editor, drag the overlay.
- Skill concentration. One senior holds the PS recipe. Two-layer paths train across associates faster.
- Minutes drift. Self-timed Photoshop double exposure / double exposure Photoshop tutorial videos commonly land 25–45 min for a first clean result—creator estimates, not your studio SLA. Illustrative two-layer path: 8–15 min when the silhouette is already strong.
| Path | Layers | Time (reference) | Best when |
|---|---|---|---|
| PS layer stack | 2–6+ | 25–45 min · tutorial estimate | Custom brushes · CMYK · 3+ layer art |
| Two-layer editor | 2 | 8–15 min · illustrative | Wedding/fashion double exposure variants · same-day proof |
| AI scene composite | 3-layer scene | Varies | Full background swap → Fusion |
When weather kills an outdoor set, studios sometimes composite entire scenes after the fact—see our how to edit beach photos notes on skin-evening before scene work. That is a different row above.
Multiple exposure in Photoshop with three or more source frames stays in PS territory. Evoto Double Exposure supports two layers only: one subject, one overlay.
Price the add-on off your own sheet, not a YouTube length—the next table is for proposals, not ego.
Minutes-per-Look Comparison — Pricing the Add-On Honestly
| Workflow | Illustrative min/look | Revision cost | Associate-ready? |
|---|---|---|---|
| PS layer stack (skilled) | 25–45 | High · mask repaint | Usually senior |
| PS layer stack (learning) | 45–90+ | Very high | Training project |
| Two-layer path | 8–15 | Low-drag overlay | Yes, after one training pass |
| Rescue cutout + double exposure | +5–10 | Medium · Edit Mask | Yes, with QA gate |
Client script (adapt):
“Standard retouching is included. Double exposure art adds layered variants—profile merged with your chosen skyline or texture—delivered on a separate timeline. Each extra look is [rate] because blend and mask QC run per frame.”
Build look menus with the 12 subject–texture pairings matrix—pairing choice moves minutes more than blend debates. One more boundary before you leave the tool rack: collage and full-scene swaps are not the same job as double-exposure Photoshop silhouette work.
Double Exposure vs Collage vs Scene Composite — Pick the Right Tool Row
Searchers typing double exposure Photoshop sometimes want a side-by-side grid or a full scene swap. Wrong row = wrong client expectation.
| Client ask | Tool row | Why |
|---|---|---|
| Silhouette filled with sky/forest/city | Two-layer double exposure editor | Mask + blend through the subject |
| Two photos side by side, no merge | Collage/merge tool | No shared silhouette |
| Replace entire background + props | AI Background Fusion | Three-layer scene logic |
| Random AI mashup, no control | Skip | Uncontrolled output, revision hell |
State the row on intake forms so sales do not promise silhouette art from a two-up collage template.
When the tool row is correct, skin finishing still needs a place in the queue—same as any other portrait delivery week.
After the Blend — When to Chain Portrait Retouching
Skin pass before Soft Light meadow merges; after only for micro dodge on heavy Multiply neon pairs. Spot cleanup and basic finishing belong in the same production week—chain batch skin finishing before blend; do not orphan double exposure as a separate vendor.
Peak-season studios package double exposure as Good / Better / Best; export specs and approval scripts live in double exposure examples for client delivery.
If you want a simple way to stop guessing minutes, log them beside your export queue—no special template required.
How to track minutes in your existing sheet: add four columns to whatever you already use (Lightroom plugin export log, Notion, or Google Sheets):
Image ID | Blend mode | Minutes | Export tier (standard / high-res).
After ten double exposure jobs, average the Minutes column—that number is what you quote, not a YouTube tutorial length.
Double exposure Photoshop mastery is knowing when not to open Photoshop. Layer stacks still earn their keep on multi-source fine-art pieces. For two-layer silhouette delivery at album speed, run the path above first.
Try the two-layer silhouette compositing workflow on a profile test frame before you rewrite package pricing.
(Peak-season note: Built for Your Peak Season is live—Creator Growth Bundle includes five background sets for Desktop Background Replacement: Soft Studio Neutrals, Editorial Quiet Lux, Sheer Daylight Loft, Scandi Lifestyle Rooms, and Campus & Grad Milestone. Use a clean neutral plate as your subject capture when you plan a double exposure pass, then overlay your licensed texture. Volume math: Evoto pricing.)
Powerful AI Photo Editor
FAQ
1. How to create double exposure without photoshop in under 15 minutes?
Clean subject on seamless, licensed overlay, mask on upload, one blend from the table, tone sliders, one Edit Mask pass, export. Illustrative 8–15 min when capture is clean.
2. Is double exposure photoshop still required for professional delivery?
Not for two-layer silhouette art. Photoshop double exposure remains right for three-plus layers, custom brushes, and in-PS CMYK. Match tool to layer count at booking.
3. What is the difference between double exposure and AI Background Fusion?
Double Exposure merges two images through a subject silhouette. AI Background Fusion replaces the entire scene with background, subject, and optional props.
4. Which blend mode matches most wedding couple overlays?
Soft Light at 60–75% Opacity for meadow and sky. Hard neon pairs use Multiply or Screen—see the decision table.
5. Can I batch double exposure for a whole gallery?
No. Double Exposure is a single-image workflow. Folder-scale skin finishing stays on Evoto Desktop. Run double exposure on selected heroes, not 400 wedding frames in one pass.
6. Standard vs high-resolution export—which do clients get?
Standard for mood boards and proofs. High-resolution (1 Credit/image) for album spreads and lab prints. State the tier in the contract.
7. Does Evoto use my client photos to train AI—and is my data private?
Evoto’s Privacy Policy states uploads are processed for your session; content is not used to train public AI models without appropriate consent/opt-in. Trial does not require face-ID gating to explore the workflow. You keep 100% texture QC; disclose composite scope your contract requires.
8. Is AI mask cutout safe for client delivery ethics?
Default mask + Edit Mask is corrective silhouette control—not face swap or identity alteration. You own edge and texture QC. Manage “too fake” expectations with delivery scripts in the client-delivery guide.
Methodology & Author
Author: Evoto Editorial Team — portrait compositing workflow editors
Experience basis: Evoto Double Exposure How-to four-step path · illustrative 8–15 min/profile · July 2026 QC log
Market context: Adobe Auto Blend Layers documentation · Feature blend-mode scene guidance
Trust / privacy: Evoto Privacy Policy — session processing · not used to train public AI models without opt-in
Limitations: Two layers only—not three-layer scene composite; single-image double exposure workflow; minute ranges are studio illustrations, not industry medians
Last reviewed: 2026-07-16
Powerful AI Photo Editor



