

A glitch portrait turns a regular photo into something unstable, digital, retro, or surreal. It can separate RGB colors, tear the image into random sections, add black horizontal scanlines, or make the entire frame look like a corrupted signal.
This guide breaks down six glitch portrait ideas, the photos that suit them best, the mood each creates, and how to recreate the look in Evoto.
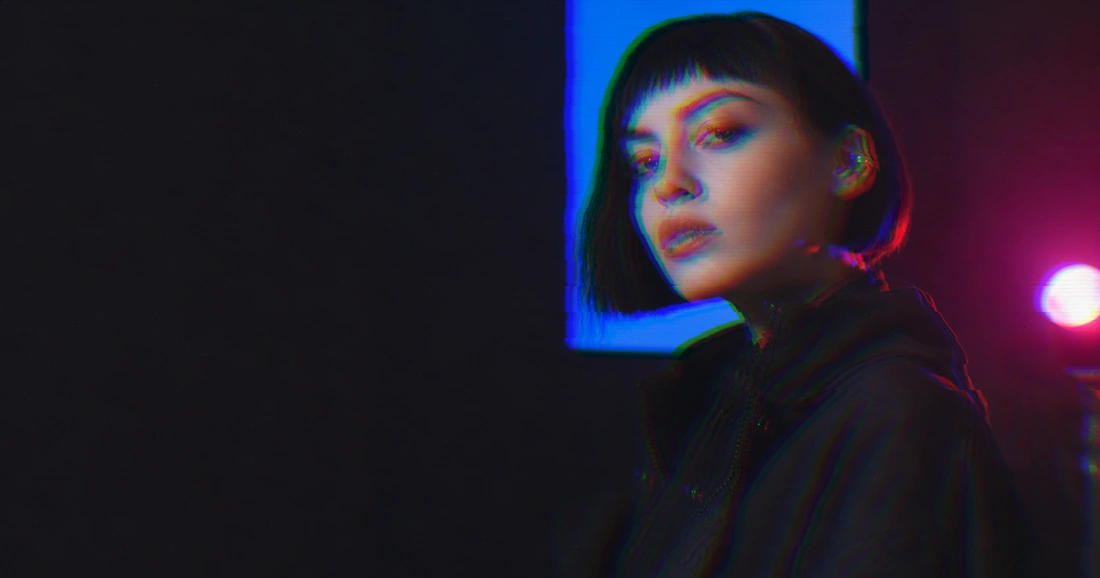
What Is a Glitch Portrait?
A glitch portrait is a portrait edited to resemble a damaged digital image, interrupted video signal, or unstable screen. RGB color separation, random image tearing, and black horizontal scanlines are three visual signals that can turn an ordinary portrait into a more expressive piece of artwork.
The strongest results begin with one clear direction. Decide whether you want a subtle digital split, a retro screen texture, a fragmented image, a neon cyberpunk mood, or an eerie distorted scene. Then use the controls that support that direction instead of turning every slider up at once.
1. Subtle RGB Split Portrait
A subtle RGB split portrait separates color channels by a small amount. Red, cyan, magenta, or blue edges appear around the face, hair, clothing, and background, giving the image a modern, slightly unstable quality.
This style suits close-up portraits, fashion images, profile photos, editorial work, and album artwork. It works best when the original photo already has clear edges around the face, hair, shoulders, or clothing.
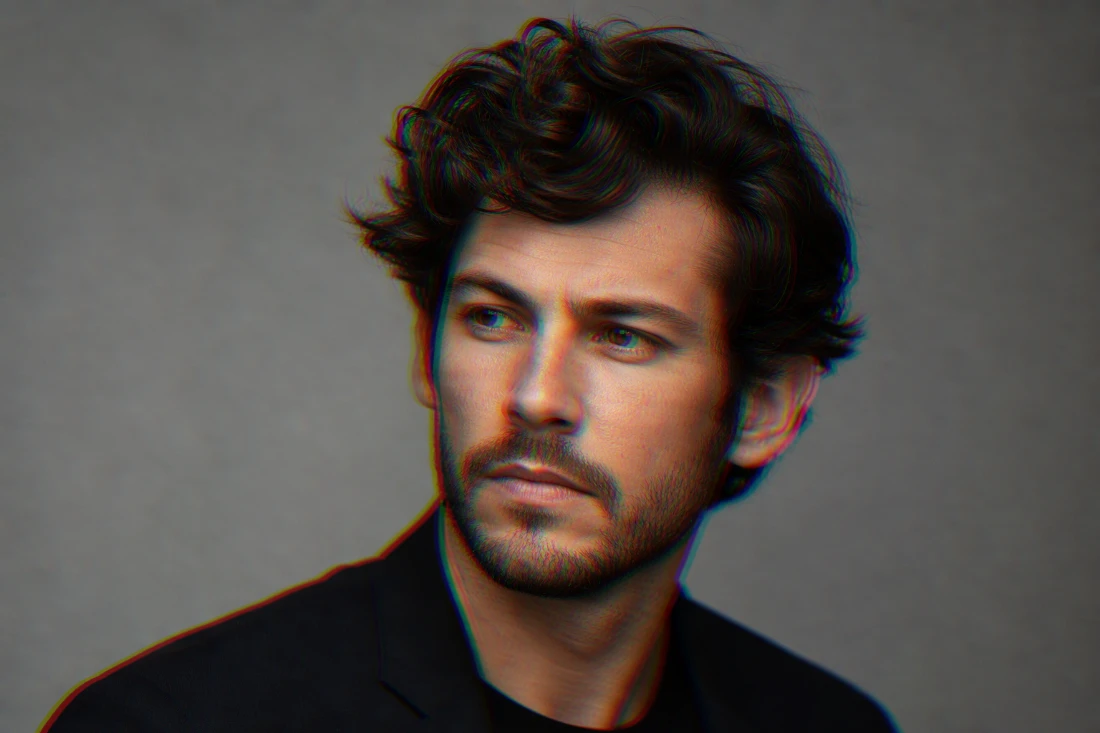
Open the image in Evoto Glitch Effect and choose the preset that gives the closest soft color-separation starting point. Keep Overall Intensity low, then raise RGB Horizontal Shift gradually. Add a small amount of RGB Vertical Shift when you want the separation to feel less uniform. Keep Jitter and Scanline low or off so color separation remains the main visual idea.
A light RGB shift feels polished and editorial. A stronger shift creates a more obvious red-and-cyan digital split. If the portrait begins to look like a generic 3D-glasses effect rather than a deliberate creative treatment, reduce the RGB shift before adding more controls.
2. VHS Scanline Portrait
A VHS scanline portrait uses black horizontal lines across the frame to suggest an old screen, interrupted playback, or degraded video footage. The lines pass over the face, clothing, and background, so they should be treated as a visible design element rather than a background texture.
This direction works well for portraits with shadows, directional light, simple backgrounds, and a moody atmosphere. It is useful for music visuals, nightlife photography, retro campaigns, and gaming-inspired graphics.
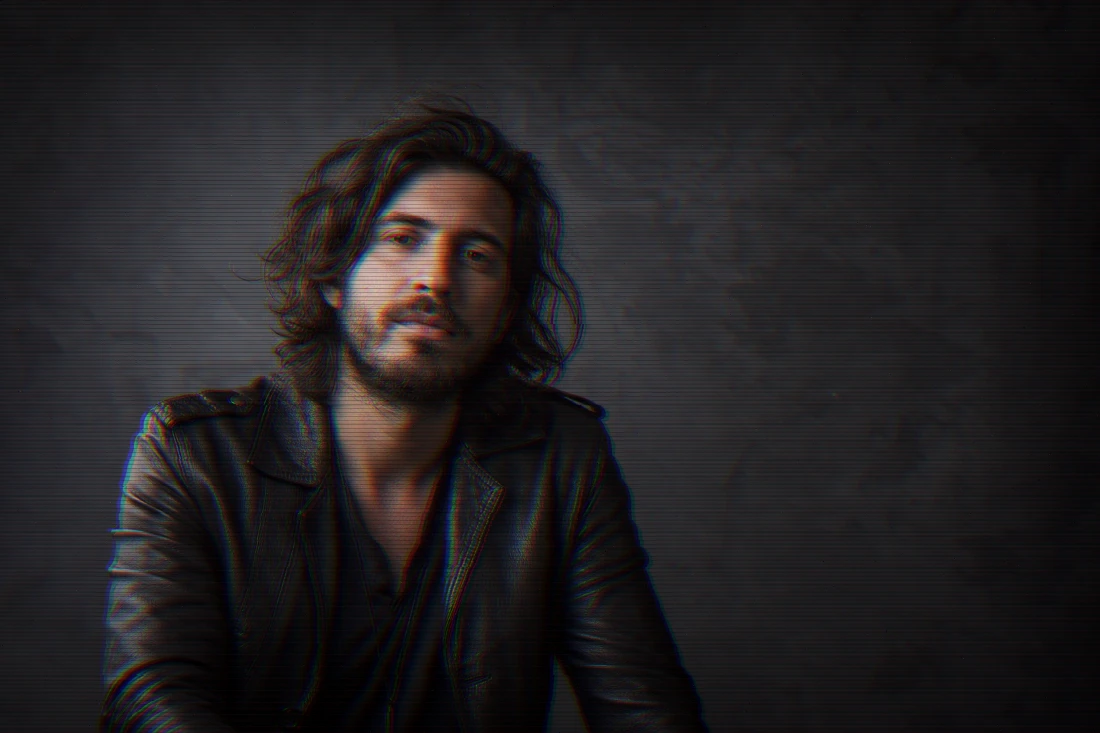
Open the image in Evoto Glitch Effect and start with the preset that feels closest to a retro screen-based look. Set Overall Intensity to a low or medium level, then increase Scanline until the black horizontal lines are clearly visible. A small RGB Horizontal Shift can add color instability, while a light amount of Jitter can make the image feel less stable.
Use Scanline as the main control for this look. Lower settings create a restrained screen texture; higher settings make the black horizontal lines a defining part of the portrait. If the lines overwhelm the intended mood, reduce Scanline or Overall Intensity and keep the effect focused on a retro-video atmosphere.
3. Tile / Pixel-Shift Portrait
A tile or pixel-shift portrait creates the visual impression that parts of the image have skipped, broken apart, or shifted out of place. In Evoto, this fractured direction comes from Jitter, which adds random tearing across the full image.
This style is especially effective on portraits with a strong silhouette, defined hair, graphic clothing, or clear contrast between the person and the background. Side-profile and fashion portraits give the random tearing more visible shapes to break through.
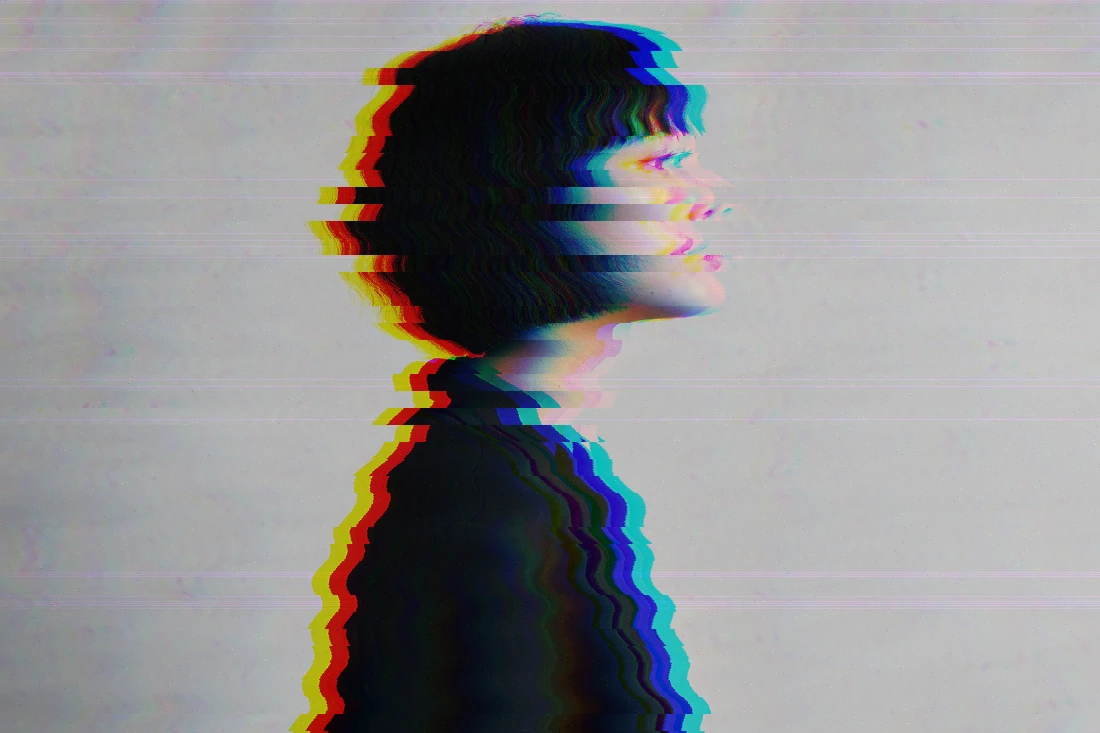
Open Evoto Glitch Effect and choose a preset with visible distortion as the starting point. Set Overall Intensity to medium, then increase Jitter gradually to introduce random image tearing. Add RGB Horizontal Shift to create color separation around the disrupted areas. Keep Scanline low or off when the torn, fragmented image is the main visual focus.
Lower Jitter gives the image a light sense of instability. Higher Jitter creates stronger random tearing over the face, hair, clothes, and background. Pair it with moderate RGB shift when you want the broken areas to look more digital and energetic.
4. Displacement Streak Portrait
A displacement streak portrait makes a photo look dragged, interrupted, or pulled sideways by a broken signal. The result is defined by horizontal movement, RGB separation, and random tearing across the frame.
Use a portrait with contrast along the jawline, hair, shoulders, clothing, or background. Images with a more active pose, directional lighting, or movement in the hair can make the glitch feel faster and more energetic.
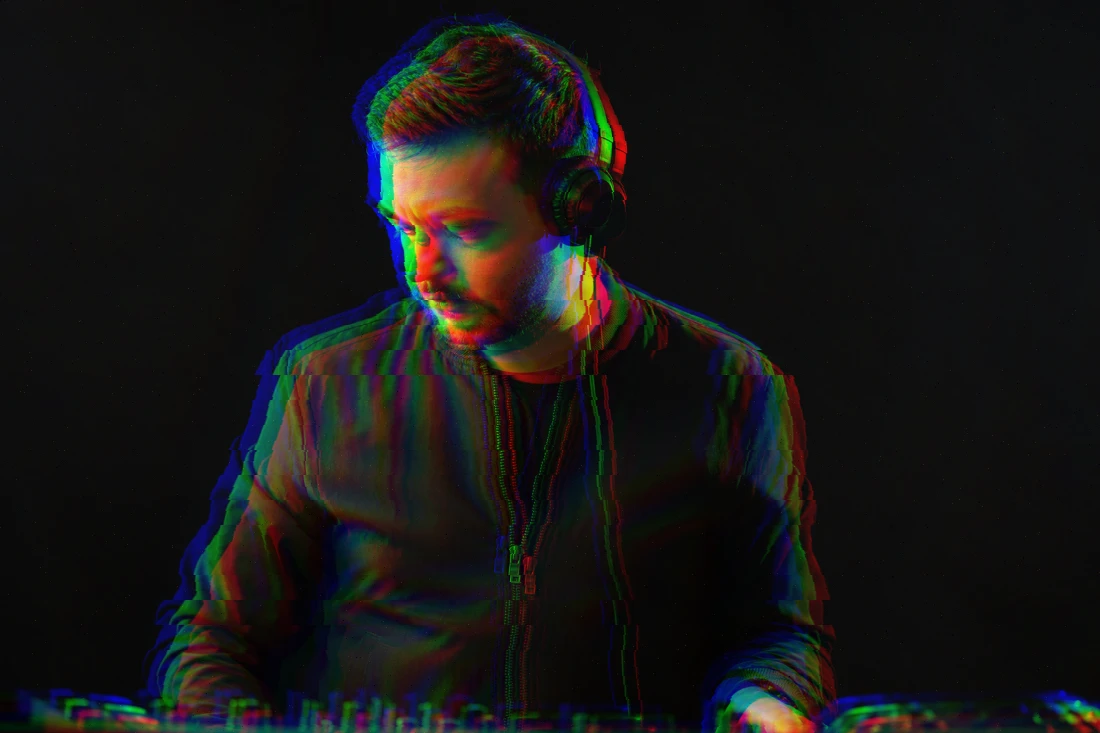
Open Evoto Glitch Effect and begin with a bolder preset. Set Overall Intensity to medium or high, then raise RGB Horizontal Shift more than RGB Vertical Shift to establish a sideways visual pull. Add Jitter to introduce random tearing throughout the image. Leave Scanline low or off when the horizontal shift and tearing should remain the dominant effect.
This direction works well for electronic music visuals, sports portraits, gaming content, and sci-fi-inspired campaign art. Use a medium treatment for a visibly broken signal; raise Overall Intensity and Jitter for an album-cover or poster-style result.


Powerful AI Photo Editor
5. Cyberpunk Color Glitch Portrait
A cyberpunk portrait combines a deliberate neon color direction with full-image glitch distortion. Cyan, blue, magenta, violet, red, or acidic green against dark shadows can make a portrait feel futuristic before any glitch control is applied.
This style suits portraits with hard light, dark backgrounds, reflective accessories, glasses, metallic styling, bold makeup, or streetwear. A clean studio portrait can also work when the original image already has a strong cyan, magenta, or high-contrast color direction.
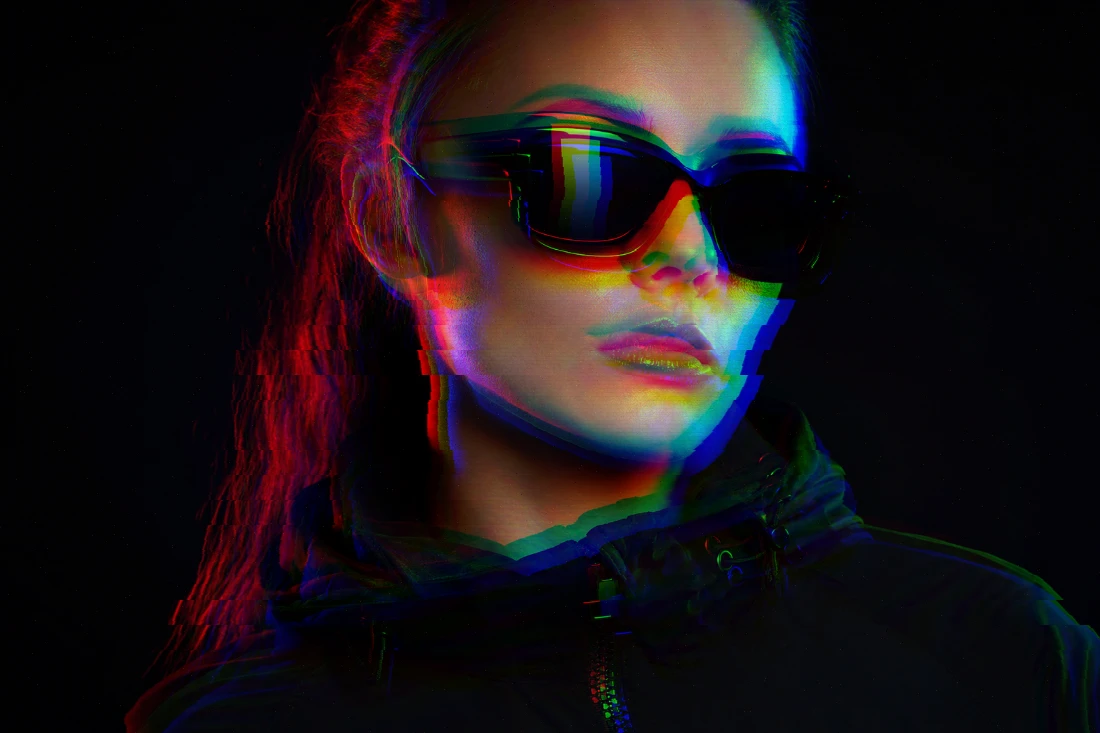
Start with a portrait that already has neon color, dark contrast, or futuristic styling. Then open it in Evoto Glitch Effect, choose a bold split or prism-like preset, and set Overall Intensity to medium. Increase RGB Horizontal Shift and RGB Vertical Shift until the color separation supports the existing palette. Add Jitter to create random tearing across the full frame. Use Scanline only when black horizontal lines belong in the final screen-based look.
Let the original color direction lead. Use RGB shift and Jitter to break up the image without making the cyan, magenta, or dark-shadow palette muddy. The glitch should make the image feel less stable, while the portrait’s lighting and color create the cyberpunk world.
6. Eerie Dreamlike Background Glitch
An eerie dreamlike background glitch begins with a quiet, unsettling setting, muted color, or surreal backdrop. A low-to-medium full-image Glitch Effect then makes the face, clothing, and background feel like they belong to the same unstable memory.
This style works well for portraits with a simple composition and visible space around the person. It fits alternative fashion, conceptual portraits, album art, and quiet horror-inspired visuals.
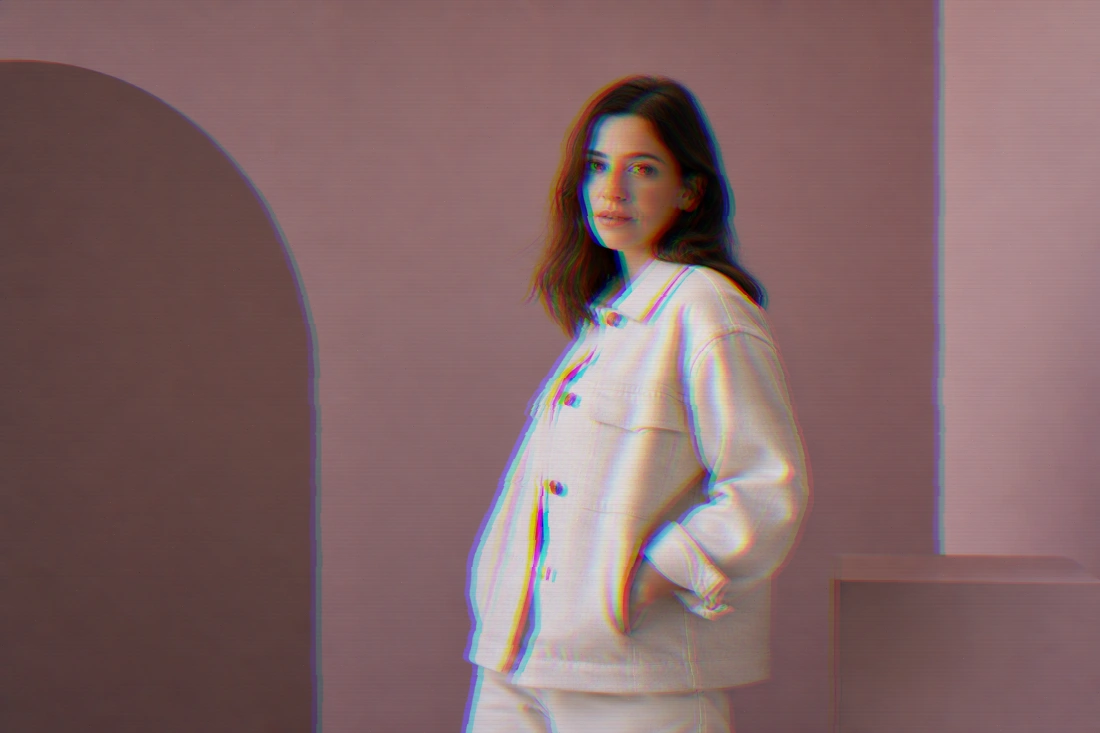
If the original setting does not fit the mood, create a darker, simpler, or more surreal scene first with Evoto Background Replacer. Open the completed image in Evoto Glitch Effect, choose a softer or retro-oriented preset, and keep Overall Intensity at a low or medium level. Add light RGB shift, restrained Jitter, and optional black horizontal Scanline.
A quieter dreamlike result usually comes from lower intensity and fewer active controls. The effect still applies across the face and the rest of the frame, but restrained RGB separation, random tearing, and scanlines can make the portrait feel strange without becoming visually chaotic.
A Simple Rule for Glitch Intensity
Use low intensity for soft RGB separation or a quieter dreamlike distortion. Use medium intensity for visible scanlines, cyberpunk color splits, or noticeable random tearing. Use high intensity for bold album covers, experimental poster art, and intentionally damaged-looking portraits.
Choose one control as the main visual signal:
- Use RGB Horizontal Shift for sideways color separation.
- Use RGB Vertical Shift for vertical color separation.
- Use Jitter for random image tearing.
- Use Scanline for black horizontal lines.
Start with one main control and one supporting control. This gives each portrait a clearer visual identity than applying every effect at maximum strength.
Create Your First Glitch Portrait in Evoto
You do not need a long workflow with duplicated layers, channels, manual slices, and texture overlays to test a glitch portrait idea. Open Evoto Glitch Effect, choose the closest preset, and adjust Overall Intensity, RGB Horizontal Shift, RGB Vertical Shift, Jitter, and Scanline until the full-image distortion matches the intended mood.
Try a subtle version, a medium version, and a bold version of the same portrait. Comparing those three versions is often the fastest way to decide whether the final image should feel polished, retro, fragmented, cyberpunk, or dreamlike.
Powerful AI Photo Editor



