

The night before delivery, an assistant dumps three “unclear” frames into one enhancement preset. One is a WhatsApp face made of tiles. One is a dance-floor smear. One is a tiny avatar stretched into a poster. All three look faker after the same button. How to make a pixelated image clear starts with triage, not another Generate.
This is not the three-method tutorial. Button paths live in how to unpixelate an image. Tool shopping lives in the JPEG artifact tools review. Here you learn which problem you actually have.
TL;DR
- Zoom to 100%. Count squares, streaks, giant pixels, or sand.
- Only one of those is pixelation. The others need different tools.
- Demo one blocky portrait in Evoto. Send blur, tiny files, and grain elsewhere.
Adobe’s page on how to fix a pixelated image starts the same way. Judge the file before you repair it. A 100% crop on a calibrated laptop is enough. Phone zoom lies. Hotel Wi-Fi previews lie. Count structure on a desktop view before you pick a tool.
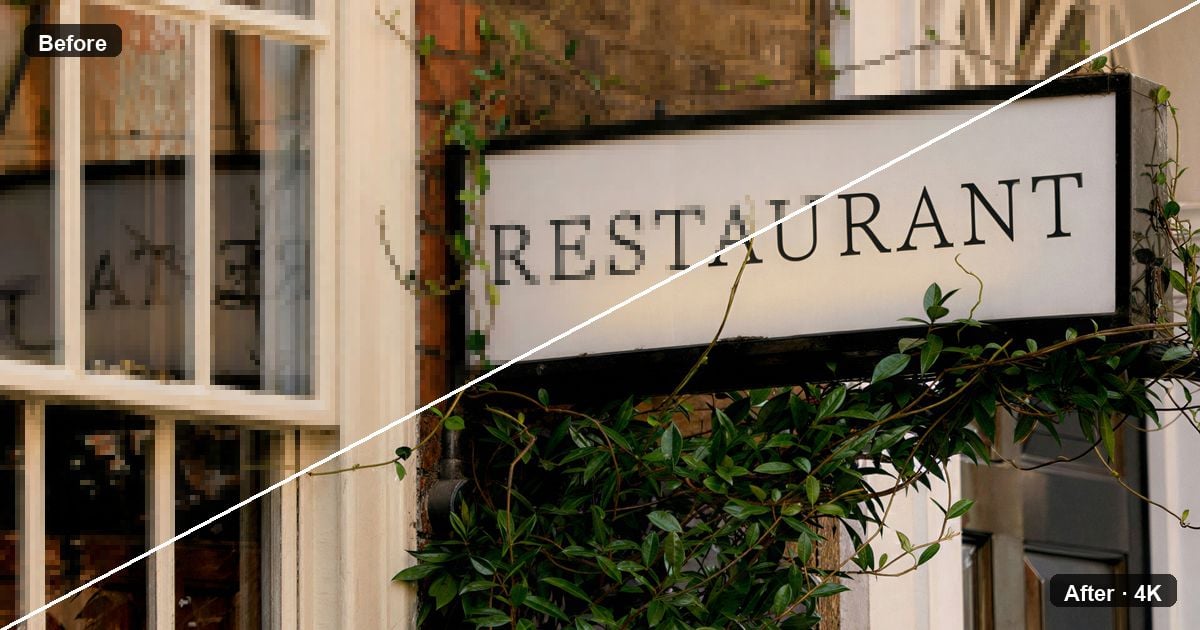
Four Looks People Call Pixelated (Only One Is)
Photographers say “pixelated” for four different messes. That slang wastes time. One crop has countable tiles. One has directional smear. One is simply tiny. One is high ISO sand. Cambridge in Colour treats noise as random sensor fluctuation. That is not an 8×8 JPEG grid.
Read the table after this paragraph. Then match your 100% crop to one row before you open a tool. A hotel-room edit on a laptop is enough. You do not need a calibrated wall. You need a crop you can count.
| What you see at 100% | Real problem | First move |
|---|---|---|
| Countable squares or mosaic edges | JPEG blocks / pixelation | Deblock / unpixelate |
| Directional streaks or a soft disk, no grid | Motion or misfocus blur | Unblur Image |
| Whole frame soft, huge color slabs, no real detail | True low res | Upscaler, with honest limits |
| Speckles, color noise, sand in shadows | Grain / noise | Color Detail / AI Denoise |
That table is the whole argument. How to make a pixelated image clear only applies to the first row. The other three rows need other tools. Forum threads often call high ISO noise “pixelation.” Believe the crop, not the slang.
If you still see squares, keep reading. If you see smear, skip to blur. If the file is tiny, skip to size. If you see sand, skip to grain.
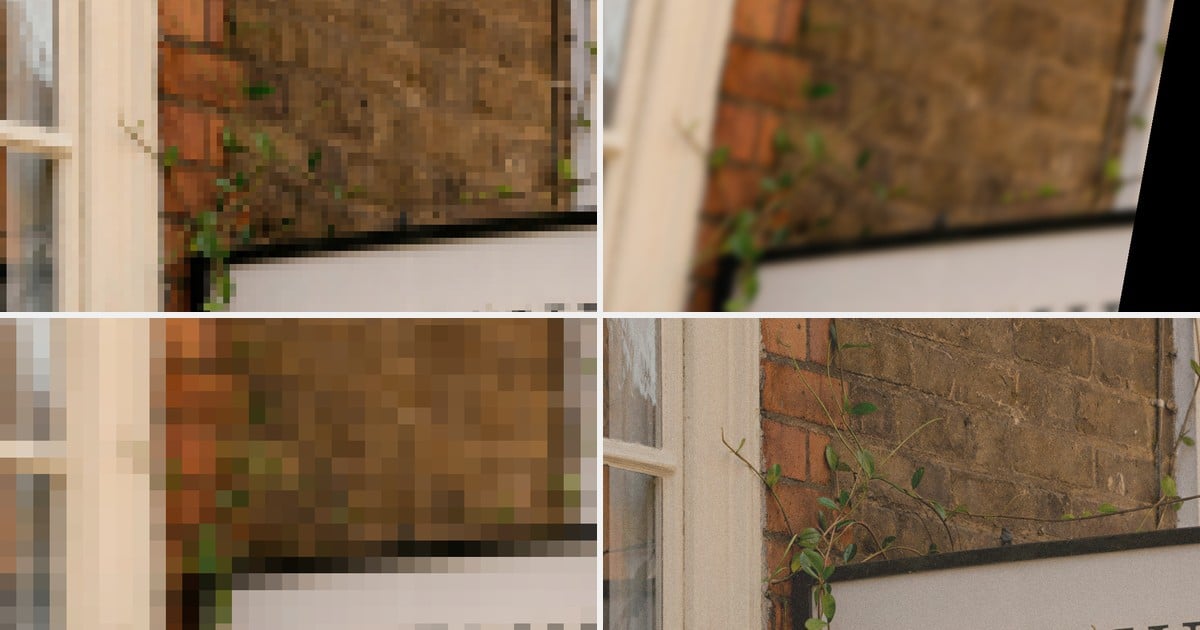
How to Make a Pixelated Image Clear If You See Squares
Squares come from JPEG’s 8×8 quantization. Photo Stack Exchange walks that format fact. Clarity does not undo it. Clarity paints a brighter rim on the same tiles. A WhatsApp size image is often this case. Chat apps compress again. Do not invent a kilobyte cap.
What Good Block Repair Looks Like
Good repair is a delivery file, not a new person. You should still recognize the sitter. Type should still be type.
Judge the crop with two short checks:
- Hair, fabric, and logos become readable. The face is still that person.
- Fail signs: white rims, plastic skin, redrawn eyes.
Those checks are the delivery bar. They are not an ad.
What to Do Next (Tips, Not a Second Tutorial)
You already know it is a grid. The next moves are decisions, not a cloned Generate tutorial.
- Re-export a master if it still exists.
- If the JPEG is all you have, use a deblock or unpixelate repair.
- Do not start with global Clarity.
- Full button paths belong in the how-to. Tool picking belongs in the shortlist.
That is enough routing. Stay here only to confirm the disease.
A second check helps when the crop is mixed. Tiles on a sky and smear on a moving hand are two diseases in one frame. Repair the grid on a still crop if the client only needs the face. Do not run one enhance across the whole messy file and hope.
If It Is Soft or Streaky: That Is Blur Territory
Drag has a direction. Misfocus looks like a disk. You cannot count a grid. Supporting searches like how to make a photo less blurry in Photoshop belong on a blur workflow. This article will not open a long Photoshop unblur lesson.
A reception photographer sees this mix every week. The first dance is smear. The sparkler exit is smear. The group-chat sneak peek is tiles. Those files cannot share one preset.
Once you are sure the crop has no tiles, use this split:
- You see streaks or a soft disk, and no squares.
- Do not run unpixelate or Detail Enhance as a guess. It invents texture.
- Do send the frame to Unblur Image.
- Do not open Lens Blur. That control adds depth-of-field haze. It does not remove motion.
Evoto Desktop does not list a separate Unblur control. Use the web Unblur Image page for smear. Do not invent a Desktop Unblur menu to fill the gap.
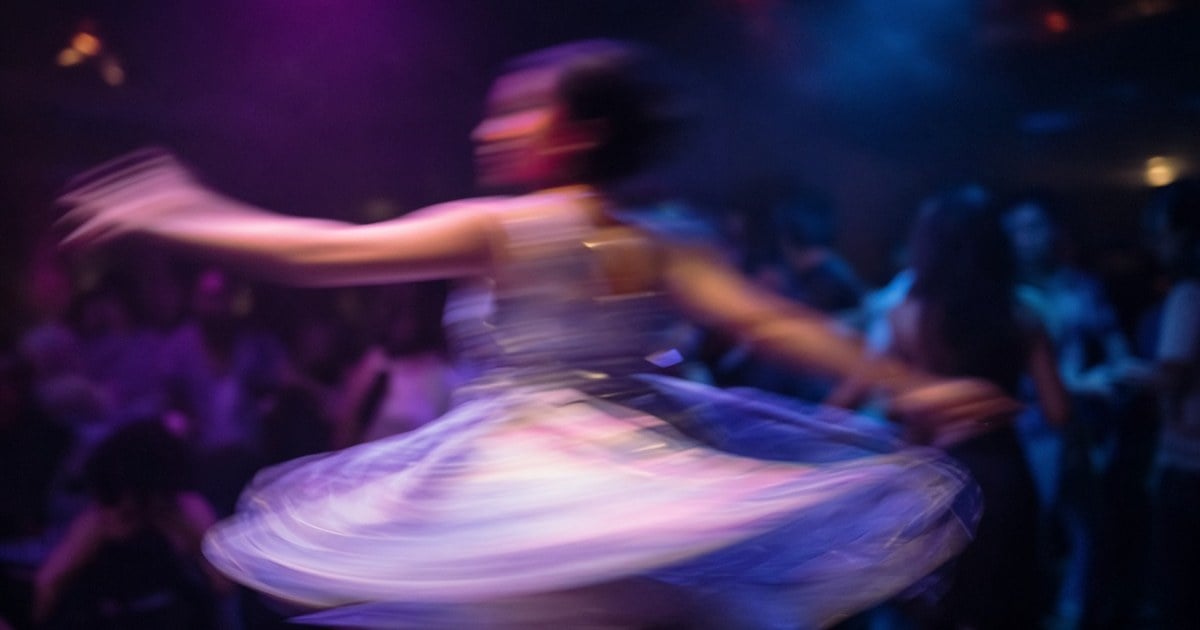
Blur and blocks are different jobs. If you came here for how to make a picture less pixelated and the crop is smear, you are in the wrong place.
A useful field test is the eyelashes. Tiles stair-step. Blur paints a fan. If you cannot decide, do not press Generate. Open Unblur on a copy, and keep the original. Compare both at 100%. The better crop wins. The worse one taught you the disease.
If the File Is Simply Tiny: Upscale Is a Different Job
A poster pulled from a tiny avatar was never detailed. You are looking at huge slabs of color, not a fine 8×8 chat grid. Searches for how to fix low-resolution photos belong on an upscale page. This article stays on diagnosis, not on enlargement.
An assistant who screenshots a thumbnail and drops it on a poster is the usual path here. The file never had eyelashes. No enhancer invents a real lash line from that.
Treat size as a budget problem:
- The long edge started small. Stretching it makes soup.
- Upscale adds pixel budget. It cannot invent an expression the camera missed.
- On Evoto Desktop, Detail Enhance can export 2K, 4K, or 6K. That is an export size on the same enhancement tool. It is not a separate enlarge app.
Send true “too small” jobs to Image Upscaler. Ask two questions in order. Are there tiles? Is the file too small? Only the second question, with no tiles, is an upscale job.
Print labs will still see soup if the source was a 400-pixel sticker. Tell the client that before you bill an enlargement. Honesty here saves a reprint fight.
If It Is Grain: Denoise Before You Accuse Pixelation
How to make photo less grainy is a different search for a reason. Grain is sand in the shadows. It is not a mosaic. Cambridge in Colour’s noise tutorial is the authority for that split. High ISO and a lift from underexposure are common causes. We will not invent an ISO number.
A gym sports hall at 6400 ISO looks sandy in the blacks. That sand is not a mosaic. If you deblock it, skin goes waxy, and the floor paint crawls.
Keep denoise on its own path:
- Cause: high ISO or a heavy lift, described in words, not fake stats.
- Path: Evoto Color “Detail” and AI Denoise. JPEG sets can batch. RAW can denoise too. Do not grind texture with a deblock tool.
- Delivery: do not stack denoise and deblock until pores vanish.
Yellowed scratches are yet another job. That is Old Photo Restoration, not this triage.
Grain, tiles, and fade can appear in one family scan. Name each one. Then pick one tool per disease.
If you denoise a tiled JPEG, you often bake the grid into mush. If you deblock a noisy RAW, you invent pores. Order matters. Denoise sand on camera files. Deblock chat JPEGs. Restore yellow scans last if all three exist.
Short Demo: Clearing a Blocky Portrait in Evoto
This is the only walkthrough on the page. The file must already show squares on a cheek or jacket. The tone is a proof pass, not a second how-to. Evoto is an AI Photo Editor.
On Desktop, open “AI Lab”, then “Enhance & Restore”, then “Detail Enhance”. That is one repair tool, not two products.
Start with the right still. Import the frame where you can already count tiles. Skip a screenshot of the JPEG. A screenshot adds another grid.
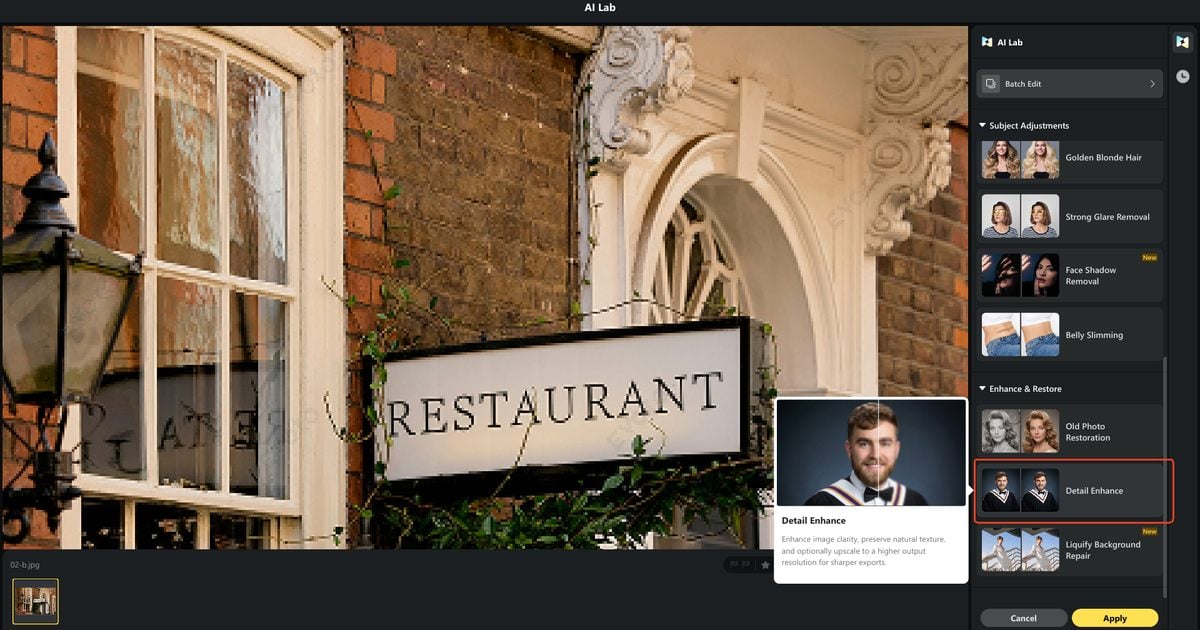
Pick a size that matches delivery. Screen work often wants 2K. Crop or print may want 4K or 6K. If the file is already large, Desktop “Resolution Upscale” includes “No Upscale”. On the web tool, pick “2K”, “4K”, or “6K” under “Output Resolution” before “Generate”. A catalog crop that will be trimmed on Amazon still needs extra pixels. A social sneak peek does not.
Generate once. At 100%, ask two questions. Is this still the same person? Can you read type? Plastic skin or new eyes means stop. A wedding guest who looks like a sibling is a fail even if the tiles are gone.
If the crop holds, export a copy labeled as a repaired delivery file. If it fails, hunt the master. Do not stack a second enhance. For a folder, download Evoto and run Desktop “AI Lab” Batch Edit with “Detail Enhance”.


Powerful AI Photo Editor
That demo is how to make a pixelated image clear on a blocky portrait only. Soft frames, tiny files, and grain do not get buttons in this section. The tool for the grid job is Unpixelate Image.
The Desktop panel is how you run that same check on a folder. The web tool is for trying one still. After you generate, judge hair and fabric at 100 percent. Do not trust the before and after slider on its own.
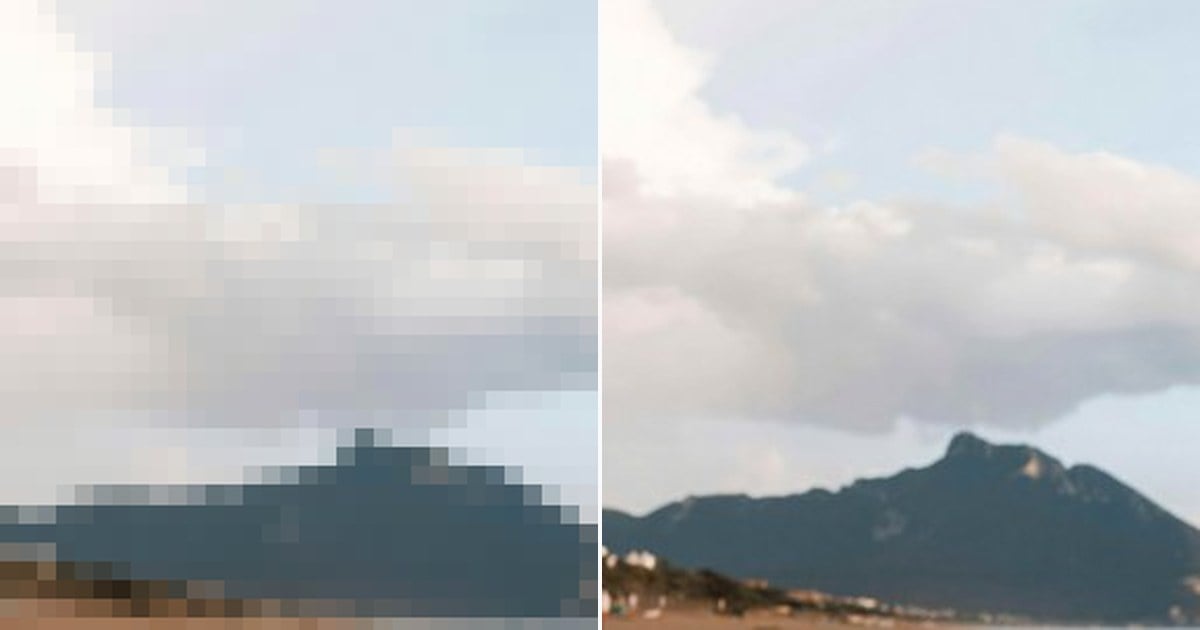
Need a RAW master instead of a chat JPEG? Evoto’s edit RAW photo guide is the cleaner start. A master export will beat any demo on this page. Use the demo only when the chat JPEG is the last file you will ever see.
Confirmed tiles, not blur? Run one blocky portrait through Evoto, pick 2K, 4K, or 6K, and proof hair at full view before you touch the rest of the set.
Pre-Delivery Triage Checklist
The four rows collapse into four questions before you upload a gallery. The checklist is a gate, not another tutorial. Use it when you still need to know how to make a pixelated image clear without guessing the disease.
Work the list in order:
- At 100%, do you see squares, streaks, a tiny file, or sand?
- Is there a master you can re-export?
- Squares go to the how-to, the shortlist, or Unpixelate Image. Smear goes to Unblur. Tiny files go to Upscaler. Grain goes to Detail Denoise. Yellow scratches go to Restoration.
- Does the final still look like the person, and did you avoid calling it the original?
Tell the client this is a repaired delivery version. Only edit files you have the right to edit. Do not repair a censored mosaic. That is a hard no.
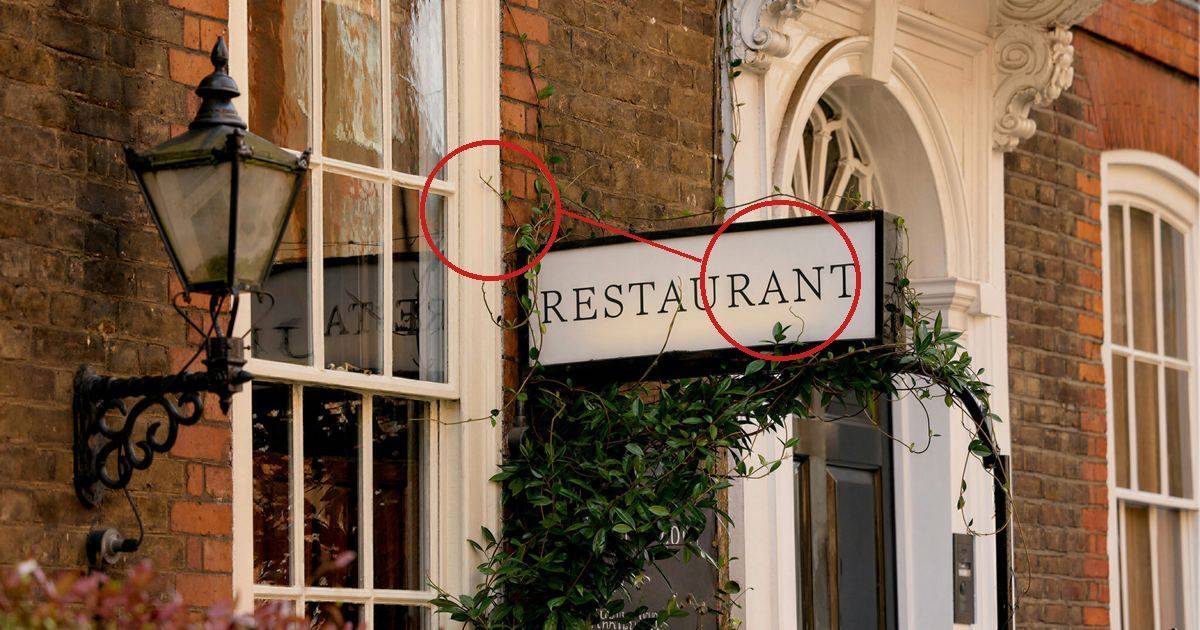
If the checklist fails twice, stop billing a repair. Ask for the master. A second enhance will not create samples the camera never saved. That honesty is part of the diagnosis, not a sales dodge.
Keep a small studio note on the job. Write “tiles,” “smear,” “tiny,” or “sand” next to the filename. The next editor on the set should not guess. That note also stops you from running Friday’s preset on Monday’s different disease. A shared spreadsheet column is enough. You do not need a new app for the label. Put the note in the same place you track retouch status so nobody misses it.
If two people edit the same gallery, agree on the four words first. Mixed slang is how smear files get deblocked by accident.
Powerful AI Photo Editor
Bottom Line: Diagnose, Then Repair One Disease
How to make a pixelated image clear is a diagnosis first. Count the squares. If they are not there, you do not have pixelation. Blur, tiny files, and grain each have their own tool. Evoto Detail Enhance is the blocky-portrait demo. Proof the face. Label the export honestly.
If the crop is tiles, repair that job next. Use Evoto for one still, then batch the rest in Desktop Detail Enhance only after the face still looks like the sitter.
FAQ
1. How Do I Make a Pixelated Image Clear If I Am Not Sure What I Am Seeing?
Zoom to 100%. Match the crop to the four-row table. Only countable squares use a deblock path.
2. Pixelated Versus Blurry: Which Tool Should I Open First?
Open Unpixelate tools for a grid. Open Unblur for smear with no grid. Do not run both as a guess.
3. When Should I Unpixelate Versus Unblur Versus Upscale Versus Denoise?
Tiles: deblock. Soft streaks: unblur. Tiny file, no tiles: upscale. Sand in shadows: denoise.
4. The File Is a Chat JPEG and Also Tiny. Which Job Do I Treat First?
Look for tiles first. If both problems exist, deblock, then decide whether size still fails.
5. Evoto Web or Desktop After I Confirm the File Is Blocky?
Web is one still at 2K, 4K, or 6K. Desktop Batch Edit plus Detail Enhance is a folder. Use No Upscale when size is already fine.
6. Do I Need Old Photo Restoration If the Scan Is Yellow but Not Blocky?
Yes, that is restoration. Yellow and scratches are not pixelation.
7. Are My Uploads Handled Securely, and Does Evoto Train AI on My Photos?
Uploads are processed on encrypted servers. Evoto does not use your photos to train AI models. Running a repair is not the same as training.
8. How Should I Disclose an AI-Repaired File So I Do Not Overclaim the Original Capture?
Call it a repaired delivery file. Show a 100% crop. Do not call it the camera original.
9. Can I Unpixelate a Censored Mosaic or Privacy Blur?
No. These tools repair compression tiles on files you have the right to edit. They do not unlock mosaics.
10. Is It Ethical to Run a Guest’s Face Through Repair Tools Without Saying So?
No. Ask, disclose, and keep human QC on identity.
11. Grainy Versus Pixelated: Is Denoise the Same Job?
No. Denoise is for sand. Deblock is for 8×8 tiles. Mixing them destroys texture.
12. How to Fix Low Resolution Photos Versus Pixelation?
Low res is missing detail. Pixelation is a visible grid. Send low-res to an image upscaler. Do not treat a tiny file as the same job as a tiled JPEG.
Methodology & Author
Author: Evoto Editorial Team, portrait and event workflow editors
Experience basis: 100 percent crop triage across blocky JPEGs, motion blur, tiny files, and grain. Evoto Web output sizes and Desktop AI Lab Detail Enhance / Batch Edit checked against the Unpixelate Image how-to, Color Detail AI Denoise, and Old Photo Restoration. No invented timing or volume claims.
Sources: Adobe Fix a pixelated image, Photo Stack Exchange JPEG artifacts (19270), Cambridge in Colour Image Noise, Evoto product how-tos
Limitations: Unblur is a web tool. Desktop does not list a matching Unblur control. This page does not teach mosaic reversal.
Last reviewed: 2026-10-29