

Harsh sunlight is not automatically bad light. It is unforgiving light.
It shows every weak decision quickly: a subject staring into the sun, eye sockets going dark, skin highlights clipping, white clothing losing detail, and a background that looks better than the person standing in front of it.
Good harsh sunlight portraits come from making one decision early. Are you going to soften the light, control it from behind the subject, or lean into the hard light as a deliberate style? Trying to do all three at once usually produces the worst result: strained eyes, messy shadows, and an edit that has to work too hard.
This guide is for photographers who need usable outdoor portraits when the sun is high, bright, and not doing you any favors.
Judge the Face Before the Location
The fastest way to ruin a harsh sunlight portrait is to commit to the background before checking the face.
A wall, beach, street corner, or overlook may look strong in camera, but the portrait still depends on the subject’s eyes, expression, and skin. If the person is squinting or tightening their face, the location is already costing you the image.
Before you start posing, check these points:
- Are both eyes open and readable?
- Is the brow casting a heavy shadow?
- Are cheek, nose, forehead, or shoulder highlights clipping?
- Is the subject turning away from the brightest part of the light?
- Is the background worth the exposure problem it creates?
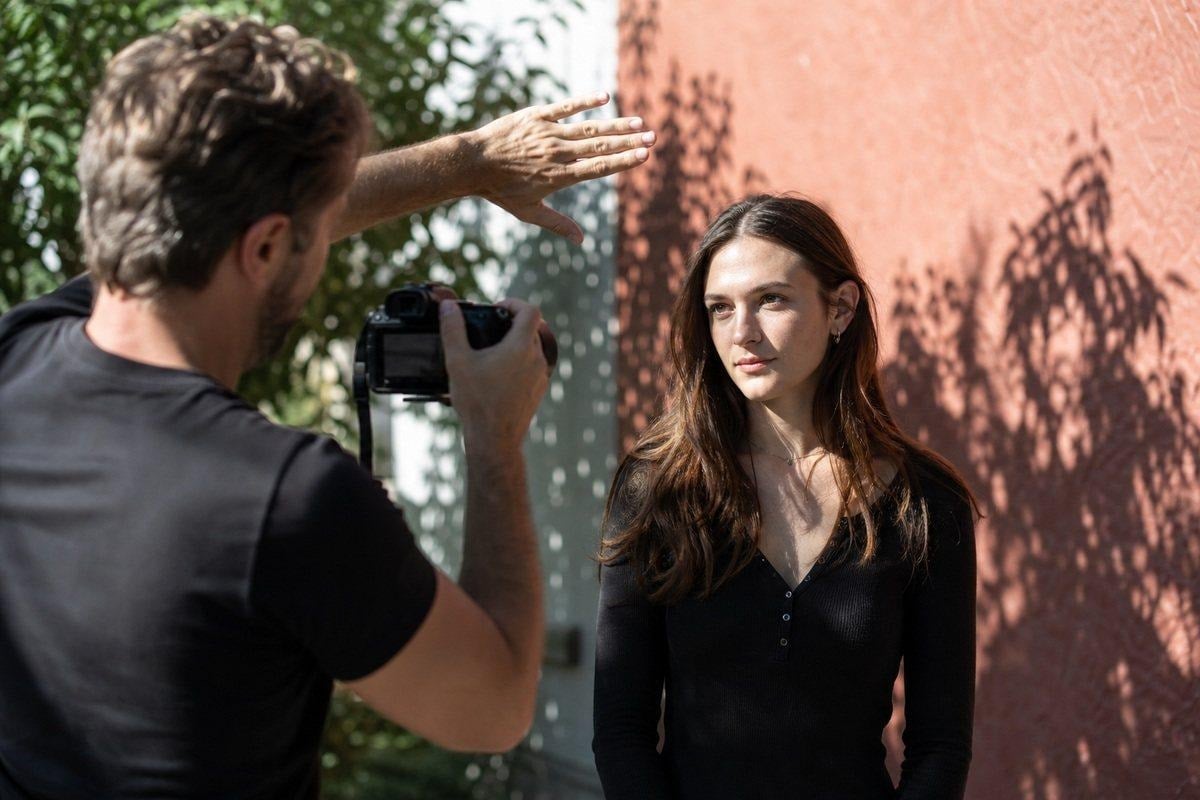
This is a practical shooting habit, not a theory exercise. If the face is not working, change the position first. Move the subject. Change your angle. Use shade. Turn the sun behind them. Do not waste ten frames trying to pose through bad light.
Use Open Shade as the First Fix
Open shade is the cleanest solution for most harsh sunlight portraits.
The goal is not to hide the subject in a dark corner. The goal is to remove direct sun from the face while keeping enough bounce in front of the subject to hold eye detail and skin tone.
Good open shade can come from:
- the shadow side of a building
- a porch, awning, or overhang
- the shaded side of a street
- a wall just outside the direct sun
- a beach umbrella or tent
- a covered walkway
- a tree line with even shade
The best version has a bright surface nearby. Pale pavement, sand, concrete, a white wall, or light stone can bounce light back into the face. That fill keeps open shade from turning flat or muddy.
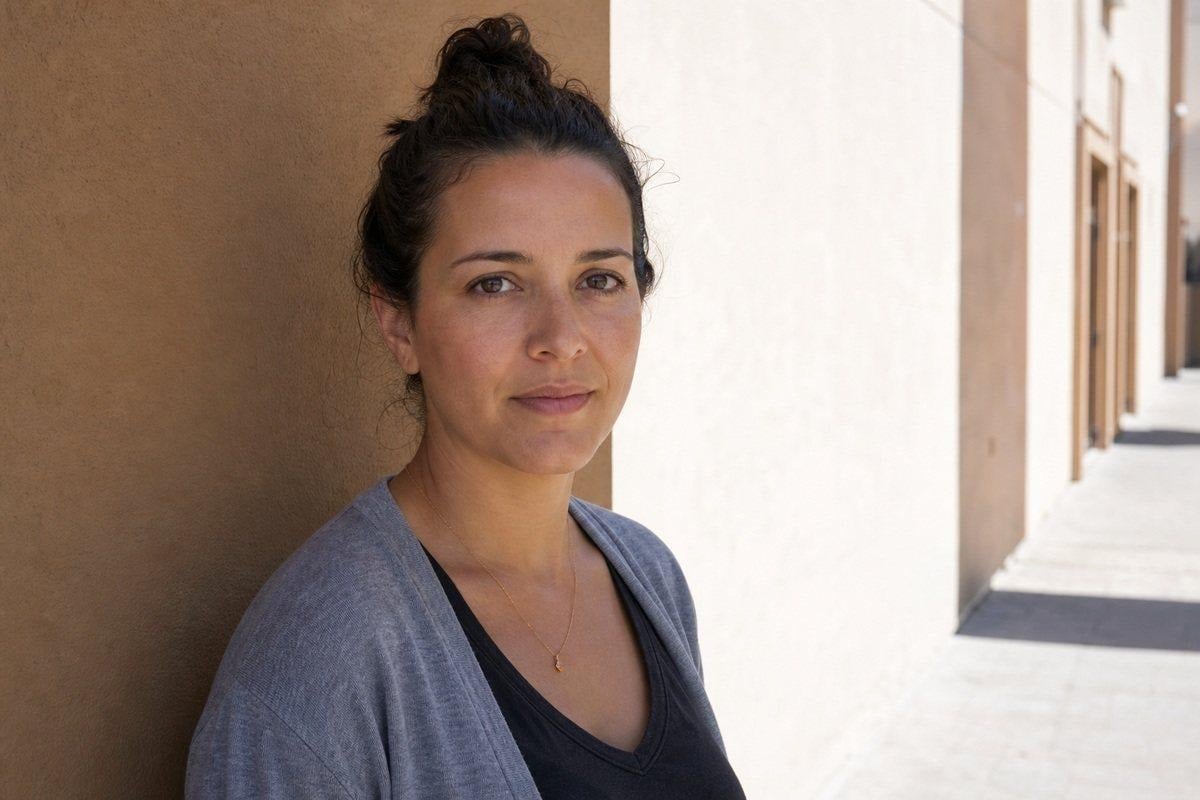
Watch for broken shade. Tree light that looks pleasant to the eye can create small hot spots across the face, arms, and clothing. If you see patchy highlights on skin, move the subject a few feet or tighten the crop until the face is clean.
For client portraits, headshots, family portraits, and commercial lifestyle work, open shade is usually the safest first move. It gives you relaxed eyes, softer skin transitions, and files that edit more predictably.
Turn Harsh Sun Into Backlight
When shade is limited, put the sun behind the subject.
Backlight solves one major problem immediately: the subject no longer has to stare into the brightest part of the scene. It also adds separation around hair, shoulders, and clothing. The tradeoff is exposure control. The background may get bright, flare may lower contrast, and the face can fall too dark if you do not add fill or adjust your angle.
For stronger backlit portraits:
- expose for the face first
- watch the rim light on hair and shoulders
- block the sun with the subject, a tree, or a building edge
- use a lens hood when flare starts washing out contrast
- keep the background simpler than you normally would
- look for natural fill from pale ground, sand, concrete, or walls

Backlight should not turn every frame into a silhouette unless that is the intention. If the face is too dark, change the angle before lifting shadows too aggressively in post. A small shift toward brighter ground or a lighter wall can do more than a heavy edit later.
Keep the Subject Out of Direct Eye-Level Sun
Most subjects cannot hold a natural expression while looking into hard sun.
They squint. Their forehead tightens. Their mouth changes. Their posture stiffens. Even if the file is sharp and exposed well, the portrait can still feel uncomfortable.
Use small adjustments:
- turn the face slightly away from the sun
- rotate the body first, then refine the chin
- place the sun behind one shoulder
- ask the subject to look just past the camera
- use sunglasses only when they fit the purpose of the frame
- let the subject close their eyes between short bursts
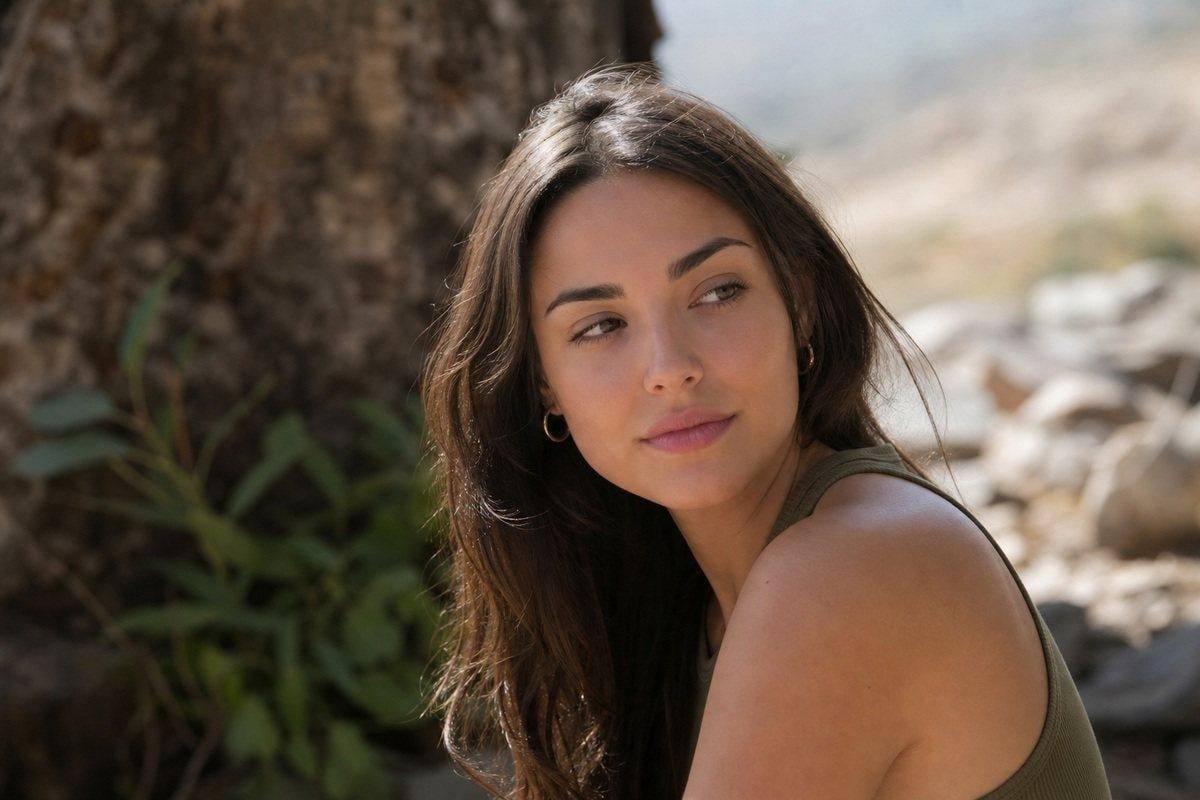
Short cues work better than long explanations in bright light:
- “Turn your face out of the sun.”
- “Look just past my shoulder.”
- “Lower your chin a little.”
- “Relax your forehead.”
- “Keep your eyes closed until I count you in.”
That last cue is useful when you have no choice but to make a frame in bright light. Let the subject rest their eyes, count them in, shoot one or two frames, then reset. Do not ask them to hold discomfort while you fine-tune everything else.
Expose for Skin, Then Protect the Rest
Harsh sunlight creates a metering problem because the scene often has extreme contrast.
The camera may protect the bright background and leave the face underexposed. Or it may open up for the face and blow out skin, white clothing, pavement, sand, or water. Either way, the portrait has to be judged by the person first.
Pay attention to:
- cheek and forehead highlights
- nose and shoulder highlights
- white shirts, dresses, and reflective fabrics
- hair rim light
- bright pavement, sand, or water
- dark eye sockets
If you shoot RAW, protect skin texture. Slightly bright skin can often be refined. clipped skin usually cannot. Once the highlight is gone, the edit has very little to work with.
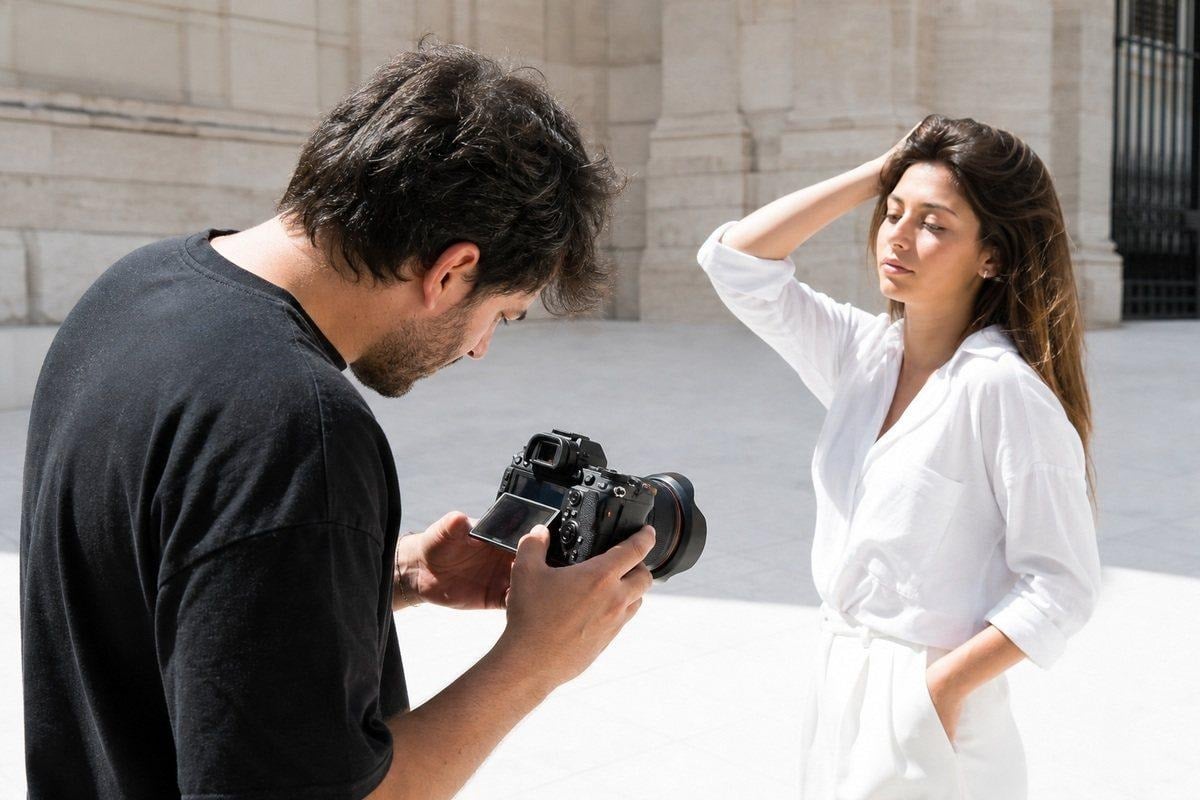
Use exposure compensation or manual exposure when the meter is being fooled. In backlight, the camera may underexpose the face. In direct sun against a darker background, it may overexpose skin. Check the histogram, but do not let it replace the real test: does the face still hold tone and texture?
For a fast session, pick a hero frame in each lighting setup and lock your exposure around that. Do not allow every small background change to drag the skin tone around.
Let Hard Light Be Hard When It Fits the Brief
Some portraits are stronger because the light is hard.
Direct sun can work for fashion, editorial portraits, athletic portraits, street portraits, travel work, and bolder personal branding. In those cases, you are not trying to hide the sun. You are designing around it.
Hard light works best when the frame is disciplined:
- one clear subject
- one strong shadow idea
- one dominant color relationship
- clean edges
- controlled skin highlights
- deliberate body angle
- no accidental clutter competing with the shadow

The mistake is keeping a subject in direct sun while still expecting the softness of open shade. If the client needs flattering, relaxed, face-first portraits, move to shade or backlight. If the brief can support contrast, geometry, and attitude, let the hard light show.
Harsh light is not a flaw by itself. Uncontrolled harsh light is the problem.
Simplify the Background Before It Becomes an Edit Problem
Strong sun already adds contrast. A noisy background adds another layer of visual competition.
Before you shoot, scan for:
- bright signs
- white cars
- patchy tree light
- hard horizon lines through the head or neck
- neon clothing or umbrellas in the background
- reflective pavement or water
- poles, branches, or edges cutting into the face
Move first. A few steps left or right can place the subject against a cleaner wall, hide a bright object, lower a horizon, or remove a distracting line near the head.
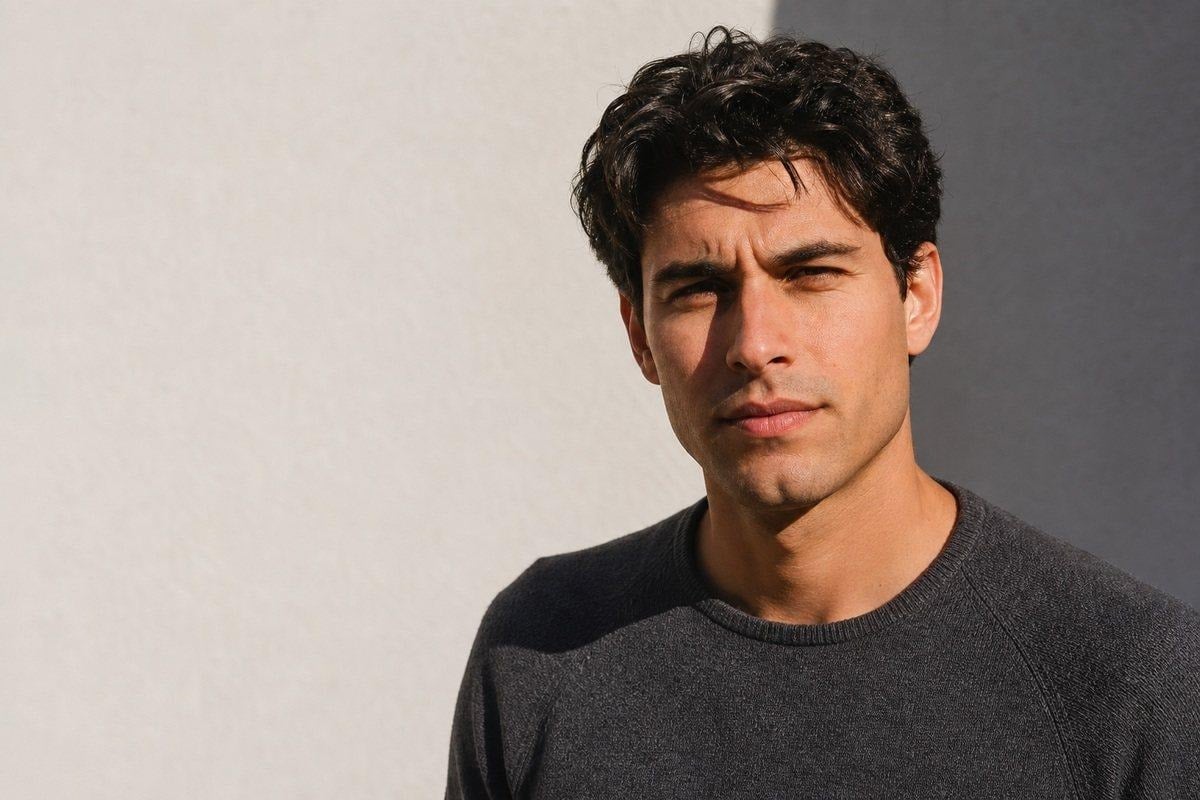
If the background still competes, use a longer focal length, move closer, open the aperture, or crop tighter. The goal is not to remove the environment. The goal is to make sure the viewer reads the face and expression before anything else.
Edit Harsh Sunlight Portraits With Restraint
Harsh sunlight files usually need careful correction, not heavy rescue.
Common problems include:
- orange skin from adding too much warmth
- green skin from grass bounce
- blue shadows from open shade
- clipped highlights on cheeks, shoulders, or clothing
- contrast that exaggerates texture
- skin smoothing that removes real detail
Start with the base file:
- set white balance before applying style
- recover highlights where the data still exists
- lift face shadows without flattening the portrait
- keep skin tone believable before pushing background color
- reduce shine without blurring texture
- clean small distractions near the face and frame edges
For a deeper color refresher, see White Balance in Photography: What It Is and How to Adjust It.


Powerful AI Photo Editor
Once the base correction is stable, Evoto can support the finishing stage. Camera RAW Editor is useful when harsh light files need exposure, highlight, and white-balance control before creative styling. For close portraits, Portrait Retouching fits the final pass because the goal is light skin polish while preserving natural texture. If one session includes open shade, direct sun, backlight, and golden hour, AI Color Match can help keep the selected portraits from drifting too far apart.
Keep the final look believable. A harsh sunlight portrait can keep contrast, edge, and direction. It should not look like the skin was rebuilt or the light came from a different scene.

Harsh Sunlight Portrait Checklist
Before shooting:
- Is the subject squinting?
- Are both eyes readable?
- Is direct sun hitting the face?
- Is open shade close enough to use?
- Can the sun work as backlight instead?
- Is the background worth the lighting problem?
While shooting:
- Expose for skin first
- Watch cheek, forehead, shoulder, and clothing highlights
- Keep the subject from staring into the sun
- Use short cues and quick frames when the light is uncomfortable
- Simplify the background before posing
- Check for color bounce from grass, sand, pavement, or walls
Before delivery:
- Does the skin still look natural?
- Are recoverable highlights controlled?
- Did warmth push skin orange?
- Did shade or grass create green or blue casts?
- Is retouching preserving real texture?
- Does the set match across open shade, direct sun, and backlight?
Final Thoughts
Learning how to take better portraits in harsh sunlight is less about finding perfect conditions and more about making cleaner decisions under pressure.
Move the face out of bad light when you can. Use backlight when shade is limited. Turn the subject away from direct sun. Expose for skin. Keep the background quiet. Use hard light only when the portrait is meant to feel hard.
The goal is not to make every outdoor portrait look soft. The goal is to know when to soften the light, when to control it, and when to let harsh sun become part of the photograph.
Try Evoto AI Photo Editor
Retouch photos with Evoto AI and make your photos best! Available on Windows, MacOS and iPadOS.



