

Indoor portraits without flash usually fail for a simple reason: the room looks bright to your eyes, but the face is not in usable light.
A living room can feel soft and inviting while the subject stands three meters from the window in muddy, mixed light. Lamps add orange. Overhead bulbs flatten the face. Shadows under the eyes go dead. ISO climbs. The background starts competing. Flash would solve some of that quickly, but it is not always welcome in homes, branding sessions, lifestyle portraits, or quiet family work.
You do not need flash to make strong indoor portraits. You need the face in clean light, controlled color, protected shutter speed, and a quiet background.
Start With the Window, Not the Room
The window is your key light.
Everything else in the room is secondary. If the subject is too far from the window, no camera setting will invent clean portrait light. Move the person to the light before you start posing, styling, or worrying about the background.
Good indoor window setups usually look like this:
- subject within one to two meters of the window
- face turned toward the brightest part of the opening
- body slightly angled, not flat to the glass
- photographer standing parallel to the window wall or just inside the room
- background deeper into the room, not brighter than the face

Large north-facing windows, sheer curtains, and overcast days are forgiving. Direct sun through glass can work, but it becomes hard and patchy. If hard sun hits the face, move the subject to the edge of the light, pull a sheer curtain across, or wait for softer sky.
Turn the Face Into the Light
Placement is only half the job. Direction decides whether the portrait looks dimensional or flat.
Front-on window light can look clean, but it often flattens cheekbones and jawline. Side light from a window creates shape. The risk is losing the far eye. Turn the face until both eyes still catch light, then refine the chin and shoulder.
Check quickly:
- Are both eyes readable?
- Is one side of the nose casting a hard shadow across the cheek?
- Are catchlights present?
- Is the neck disappearing into darkness?
- Does the subject look strained from facing too hard into the light?
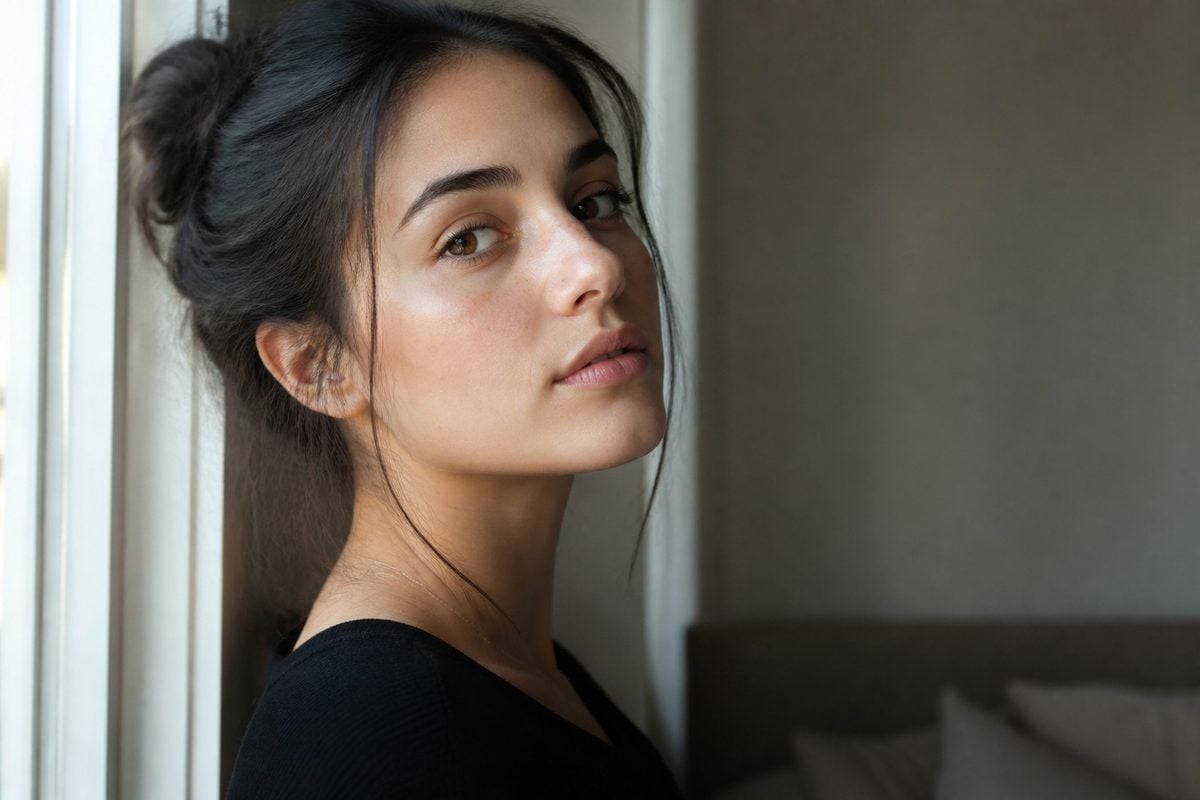
Short cues work better than technical explanations:
- “Turn your face toward the window a little.”
- “Bring your chin down.”
- “Look past the curtain, not at the floor.”
- “Keep your shoulders where they are. Just turn your face.”
Control Mixed Light Before You Shoot
Indoor color casts ruin skin faster than soft light can save it.
A cool window and a warm table lamp in the same frame create a messy white balance problem. The camera may neutralize one source and leave the other looking wrong. Skin can go orange on one side and blue on the other.
Before you shoot:
- turn off nearby warm lamps when possible
- close doors that leak mixed room light
- move the subject away from colored walls that bounce into the face
- watch green or yellow spill from plants, paint, or furniture
- choose one dominant light source and build around it
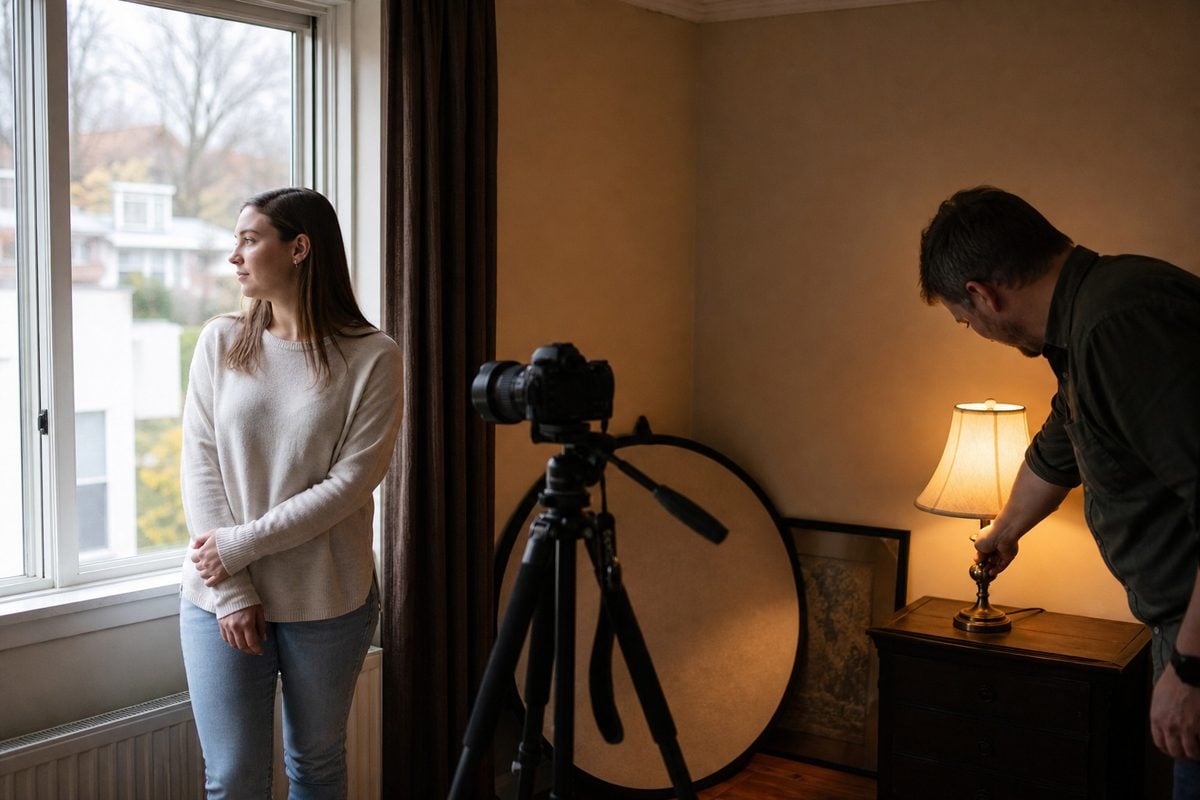
If you cannot kill the lamps, keep them out of the face and treat them as background atmosphere only. For more on correcting temperature and tint later, see White Balance in Photography: What It Is and How to Adjust It.
Use Camera Settings That Protect Sharp Eyes
Indoor light is usually softer and weaker. That combination tempts photographers to drop shutter speed too far.
Protect the face first:
- shutter: 1/160s–1/250s for quiet adult portraits; faster if the subject moves
- aperture: f/1.8–f/2.8 for solo portraits; deeper if two people share the frame
- ISO: raise it before accepting blur
- AF: continuous or reliable single-point on the near eye
- file format: RAW
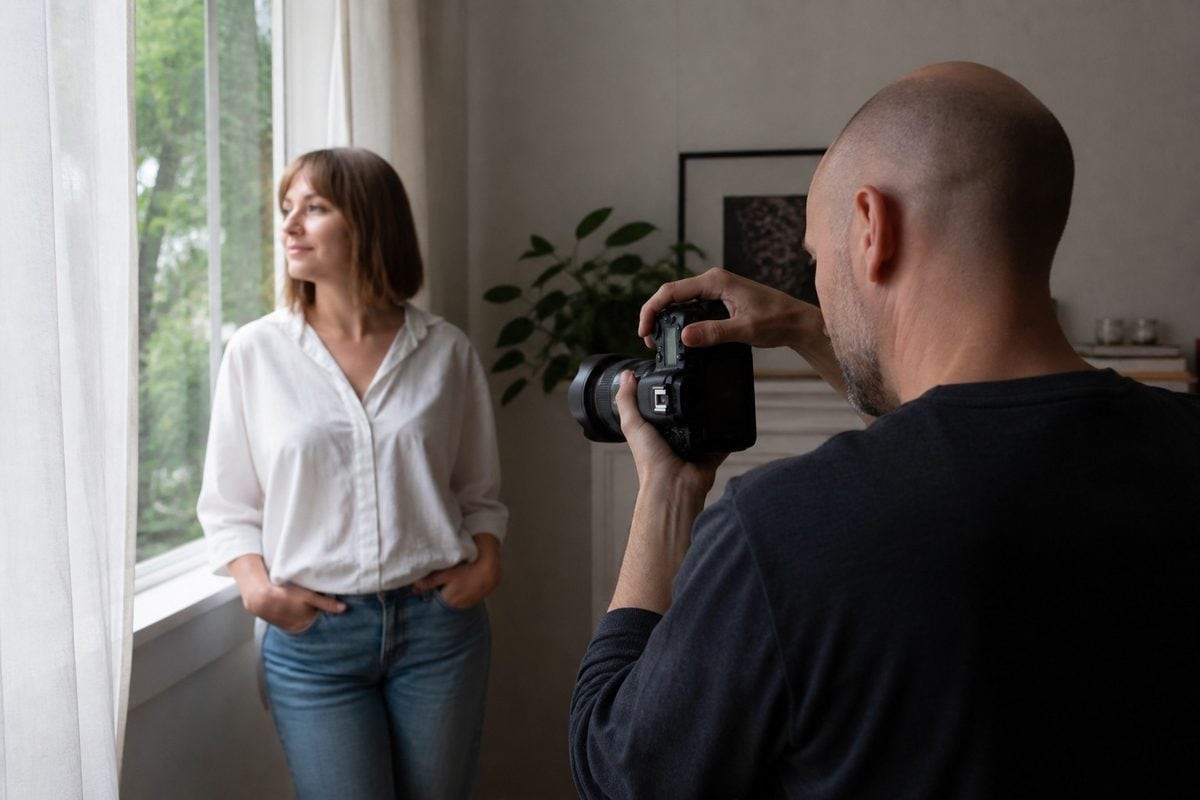
A sharp ISO 2500 file with natural window light is usually better than a soft ISO 400 file. If you are photographing kids indoors, lean toward the higher shutter speeds covered in Best Camera Settings for Child Photography.
Add Fill Without Adding Flash
You do not need a strobe to open the shadow side.
A white wall, sheer curtain bounce, foam board, or a simple reflector opposite the window can lift the face just enough. The fill should be subtle. If the portrait becomes completely flat, you added too much.
Useful fill options:
- pale wall opposite the window
- white foam board just out of frame
- silver reflector for a little more punch
- white bedsheet or curtain bounce in a pinch
- a second person holding a reflector low under the chin only when needed

Negative fill also matters. If the room is too bright and the face looks lifeless, place a darker surface on the shadow side to restore shape.
Keep Backgrounds Quiet and Darker Than the Face
Indoor backgrounds are full of clutter: cords, door frames, busy shelves, bright screens, reflective glass, and half-open closets.
The portrait should not become a room inventory. Move the subject until the background simplifies, or crop tighter after the face light is already right. A darker background behind the subject usually helps separation when you are working with one window as the key.
Scan for:
- bright windows behind the head
- lamps and screens in the frame
- shelves cutting through shoulders
- mirrors reflecting you or the window
- color patches near the face
- cluttered edges
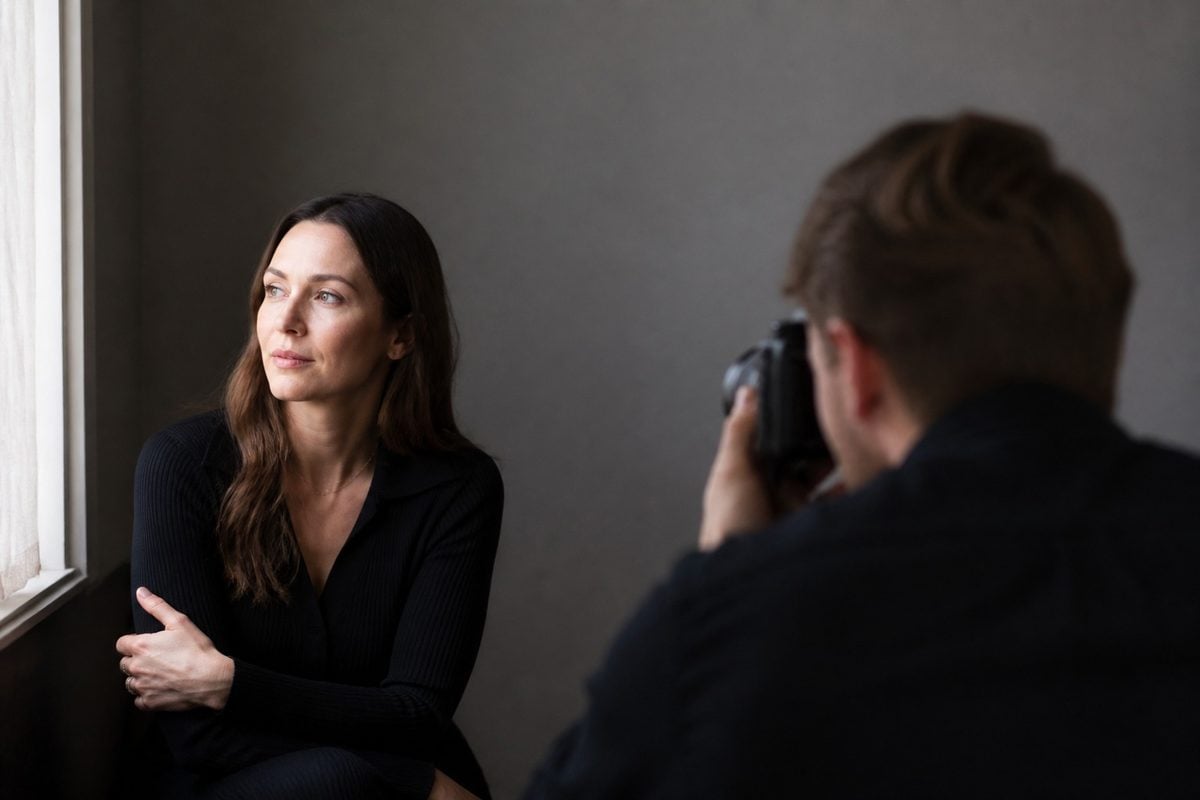
If the room will not cooperate, use a longer lens, move closer, or place the subject against a simple wall just off the window. For broader background thinking, see How to Choose the Best Background for Portrait Photography.
Pose for Soft Light, Not Studio Drama
Window light rewards small adjustments.
Ask the subject to bring their weight onto the back foot, angle the body slightly away from the window, and turn the face back into the light. Hands need somewhere natural to go: a chair back, a mug, a windowsill, a jacket edge, or simply relaxed at the side.
Avoid:
- pressing the subject flat against the glass
- leaving both shoulders square to camera with no shape
- letting the chin lift into unflattering under-light
- over-directing every finger while the light drifts
- making the subject hold an uncomfortable lean for too long
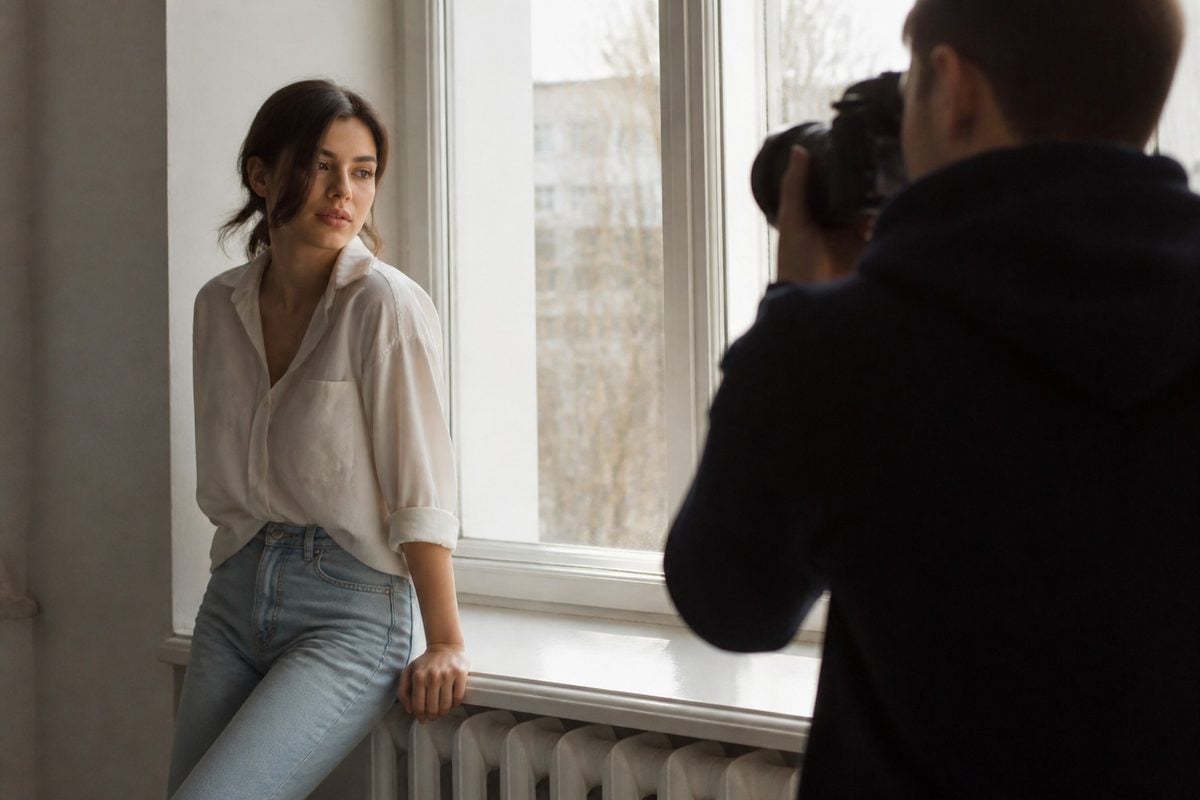
For lifestyle or in-home sessions, give the subject a simple action: look out the window, lean on the sill, sit with a book, talk to someone just off camera. Real activity usually looks better than a frozen “portrait stance.”
Watch Exposure on Skin, Not the Bright Window
The camera often protects the bright window and underexposes the face.
Expose for skin. If the window blows out a little, that is often acceptable in an indoor portrait, especially when the face holds detail. What you cannot recover cleanly is a muddy, underexposed face with blocked eye sockets.
Pay attention to:
- cheek and forehead highlights
- white clothing near the window
- deep eye sockets
- shadow-side skin texture
- background brightness competing with the face
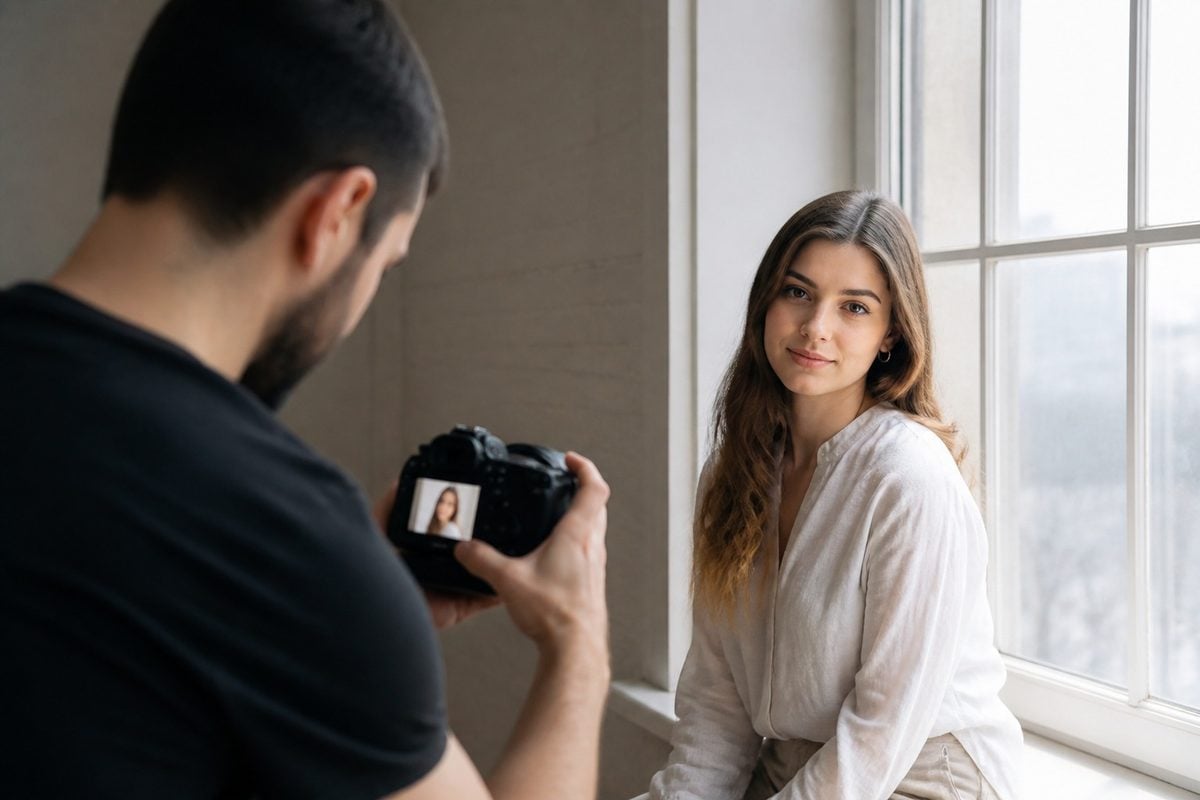
Bracket only when the light is changing fast. Most indoor window setups are stable enough that one careful exposure, checked often, is cleaner than constant guessing.
Edit Indoor Portraits Without Overcleaning Them
Indoor no-flash portraits often need white balance, noise control, and gentle shadow work. They do not need heavy stylization that erases the window-light quality you worked to create.
Start with:
- white balance and tint
- exposure on the face
- highlight recovery on skin and clothing
- noise reduction only as needed
- local shadow lift under the eyes and jaw
- light skin cleanup after color is stable
This is where Evoto fits after the shoot. Use Camera RAW Editor for exposure, white balance, and highlight recovery first. When ISO climbs near a dim window, AI Image Denoiser can clean grain without flattening skin. If the set moves between cool window light and warmer rooms, AI Color Match helps keep selected portraits in one visual family. Finish with restrained Portrait Retouching after the light and color already feel believable.


Powerful AI Photo Editor
Indoor No-Flash Portrait Checklist
Before you shoot:
- Where is the strongest clean window?
- Can the subject stand close enough to use it?
- Are warm lamps contaminating the face?
- Is the background quieter and darker than the subject?
- Do you have a wall or reflector for fill?
During the session:
- Turn the face into the light
- Check both eyes and catchlights
- Expose for skin
- Raise ISO before accepting blur
- Keep posing simple and short
- Recheck color after moving rooms
Before delivery:
- Does skin look natural, not orange or blue?
- Is noise controlled without plastic skin?
- Are shadows open enough to read the eyes?
- Does the set match across rooms and times of day?
- Does the edit still feel like real window light?
Final Thoughts
Learning how to photograph portraits indoors without flash is mostly learning to stop fighting the room.
Move the subject to the window. Turn the face into clean light. Kill mixed color when you can. Protect shutter speed. Add only enough fill to keep the shadow side alive. Keep the background from competing. Then edit just enough to protect the light you already chose.
Strong indoor portraits do not look like you removed flash. They look like you found the one place in the room where the face could hold.
Try Evoto AI Photo Editor
Retouch photos with Evoto AI and make your photos best! Available on Windows, MacOS and iPadOS.



