

Natural light outdoor portraits can look effortless, but they rarely happen by accident.
A good location can still fail the moment the subject steps into bad light. The background may be beautiful while the face sits in shadow. A warm sunset can turn skin orange. A cloudy sky can soften everything so much that the portrait loses shape. Even open shade can go muddy if there is no clean bounce coming back into the eyes.
The job is not to chase pretty light. It is to find usable light, place the subject where the face holds, and keep the set consistent as the scene changes.
This guide walks through how to shoot outdoor portraits with natural light in real sessions, from reading the scene to choosing shade, backlight, overcast conditions, exposure, backgrounds, and a restrained editing workflow.
Read the Light Before You Pose
The most expensive mistake is posing too early.
A path, wall, doorway, field, or beach can hold several different lighting problems within a few steps. One patch gives soft face light. Another pushes green bounce into the skin. Another puts the subject against a background brighter than the face. A tree line may look inviting, then throw small hot spots across the forehead and shoulders.
Before you start directing, make a fast pass:
- Where is the light coming from?
- Is it hard or soft?
- Is the face brighter than the background?
- Are the eyes readable?
- Is there unwanted color bounce?
- Will the light stay stable long enough for the sequence?
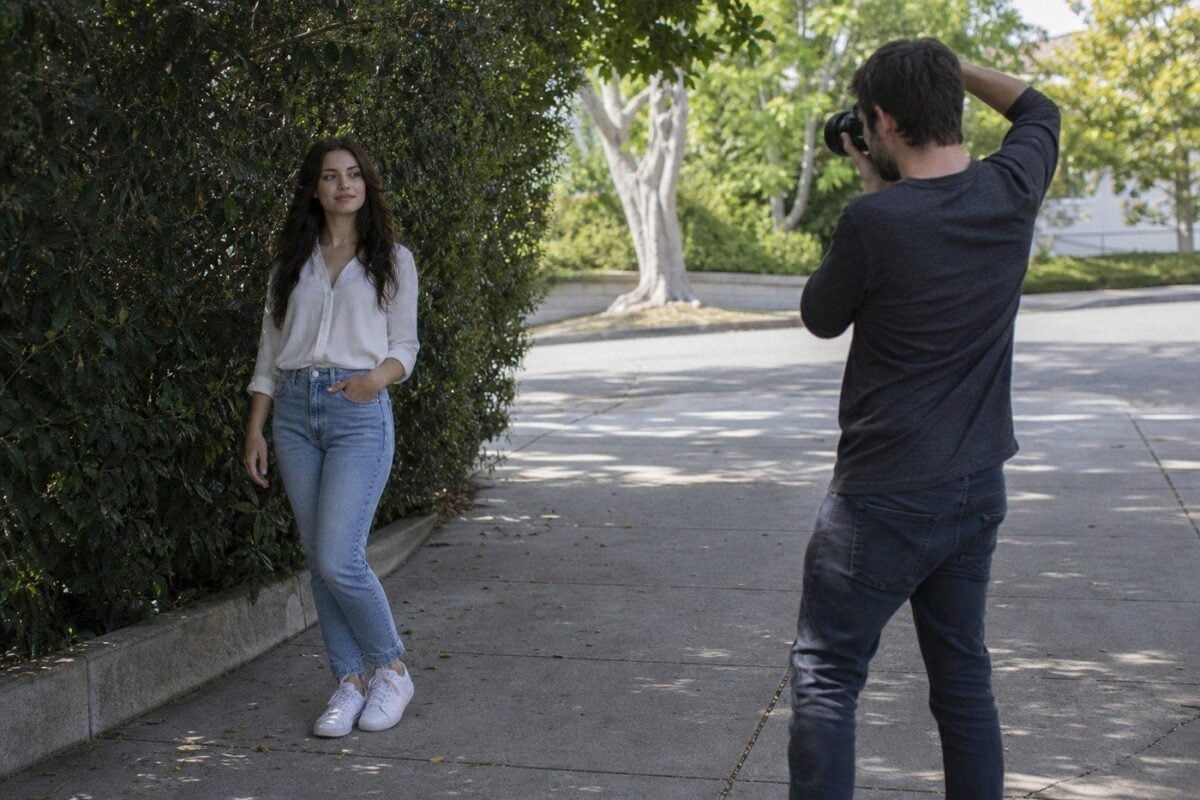
This takes seconds, and it saves the session from becoming a rescue job. Once the face is in workable light, simple direction usually looks more confident. When the light is wrong, even a strong pose feels forced.
Use Open Shade for Clean, Reliable Portraits
Open shade is the safest first move when the sun is too hard for flattering portraits.
The point is not to hide the subject in a dark pocket. You want the face out of direct sun while keeping enough ambient light in front of the subject to hold catchlights and skin detail.
Look for shade from:
- buildings
- porches
- covered walkways
- tree lines
- walls
- cliffs
- beach tents or umbrellas
- the shaded side of a street
The best version has brightness nearby. Pale pavement, sand, concrete, stone, or a light wall can bounce enough natural fill into the face to keep the portrait from feeling flat.
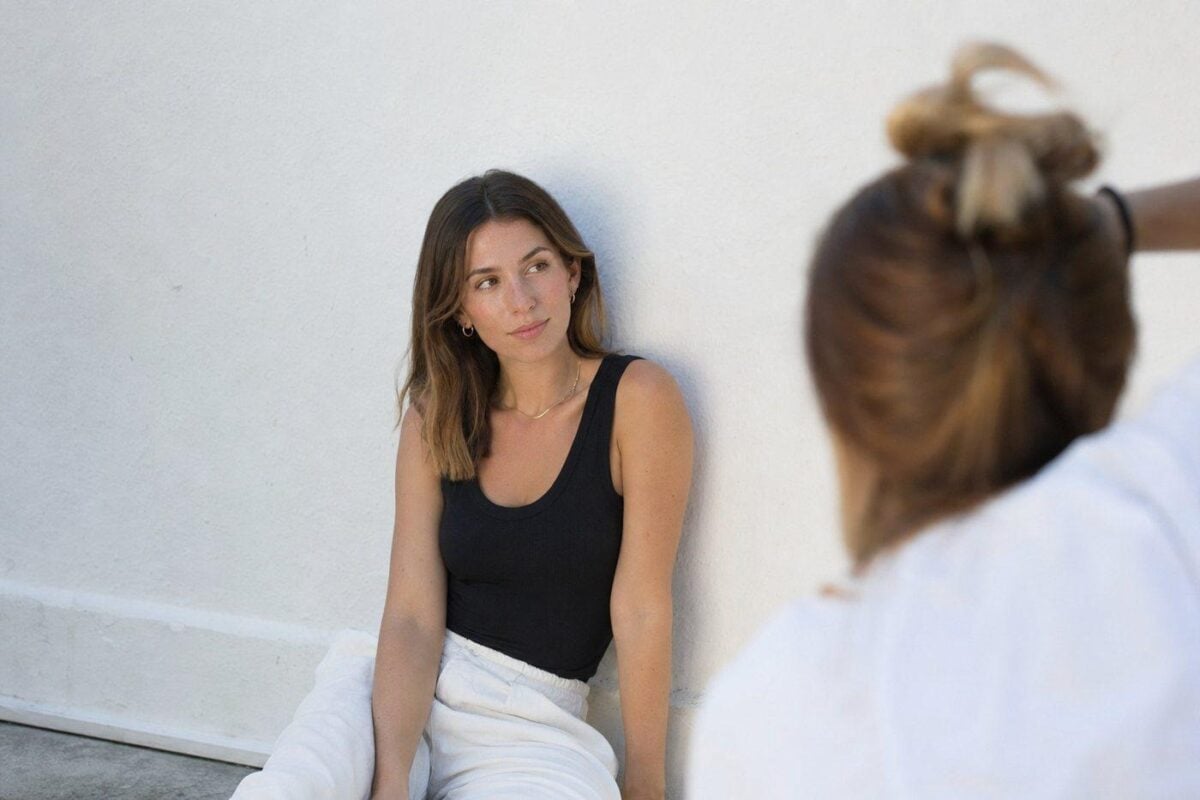
Avoid broken shade on skin. Patchy tree light often looks fine to the eye, then creates small blown highlights that are difficult to retouch cleanly. If you see bright marks on the face, move the subject a few feet instead of trying to fix it later.
Open shade is especially useful for headshots, family portraits, senior portraits, branding work, and any session where the subject needs to look relaxed rather than dramatic.
Use Side Light When You Need Shape
Front light is easy to understand, but it often makes outdoor portraits look flat.
Side light gives the face and body more structure. It shapes cheekbones, jawlines, clothing, and posture, and it helps the subject feel less pasted onto the background.
Look for it near a lower sun angle, a bright opening beside shade, or light wrapping around the edge of a building or wall.
Refine it carefully:
- turn the face until both eyes still read
- watch the shadow side of the nose
- keep contrast gentle for beauty or client portraits
- use stronger contrast only when the portrait can handle it
- avoid letting one eye disappear too far into shadow
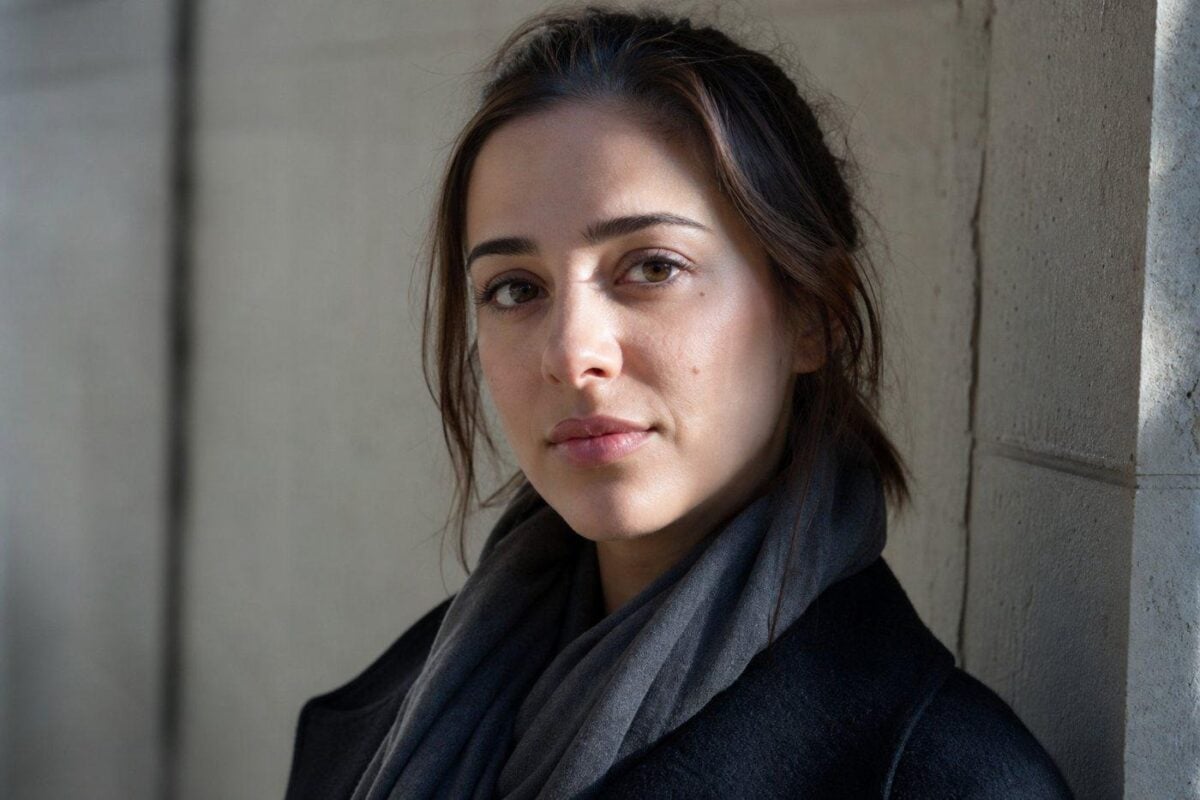
Side light works best with a quieter background. If the light is already adding shape and contrast, the location does not need to compete for attention.
Use Backlight Without Losing the Face
Backlight solves one problem immediately: the subject no longer has to stare into the sun.
It also adds separation around hair and shoulders. The tradeoff is exposure. If the background is bright and the face is underlit, the portrait can look fragile even when the rim light is pretty.
For cleaner backlit portraits:
- expose for the face, not the sky
- block the sun with the subject, trees, or a building edge
- avoid heavy flare unless it is part of the frame
- look for natural fill from pale ground, sand, concrete, or walls
- keep the background less cluttered than usual
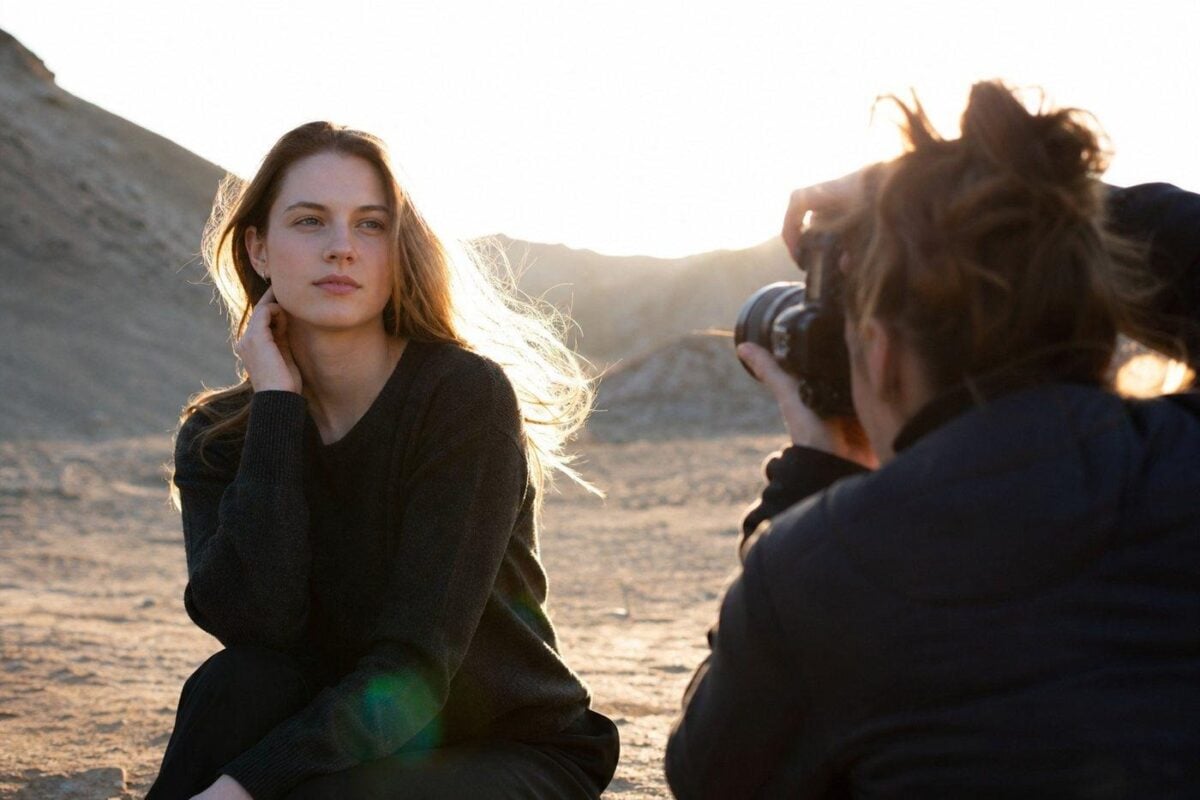
Backlight should not become an excuse for underexposed faces. If the face is too dark, move the subject toward a brighter surface, rotate slightly, or bring in a reflector. Pulling a badly underexposed face up in post rarely looks as clean as fixing the light on location.
Treat Overcast Light as Soft, Not Directionless
Cloudy light is forgiving, but it is not automatically interesting.
An overcast sky works like a huge diffuser. Skin transitions get smoother, highlights are easier to hold, and subjects do not squint as much. The risk is that the face loses direction, the eyes lose catchlights, and the whole frame starts to feel dull.
On overcast days, create direction through placement:
- place the subject near an opening, not deep under trees
- use a darker background to create separation
- avoid green-heavy shade that contaminates skin
- look for reflective ground or walls to lift the face
- use buildings, trees, or alleys to block light from one side
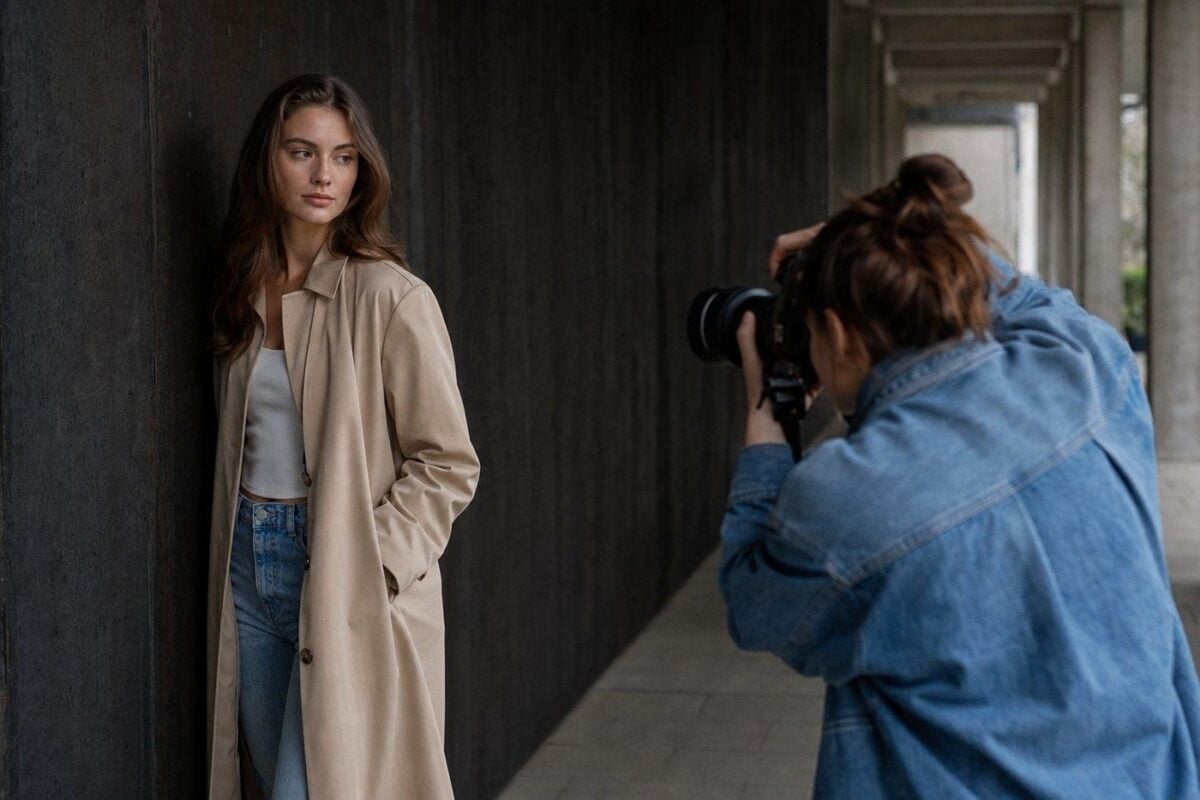
A cloudy day changes the problem. You are no longer fighting harsh contrast. You are trying to keep enough shape in the face for the portrait to hold.
Save Golden Hour for the Frames That Need It
Golden hour gives you warmth, lower sun, longer shadows, and softer direction. It also moves fast.
Background brightness shifts from minute to minute. Skin can turn too orange. Flare can lower contrast. If the whole session depends on the last few minutes, you risk walking away with beautiful fragments and no reliable core set.
Build the sequence in layers:
- start with one clean portrait while the light is still controlled
- move into softer backlight or side light
- add walking or movement while the face is readable
- save flare, silhouettes, and sun-in-frame shots for the end
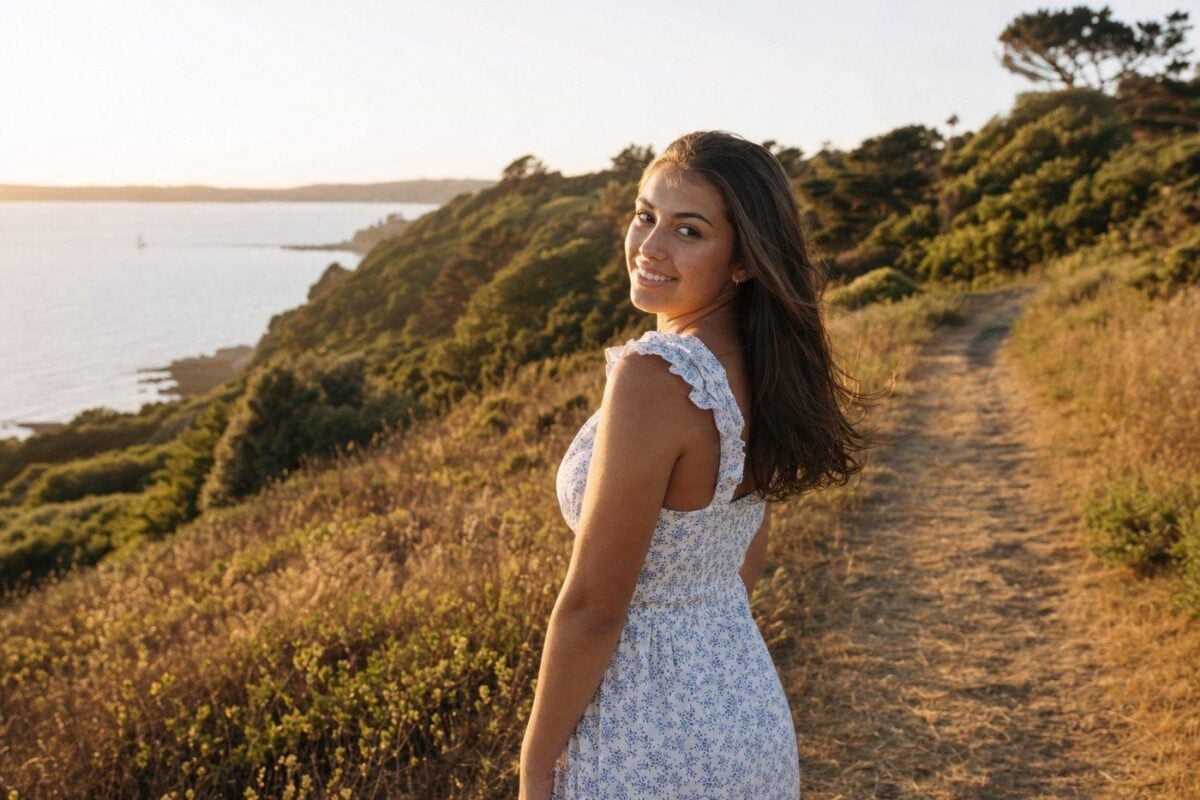
If you want a deeper breakdown of timing and consistency, see Golden Hour Photography: Better Portraits Before the Light Disappears.
Warmth is useful only while the skin still looks believable. Once the warmth turns orange or muddy, the portrait starts to feel processed before you even edit it.
Keep Backgrounds Quiet Enough for the Face
Good light will not rescue a messy background.
This happens constantly outdoors. Branches cut through heads. Cars sit behind shoulders. Bright sky becomes the strongest area in the frame. A colorful wall competes with skin. A horizon line crosses the neck.
Scan before you commit:
- behind the head
- behind shoulders
- frame edges
- bright signs or cars
- tree gaps
- horizon lines
- color patches near the face
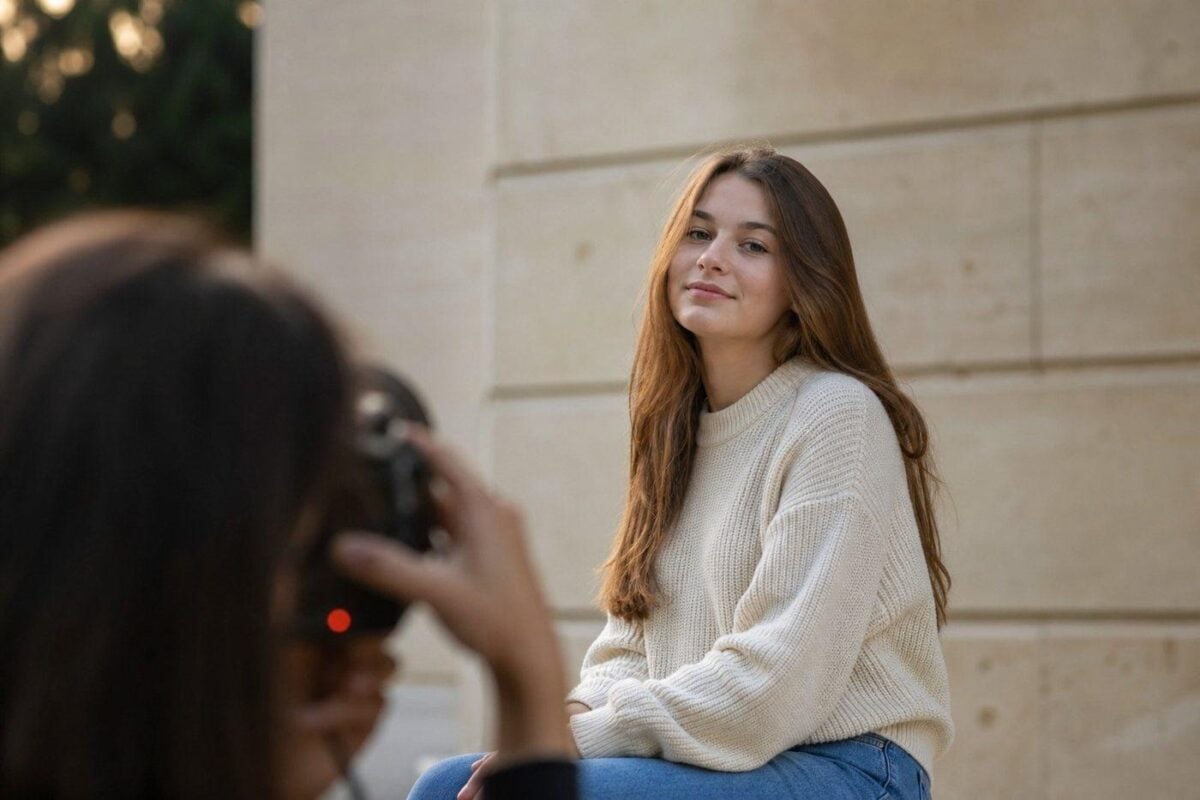
Move before you edit. A few steps left or right can remove a distracting line, simplify a bright patch, or place the subject against cleaner tone. If the background still competes, use a longer focal length, move closer, or open the aperture after the composition already works.
For a dedicated guide, see How to Choose the Best Background for Portrait Photography.
Expose for Skin and Protect Color
Natural light can change color faster than it changes brightness.
Shade can go blue. Grass can push green into cheeks and jawlines. Sand and pavement can add warm bounce. Golden hour can move from clean warmth to heavy orange in minutes. If you shoot a full set without noticing those shifts, the edit becomes a matching problem.
In camera, protect:
- skin highlights
- eye detail
- white clothing
- shadow-side face detail
- background brightness near the head
- consistent exposure across similar frames
Shoot RAW when possible. It gives you more room to recover highlight detail, adjust white balance, and match portraits made in different light pockets.
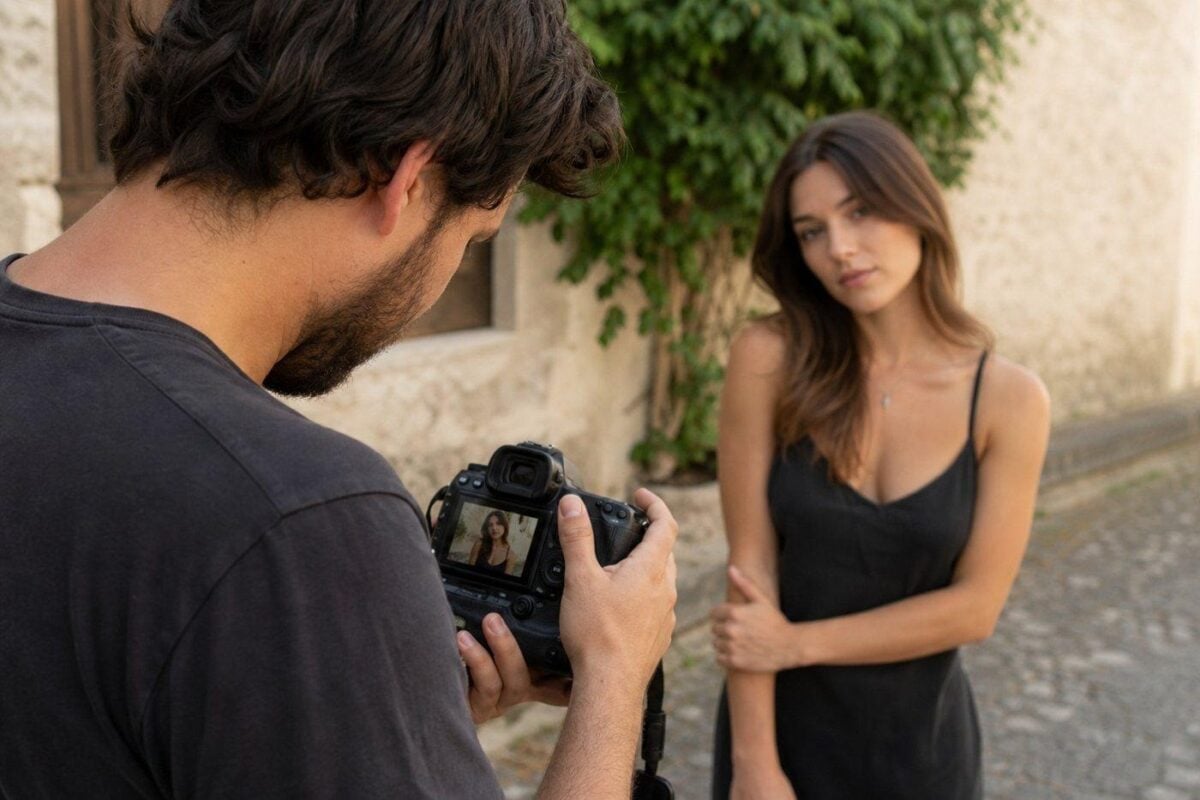
For more on controlling color before styling, see White Balance in Photography: What It Is and How to Adjust It.
Edit Natural Light Portraits Without Overcorrecting
Natural light portraits should still feel like they were made in real light after the edit.
The common mistakes are predictable: making every frame look golden, flattening shadows too far, over-smoothing skin, or pushing background color until the subject no longer feels believable.


Powerful AI Photo Editor
Start with the base:
- correct white balance
- recover highlights where detail still exists
- keep skin tone natural
- match exposure across similar frames
- clean small distractions near the face and edges
- group images by light type before applying broader adjustments
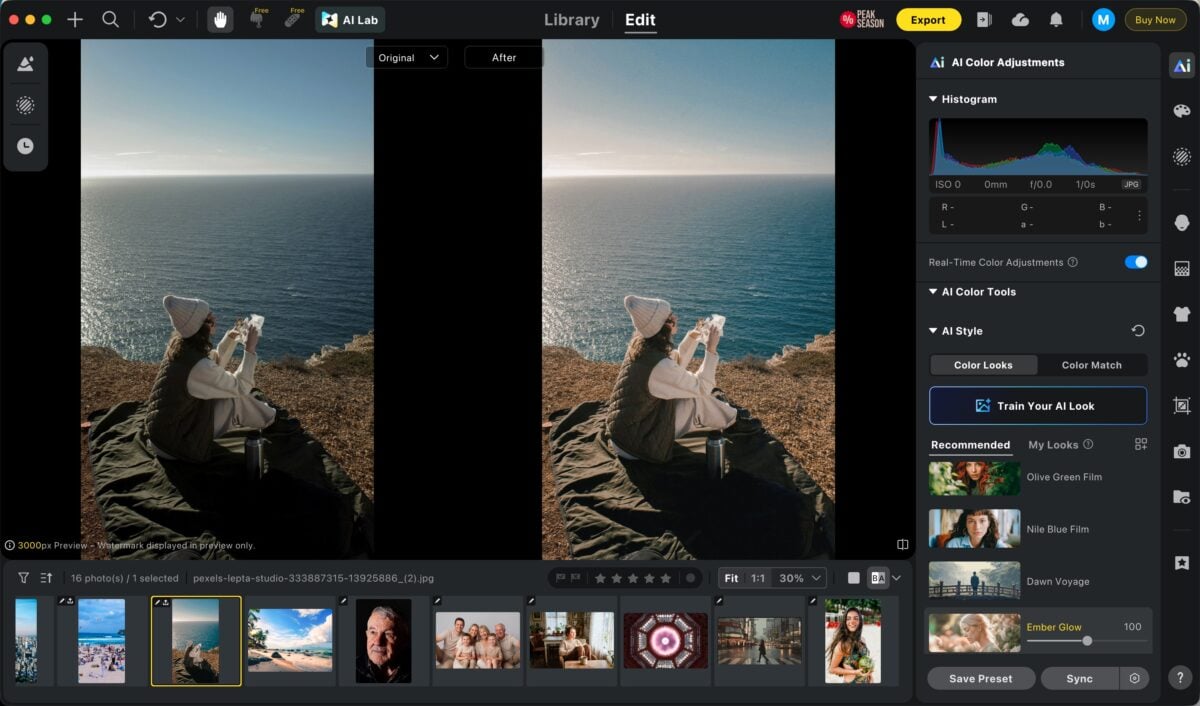
Once the base edit is stable, Evoto fits naturally into the finishing stage. Camera RAW Editor helps with exposure, highlight recovery, and white-balance control before you push the color creatively. Portrait Retouching makes more sense as a final skin pass, after the light and color already feel believable. If one session includes open shade, backlight, overcast light, and golden hour, AI Color Match can help the selected portraits stay inside the same visual family.
Photographer editing outdoor natural light portraits for skin tone and color consistency
Good post-production protects the light you chose. It should not make every lighting situation look like the same preset.
Outdoor Natural Light Portrait Checklist
Before shooting:
- Where is the light coming from?
- Is the face readable?
- Is the background brighter than the subject?
- Is there open shade nearby?
- Can side light or backlight improve the frame?
- Is there unwanted color bounce?
During the session:
- Expose for skin first
- Check catchlights and eye detail
- Watch for patchy shade
- Keep backgrounds simple
- Use short posing cues
- Group sequences by lighting situation
Before delivery:
- Does skin still look natural?
- Are highlights controlled?
- Did shade turn too blue or green?
- Did golden hour turn too orange?
- Does the set match across different light types?
- Does the edit still feel like natural light?
Final Thoughts
Learning how to shoot outdoor portraits with natural light is mostly learning to make decisions before the files become difficult.
Open shade gives control. Side light gives shape. Backlight gives separation. Overcast light gives softness. Golden hour gives warmth when it is handled carefully. None of them works automatically. Each choice still needs a readable face, a clean enough background, a protected exposure, and an edit that supports the original light.
The best natural light portraits do not look accidental. They look easy because the photographer made the hard decisions early.
Try Evoto AI Photo Editor
Retouch photos with Evoto AI and make your photos best! Available on Windows, MacOS and iPadOS.



