

A vintage filter usually fails for one simple reason: the edit pushes the mood farther than the photo can actually hold. What should have felt like a controlled retro look turns into muddy skin, gray whites, weak contrast, or grain and fade that overpower the subject.
This is not a filter list or a feature dump. It is a how-to guide on what a vintage filter really changes, which photos are good candidates for it, and how to build a retro look without making the image fall apart.
What a Vintage Filter Actually Does
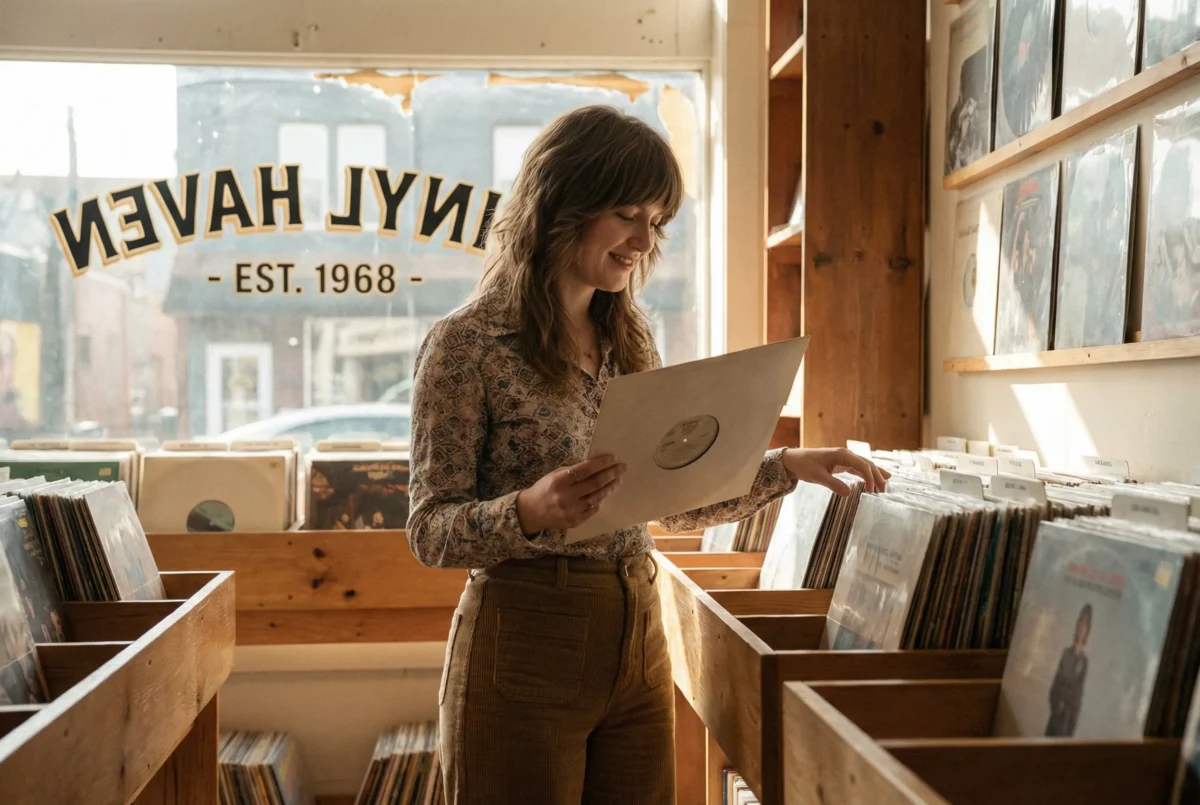
A vintage filter does more than make a photo look old. It changes tone, color, contrast, and texture at the same time. That is why the look can feel convincing in one image and completely forced in the next.
Most vintage looks lean on some combination of faded tones, softer contrast, warmer or shifted color, lighter blacks, and visible texture like film grain. Those changes can work well together, but only when the file still keeps its structure underneath them.
That is the real goal. A good vintage photo effect should still leave the image readable. Skin should still look human. Whites should still feel intentional. The photo should feel stylized, not damaged.
Which Photos Work Best With a Vintage Filter
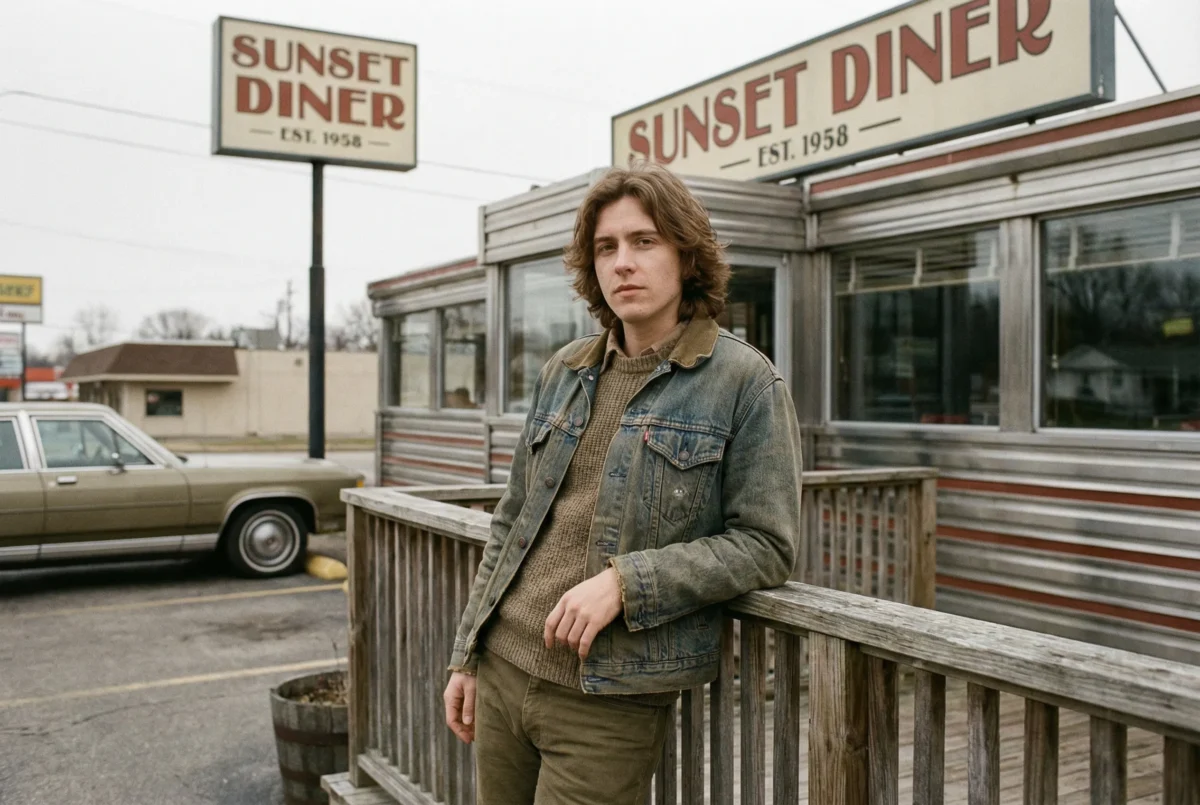
The best candidates for a vintage filter are usually files that already have stable skin tone, usable highlights, and enough tonal separation to survive a softer look. If the original image is already fragile, the retro treatment usually makes that weakness more obvious.
Start by looking at the face. If the skin is already uneven, too red, too green, or unstable from mixed light, a vintage filter can turn that into a dirty color cast very quickly. A faded vintage look works better when the skin starts from a clean base.
Highlights matter just as much. Bright whites, pale clothing, or high-key backgrounds can still work with a retro filter, but only if those bright areas keep some shape. If the whites are already close to clipping, lowering contrast and shifting color can make them feel chalky or dead.
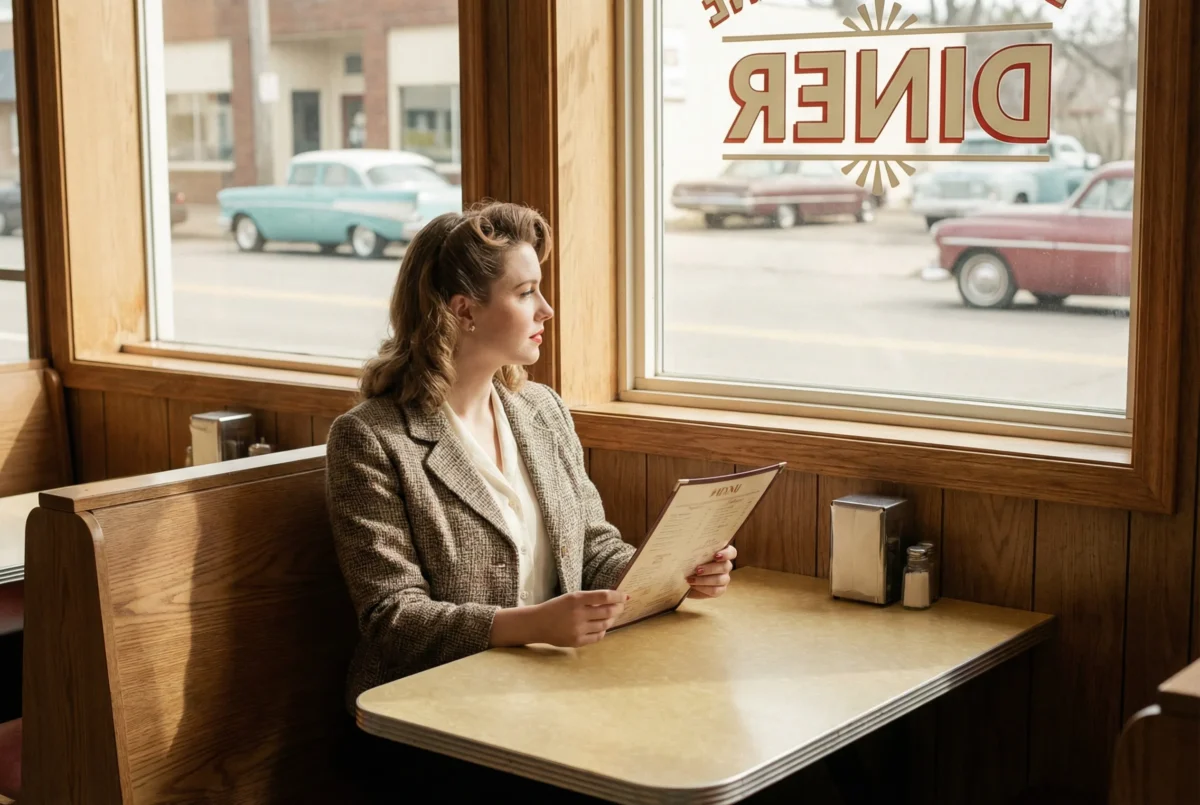
Mixed light needs extra caution. A file with too many competing color temperatures often breaks when you start pushing it toward a vintage photo effect. The same goes for very loud commercial color. If the original file is already saturated and glossy, faded tones can make the image feel dirty instead of nostalgic.
This is also where you decide how strong the look should be. Some images only need a light vintage filter to soften the color and contrast. Others can take a stronger retro filter with more fade and texture. And some photos simply look better without the treatment at all.
If you want a broader guide to keeping the color direction under control once you know the mood you want, see Color Matcher.
How to Apply a Vintage Filter in Evoto Without Making the Photo Look Dirty
If you want the fastest route, make Evoto the center of the process instead of treating it like an extra tool at the end. The simplest order is: choose a vintage base look first, tune the effect until it still looks clean, then finish the rest of the edit before export.


Powerful AI Photo Editor
Step 1: Open your photo in Evoto
Upload your photo in Evoto.
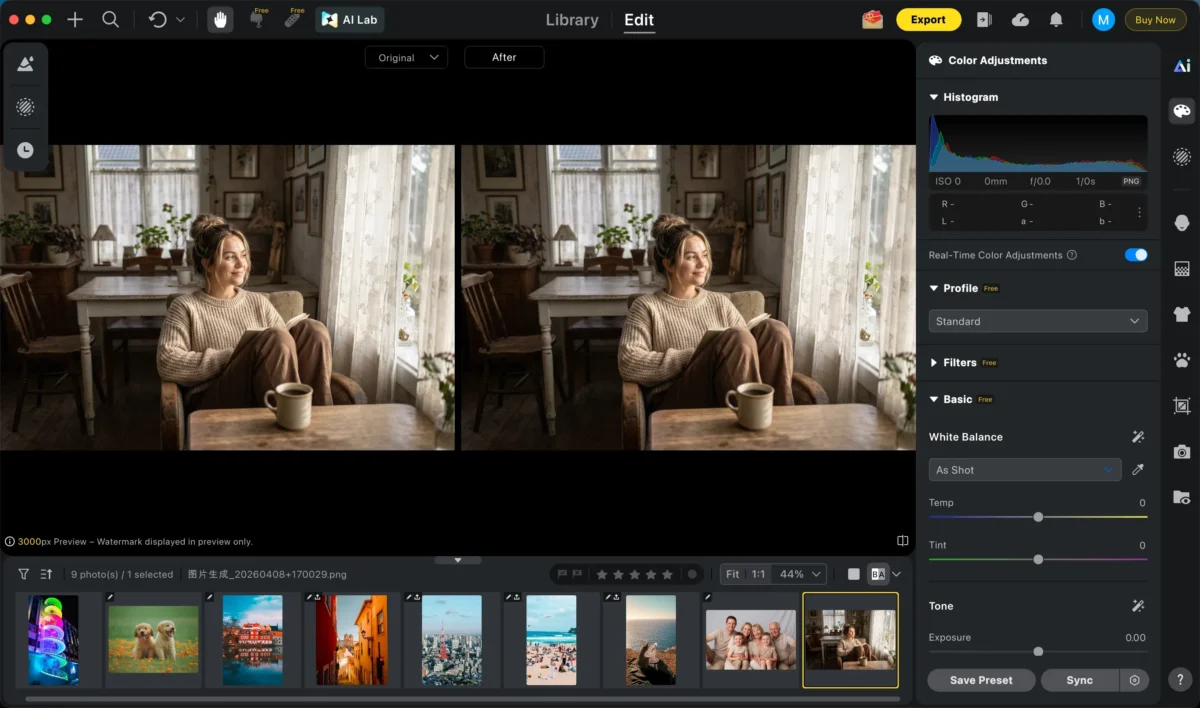
Step 2: Choose a vintage-style preset to establish the base mood
Go straight to Presets and choose a built-in vintage-style look that matches the direction you want—soft faded film, warm nostalgic tones, or a matte retro portrait mood. The preset should create the overall atmosphere quickly without forcing the effect too hard.
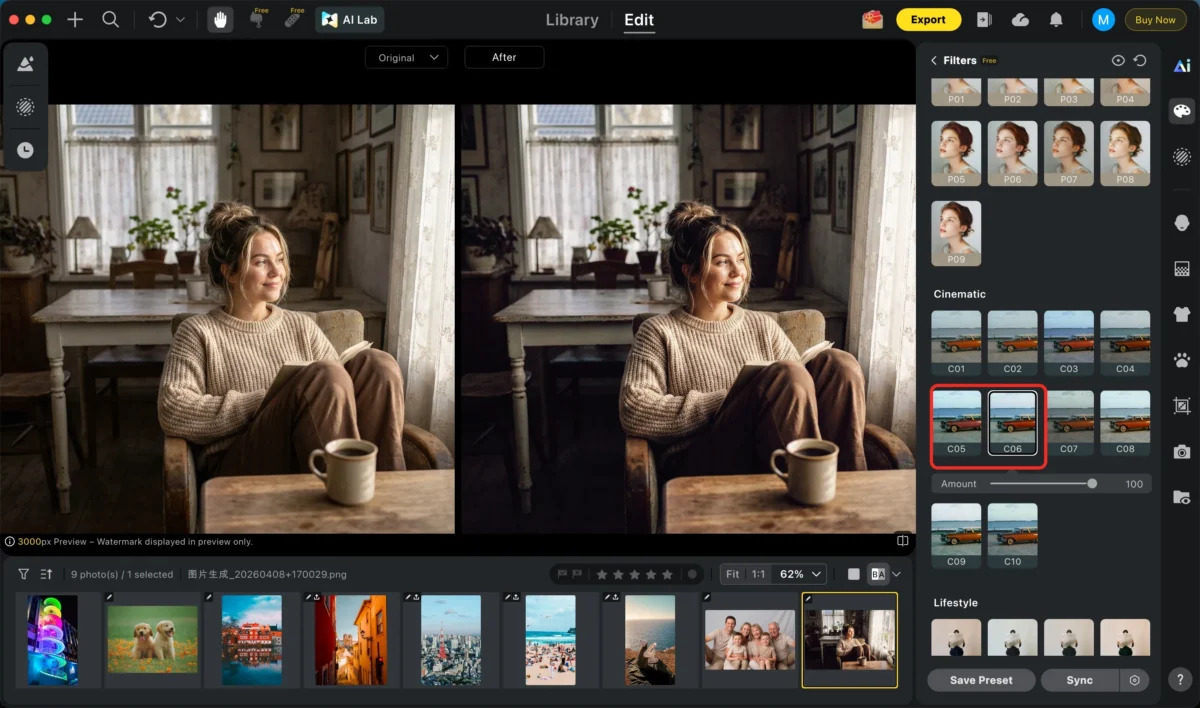
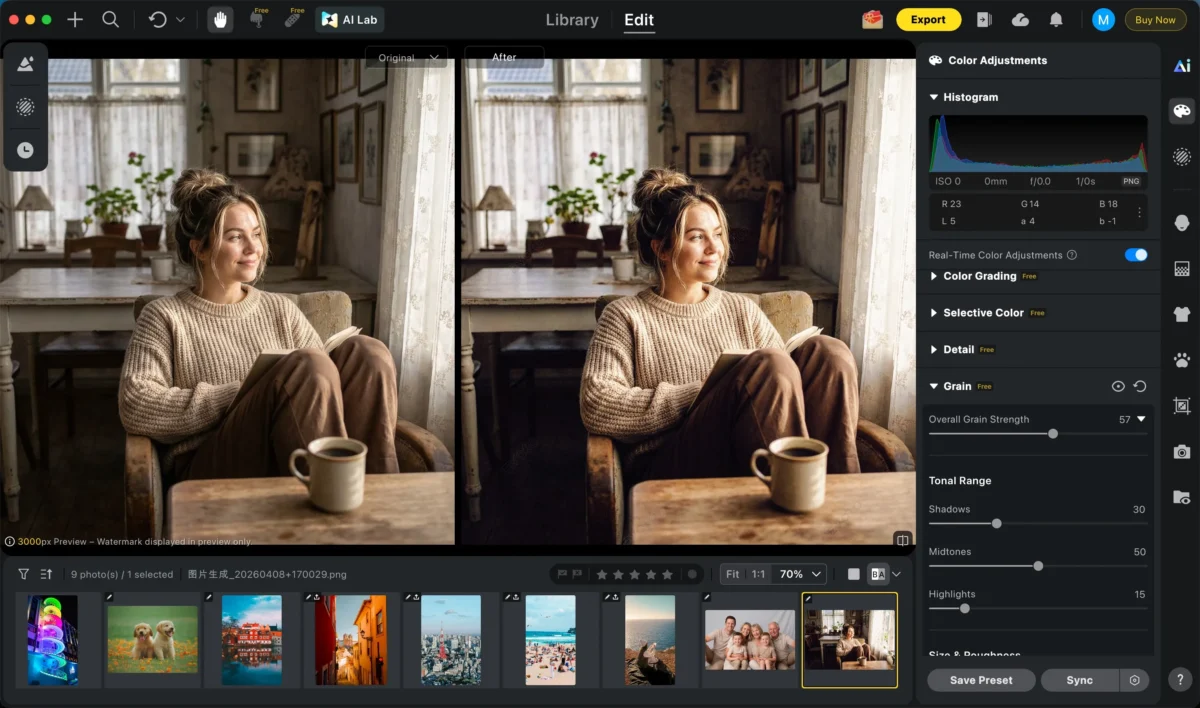
Step 3: Make additional adjustments to keep the photo clean
After the preset sets the base look, move into the rest of Evoto’s editing tools for additional adjustments. Fine-tune contrast, warmth, grain, skin tone, and highlight recovery so the image keeps its structure. Watch the face, whites, and shadows carefully. If skin starts turning muddy or whites lose clarity, reduce the fade and grain before continuing.
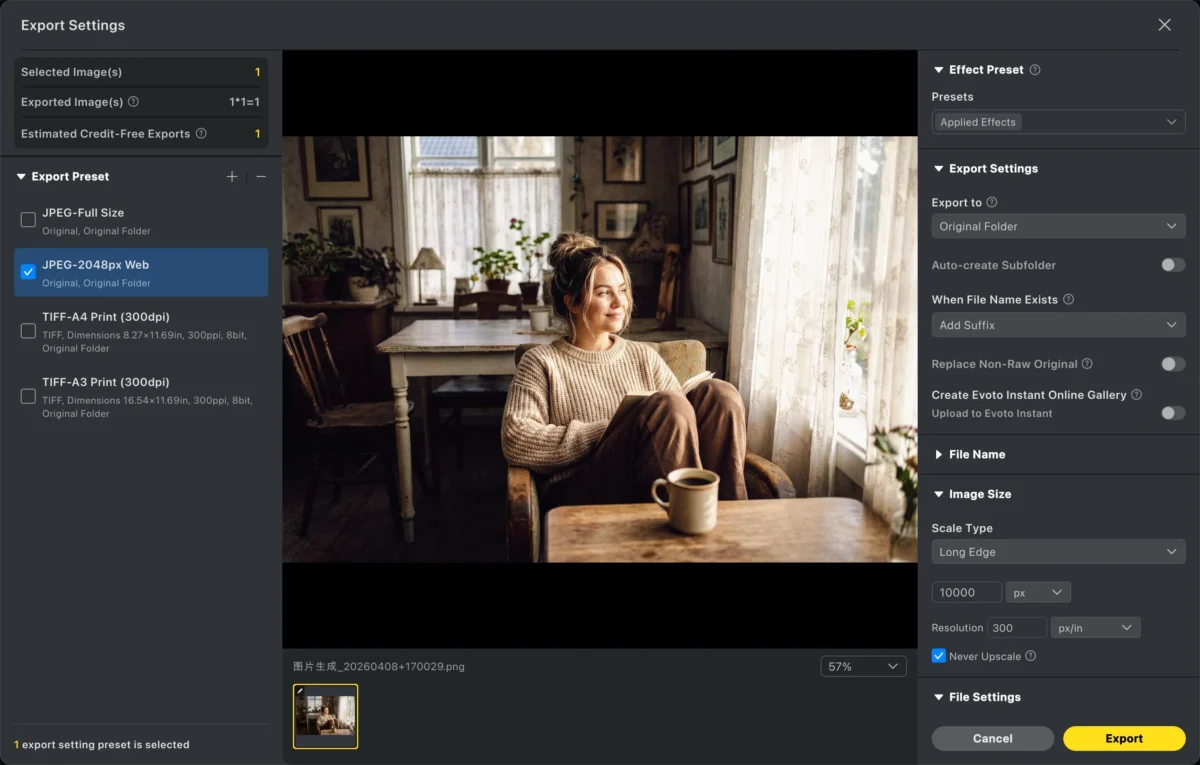
Step 4: Export the final image
Once the vintage look and all other adjustments are finished, export directly from Evoto to keep the preset mood, retouching, and final output fully consistent. This avoids rebuilding the style in another app and keeps the workflow fast for single edits or batch work.
Final Thoughts
A strong vintage filter does not come from stacking every retro signal on top of a photo. It comes from knowing what the filter is actually changing, choosing files that can carry the look, and building the effect with enough control that the image still holds together underneath it.
When the mood stays inside what the file can handle, the vintage look feels intentional. When it goes too far, the skin, whites, and detail usually break first. If you want a faster way to build that look without starting from zero, Evoto can give you the base vintage direction and let you finish the rest of the retouching in the same workflow.
Try Evoto AI Photo Editor
Retouch photos with Evoto AI and make your photos best! Available on Windows, MacOS and iPadOS.



