

Wedding portrait photography usually starts to break down when the wedding day starts slipping. Family formals run long, the light changes from room to room, and the couple’s energy shifts with the schedule. That is when wedding day portraits either stay controlled or start to feel rushed, flat, and incomplete.
This is not an ideas roundup. It is a photographer-facing field guide on how to keep wedding portraits stable under pressure, move through the key frames in the right order, and keep the back-half workflow clean enough for fast gallery delivery.
Before the Shoot: Prep That Protects the Portrait Set
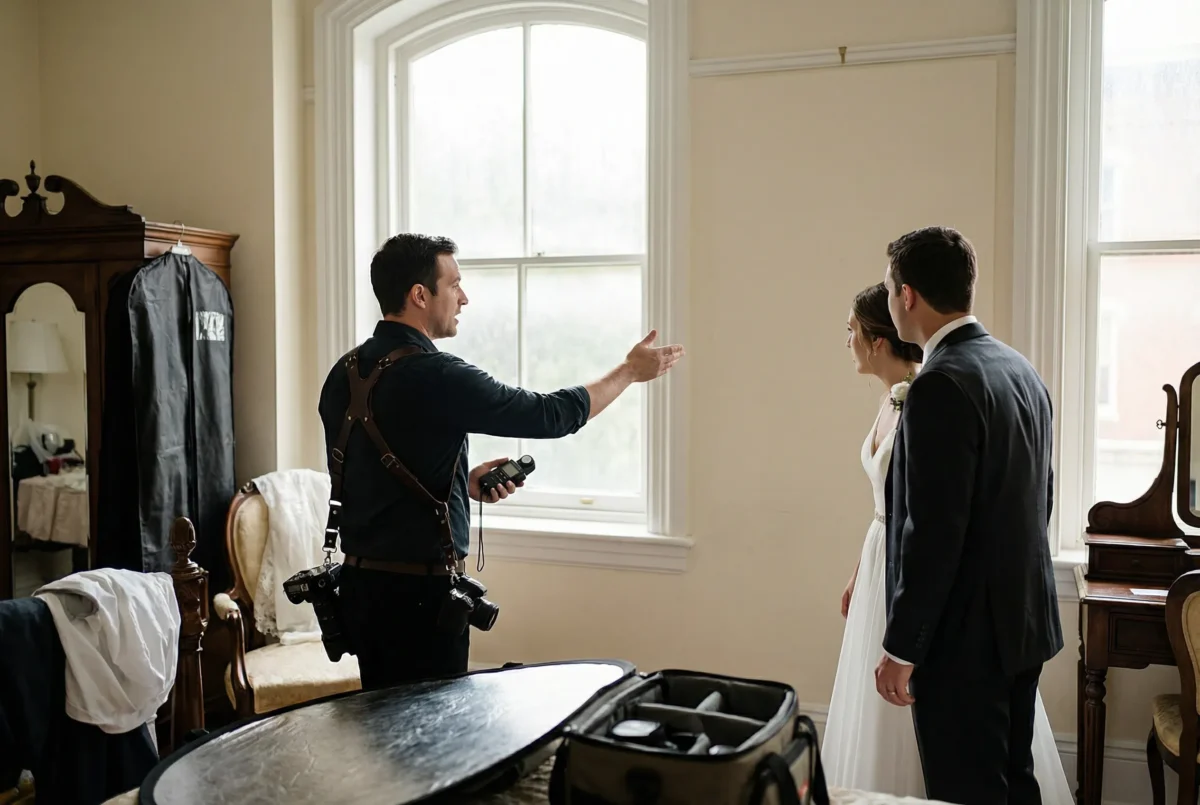
Good wedding portrait photography starts before the portrait block opens. First, lock the portrait windows. If the day includes family formals, couple wedding portraits, travel between locations, and a ceremony buffer, you need to know which portrait minutes are actually real and which ones only exist on paper.
Then set the portrait priorities. Decide what the non-negotiable wedding portraits are before the day gets noisy. In most cases, that means one safe full-length frame, one flattering three-quarter portrait, one tighter emotional frame, and one movement image. These are the portraits that protect the set.
Plan family formals and couple portraits as two different tasks. Family formals need fast grouping, clear spacing, and simple direction. Couple portraits need more room, more rhythm, and more attention to expression. If both get pushed into one pace, the family formals drag and the couple portraits feel rushed.
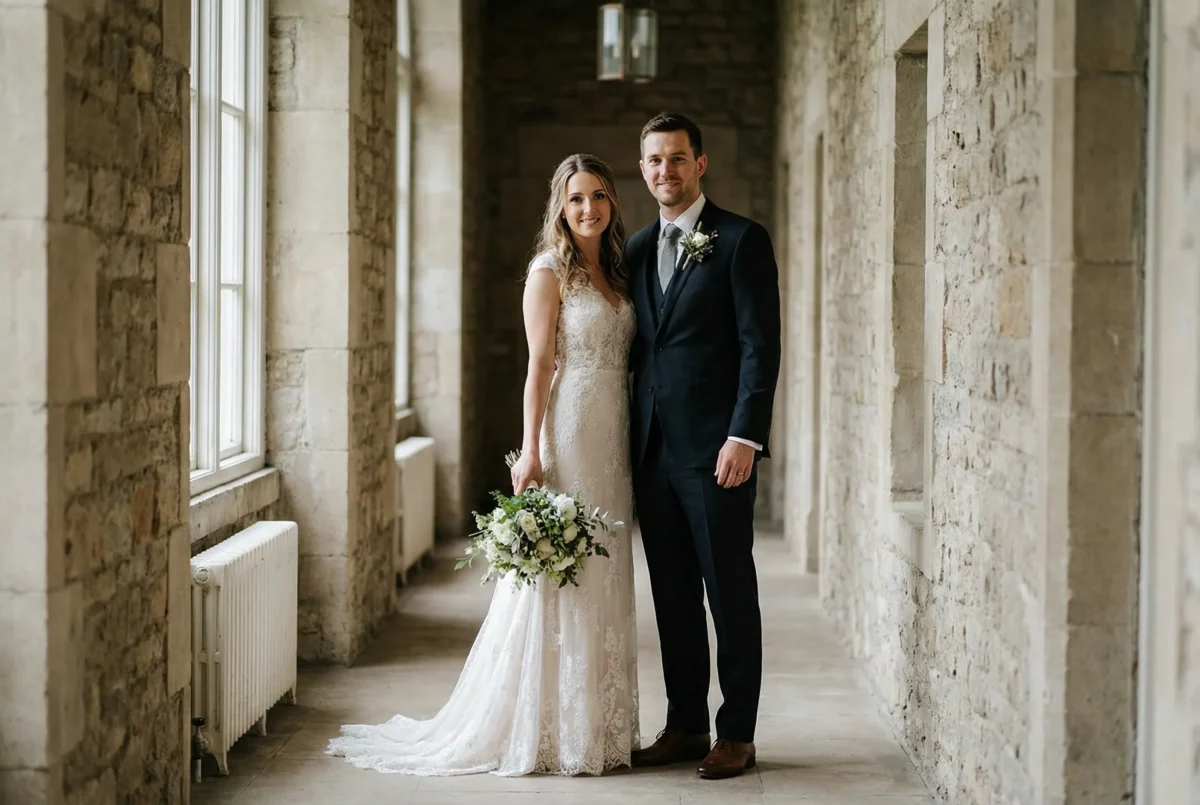
Light planning matters as much as timing. Find one safe light direction before the shoot starts. A clean window setup, open shade, or one stable outdoor direction will usually carry the portrait set better than chasing dramatic light in three different spots.
Background planning should follow the same rule. Choose one usable background that stays clean when people start moving in and out. If you keep changing locations once the portrait window starts, the set gets slower and the editing gets harder.
It also helps to set expectations with the couple early. Tell them the portrait block will start with the safe set first, then move into the more expressive portraits if the schedule holds. That keeps the session moving when time gets tight.
During the Shoot: How to Pose, Light, and Keep the Set Moving
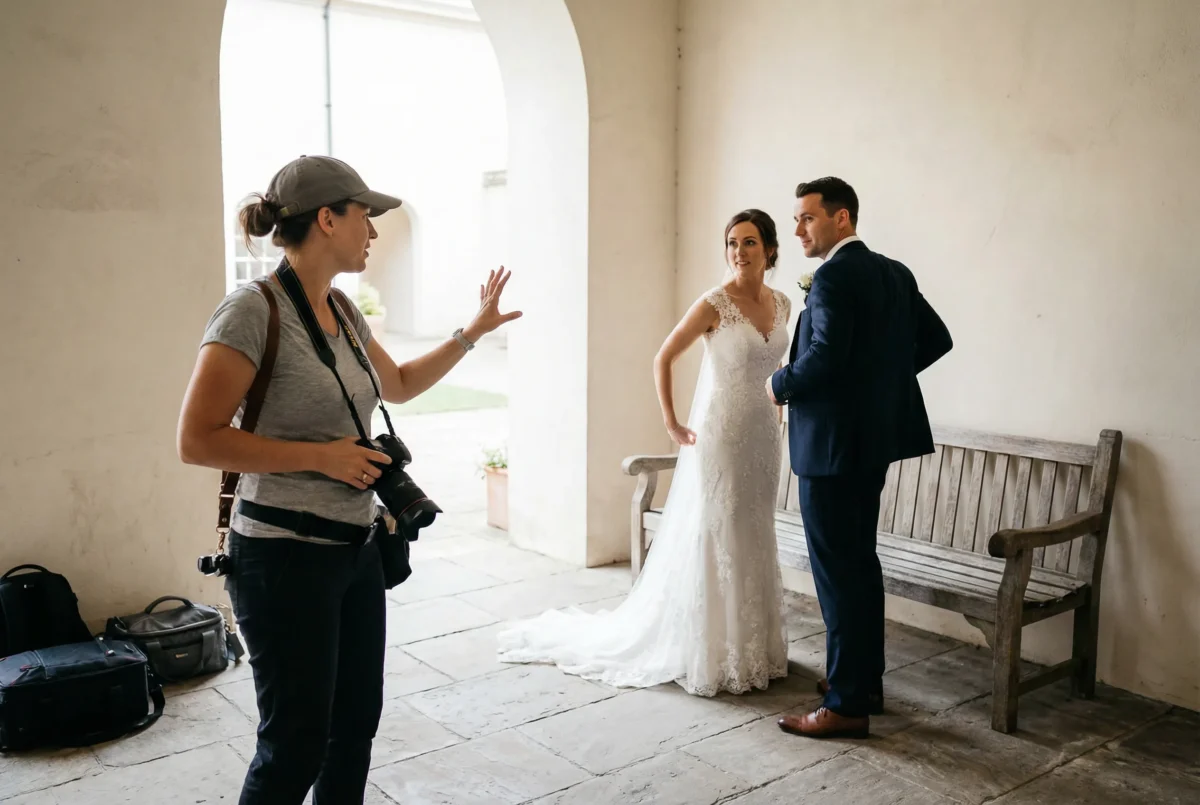
Start with the safe full-length portrait. This is the anchor frame. It holds the couple, posture, dress shape, and overall scene in one image. If you do not secure this early, the wedding portraits can feel incomplete even if later frames are prettier.
From there, move to a flattering three-quarter portrait. This is often where body language, face shape, and connection balance out more naturally. It gives you stronger couple wedding portraits without asking for too much too soon.
Then go tighter. A tighter emotional frame usually starts working once the couple has settled into the camera. At this stage, small expression changes matter more than bigger pose changes.
Add movement after the secure set is done. A slow walk, a turn, a hand adjustment, or a pause-and-look-back is usually enough. The point is not to make the portrait feel cinematic. The point is to stop the set from feeling stiff.
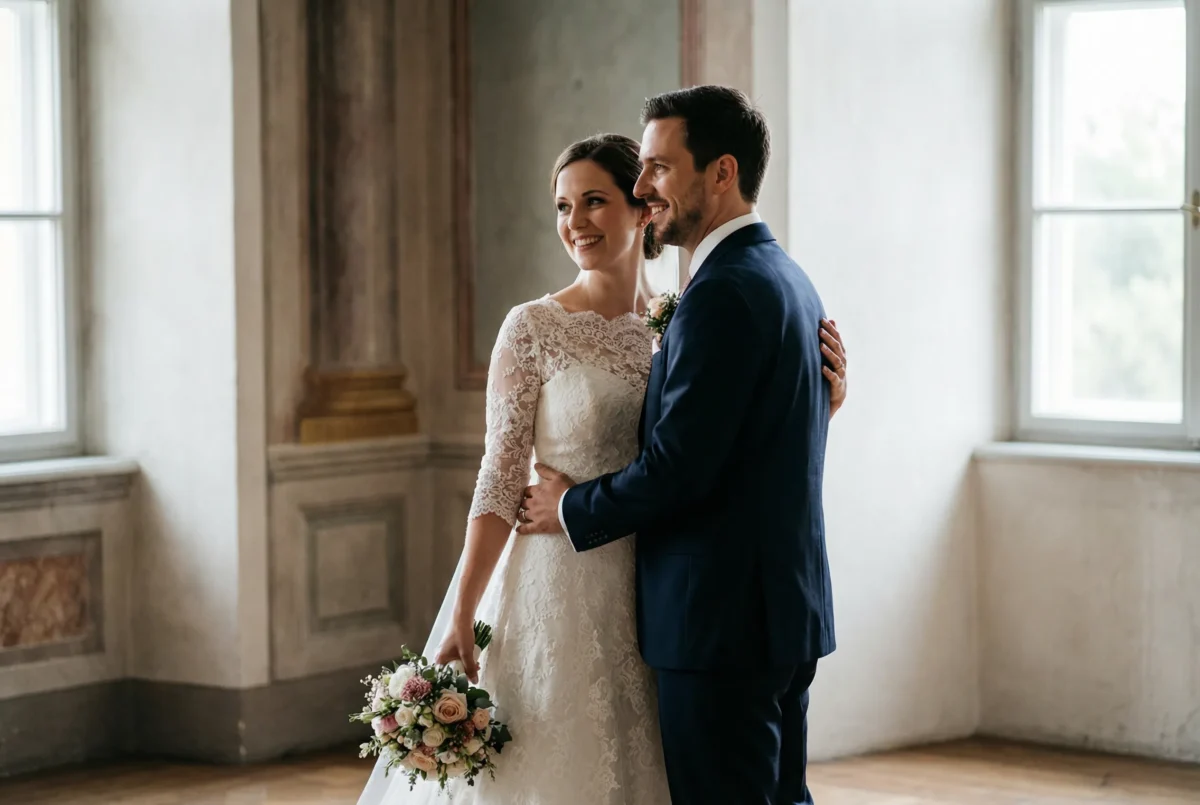
Add an environmental portrait only if the location adds value. If the background gives you context, scale, or atmosphere without making the frame messy, use it. If it only adds visual noise, keep the portraits tighter and cleaner.
Keep one stable main light for as long as possible. Wedding portrait lighting works better when the couple can settle into a repeatable setup. Window-side light, open shade, or one consistent outdoor direction will usually carry the set faster than a fragile setup that needs constant correction.
Direction should stay small and clear. Do not ask for abstract wedding portrait poses and hope they land. Use micro-cues instead: turn your front shoulder in a little, bring your heads closer, lower the bouquet, soften your hands, look at each other, then back to me. Small direction keeps the set moving.
Keep family formals and couple portraits in different rhythms. Family formals need short instructions and quick resets. Couple portraits need a little more breathing room. If the timeline slips, protect the portraits that cannot be rebuilt later. Keep the safe full-length, the flattering mid-length, the tighter emotional frame, and one movement image before you chase anything more ambitious.
After the Shoot: Keep the Portrait Set Consistent Through Editing
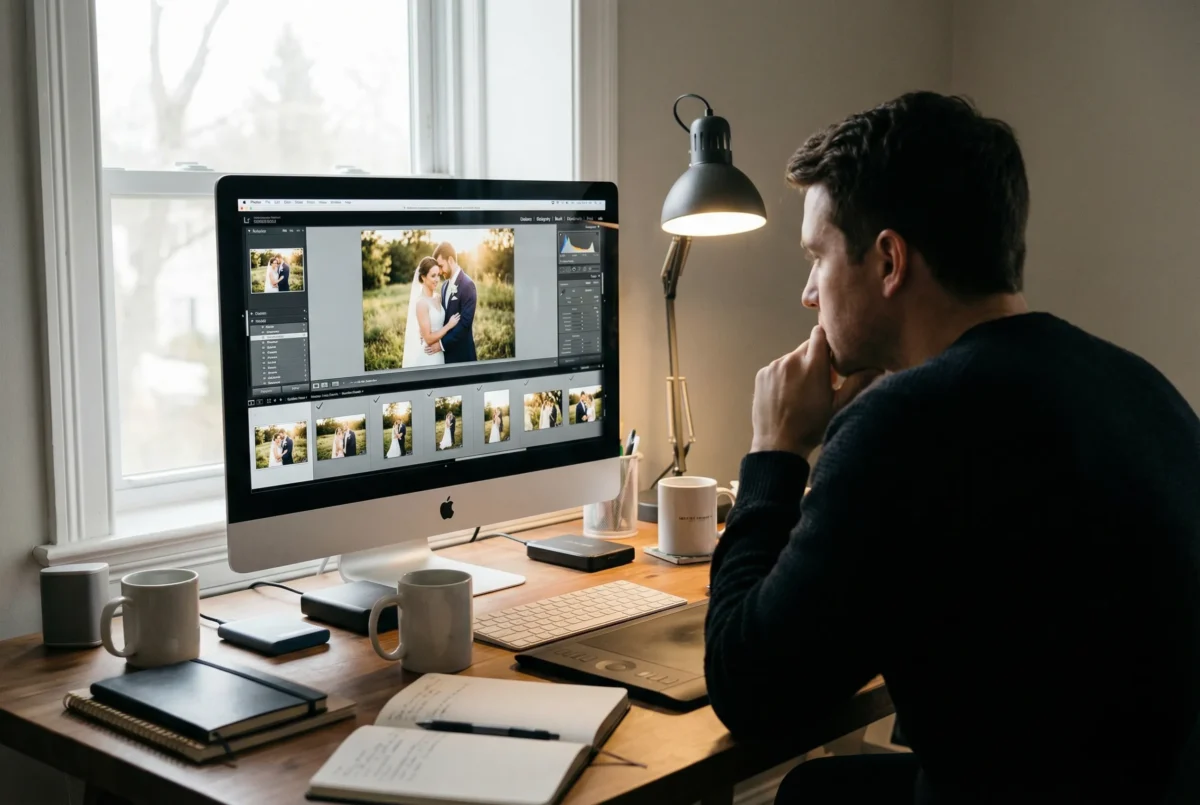
Start by selecting the keepers. Do not spend finishing time on portraits that were never going to survive the cut. Selection pressure is part of wedding portrait editing, not something separate from it.
Then group the keepers into light buckets. Keep window-light frames together, open-shade portraits together, and mixed-light images in their own set. This makes the corrections faster and keeps the portrait set from drifting.
Next, lock one hero frame in each bucket. Set skin tone, white balance, contrast, and dress whites there first. This matters because wedding portraits lose trust fast when the couple looks warm in one image, cool in the next, and the dress shifts from clean white to blue-white across the gallery.
Pay attention to both dress whites and black suit detail. If the bride’s dress clips too hard, fabric detail disappears. If the suit drops into a flat block of black, the set loses depth. Wedding day portraits usually hold up better when both ends of the tonal range stay believable.
The delivery prep starts here too. Once the keepers are selected and the buckets are clean, the real goal is to keep the portrait set feeling consistent enough that the client experience stays smooth from preview to final gallery. If you want a broader post-production walkthrough beyond portrait work, see How to Edit Wedding Photos.
Workflow: Move the Selected Portraits Through Finishing and Delivery
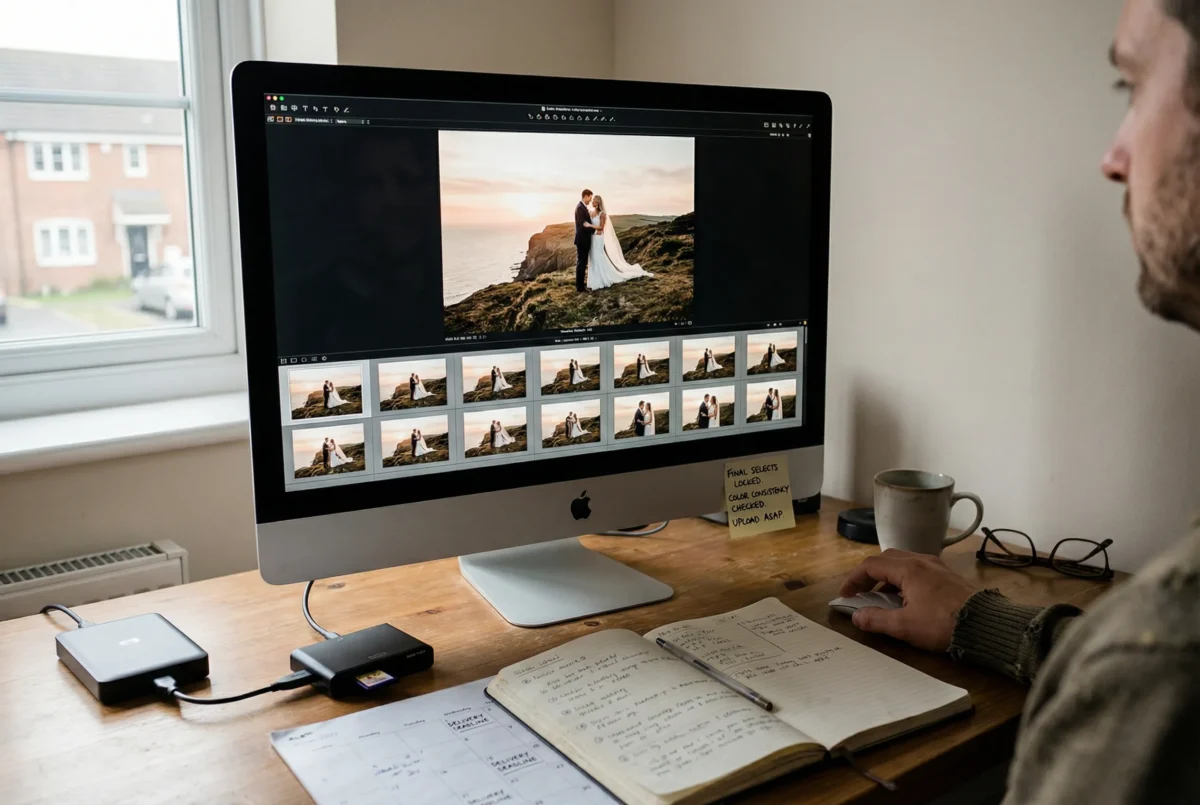
Once the keepers are selected, build one finishing standard before you start broad cleanup. Lock the hero frames and color direction first so the set has one clear visual baseline.
Then move into repetitive finishing. This is the bottleneck stage. You are not deciding which portraits matter anymore. You are trying to keep the chosen set clean, even, and ready for fast gallery delivery without reworking every frame from scratch.
This is the point where Evoto can fit naturally into the workflow. After the keepers and hero-frame direction are already set, tools for photo organizing and AI color match can reduce repetitive finishing work and help keep consistent skin tones from drifting. For the final polish layer, Portrait Retouching makes the most sense after those earlier decisions are already locked.
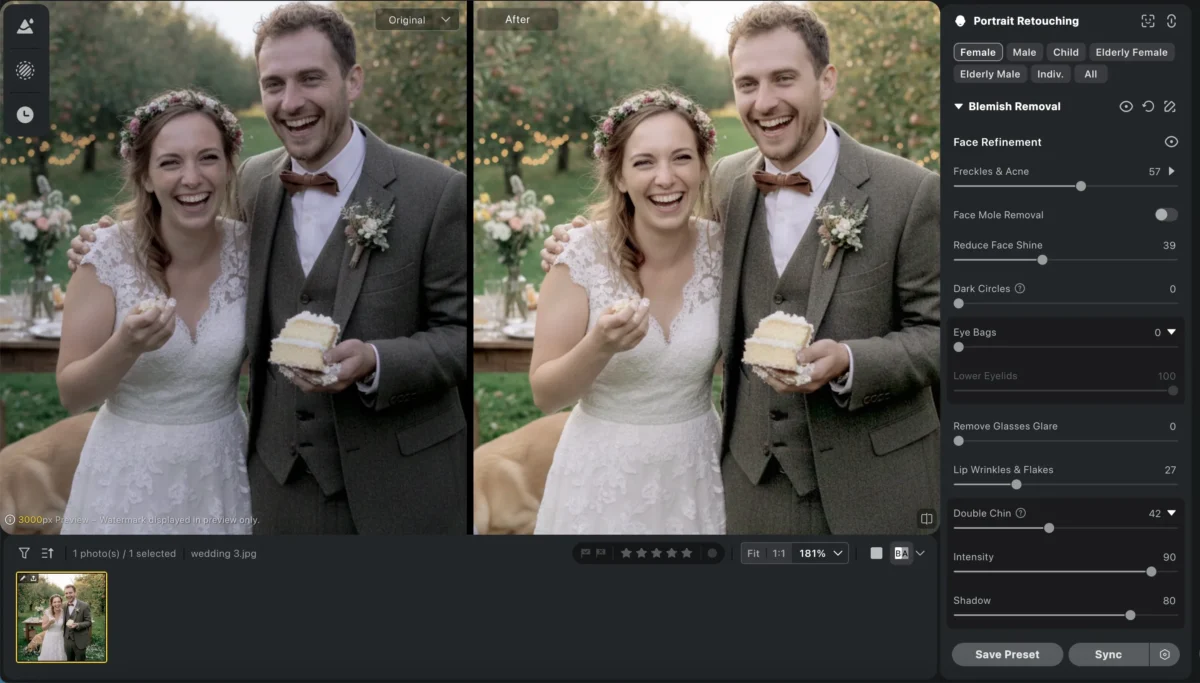
Manual spot-checking still matters. Even when the repetitive finishing gets faster, you still need to review the set for face consistency, dress detail, suit detail, and any frame that needs a lighter touch.
Then move the gallery into delivery. The goal is a portrait set that stays visually consistent from preview to final handoff, not a batch that looks like five different edits happened on five different days.
Final Thoughts
Strong wedding portrait photography does not come from waiting for perfect conditions. It comes from controlling the sequence before the day controls you: prepare the portrait window, secure the must-have frames first, and keep the finishing process steady enough that fast gallery delivery does not break the set.
When the prep is clear, the shooting order is controlled, and the workflow stays clean, the wedding portraits get stronger and the delivery gets easier.
Try Evoto AI Photo Editor
Retouch photos with Evoto AI and make your photos best! Available on Windows, MacOS and iPadOS.



