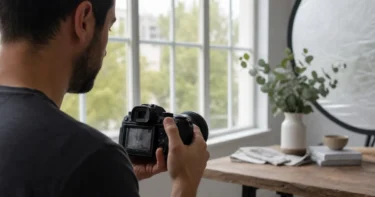
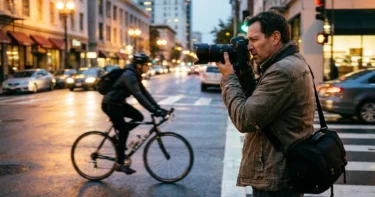
There is no single perfect recipe for child photography settings.
Kids sit, stand, run, lean into a parent, look away, then look back before you finish checking the histogram. Settings that work for a quiet seated portrait can fail ten seconds later when the same child jumps into a hug. The job is not to memorize a magic number. It is to start with settings that protect focus, freeze the moments that matter, and leave room to adapt when the child moves.
This guide covers practical starting points for shutter speed, aperture, ISO, autofocus, burst mode, and indoor versus outdoor child sessions.
Think in Priorities, Not Perfect Numbers
Child photography settings work best when you decide what fails first.
A soft expression with good exposure is still usable. A perfectly exposed blur of a moving face is not. Sharp eyes usually matter more than creamy background blur. Clean motion usually matters more than keeping ISO as low as possible.
Set your priorities in this order:
- shutter speed for the child’s movement
- autofocus that can track
- aperture that protects the face
- ISO that protects the exposure
- creative depth of field last
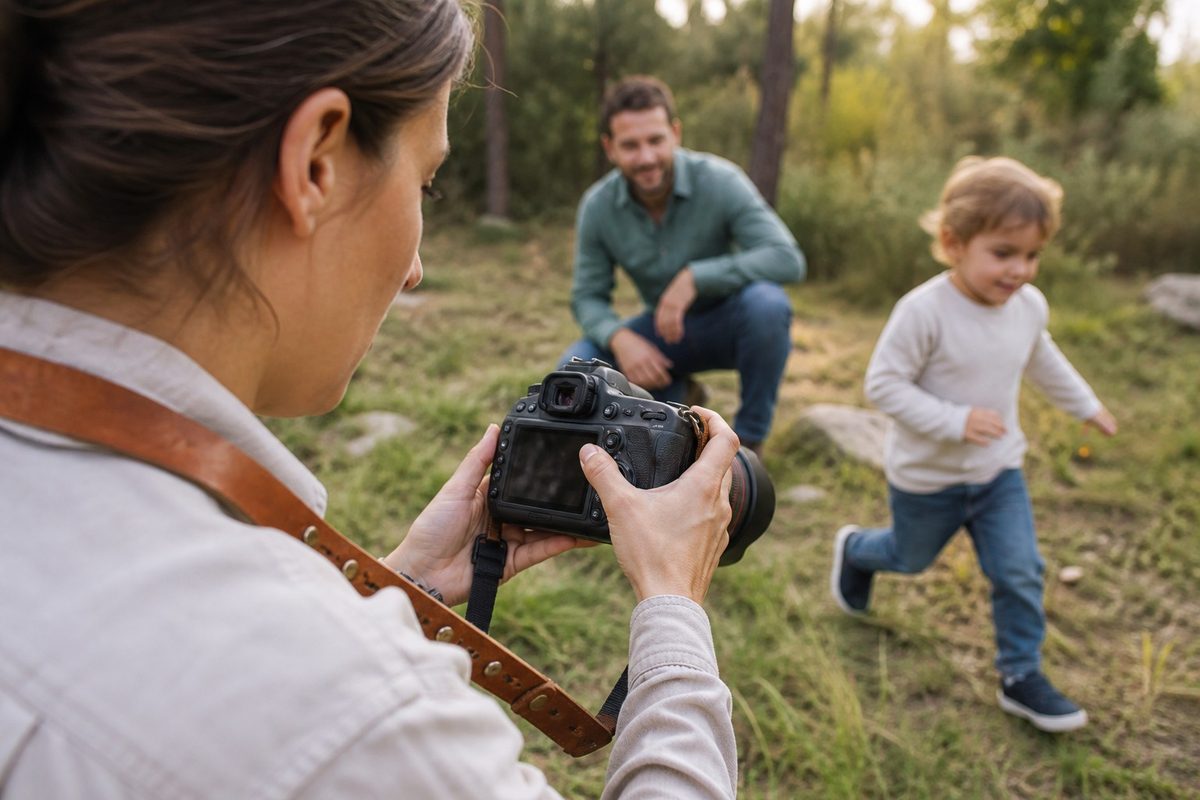
If the light drops, raise ISO before you slow the shutter into a blur zone. If the child is still, you can open the aperture more. If the child starts running, close the aperture a little and push shutter speed first.
Shutter Speed: Protect the Face First
Shutter speed is usually the most important setting in kids photography.
Children do not move like adults posing for a headshot. Even a “still” toddler may rock, turn, or reach for a toy mid-frame. If the shutter is too slow, eyes soften, hands smear, and the best expression becomes unusable.
Practical starting points:
- seated or quiet portrait: 1/250s–1/400s
- walking, turning, light play: 1/500s or faster
- running, jumping, spinning, parent pickups: 1/800s–1/1250s
- very fast outdoor play: 1/1600s or higher when light allows
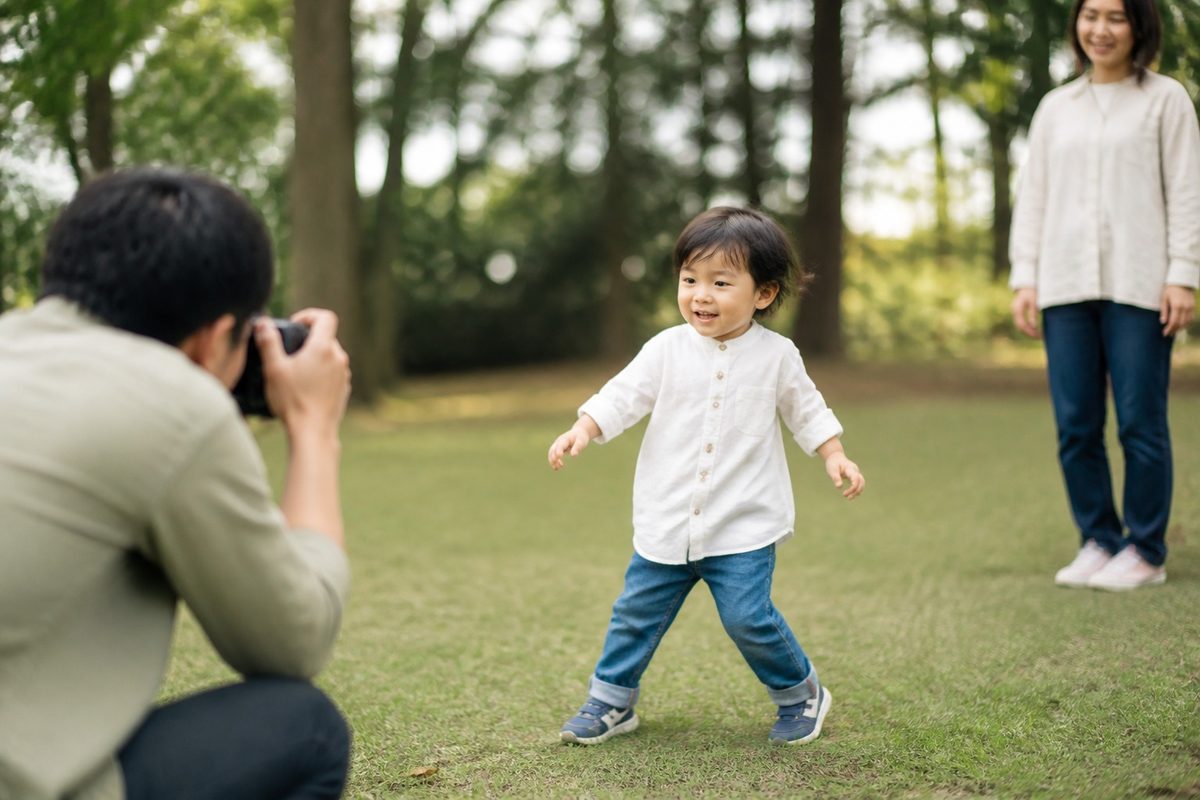
Do not wait until you see blur in the files. If the child is unpredictable, give yourself margin. A slightly higher shutter speed costs less than missing the one sharp frame parents will love.
For more on photographing active kids once settings are ready, see How to Photograph Kids Who Won’t Sit Still.
Aperture: Soft Background Without Losing Focus
Wide apertures look beautiful on child portraits, but they can also make focus fragile.
At f/1.4 or f/1.8, a small lean toward the camera can put the nose sharp and the eyes soft. That risk gets worse when the child is moving, when you are tracking at eye level, or when siblings are standing at different distances.
Safer working ranges for many child sessions:
- quiet solo portraits: f/2–f/2.8
- parent and child together: f/2.8–f/4
- siblings or small groups: f/4–f/5.6
- running kids where focus may shift: f/4 or deeper
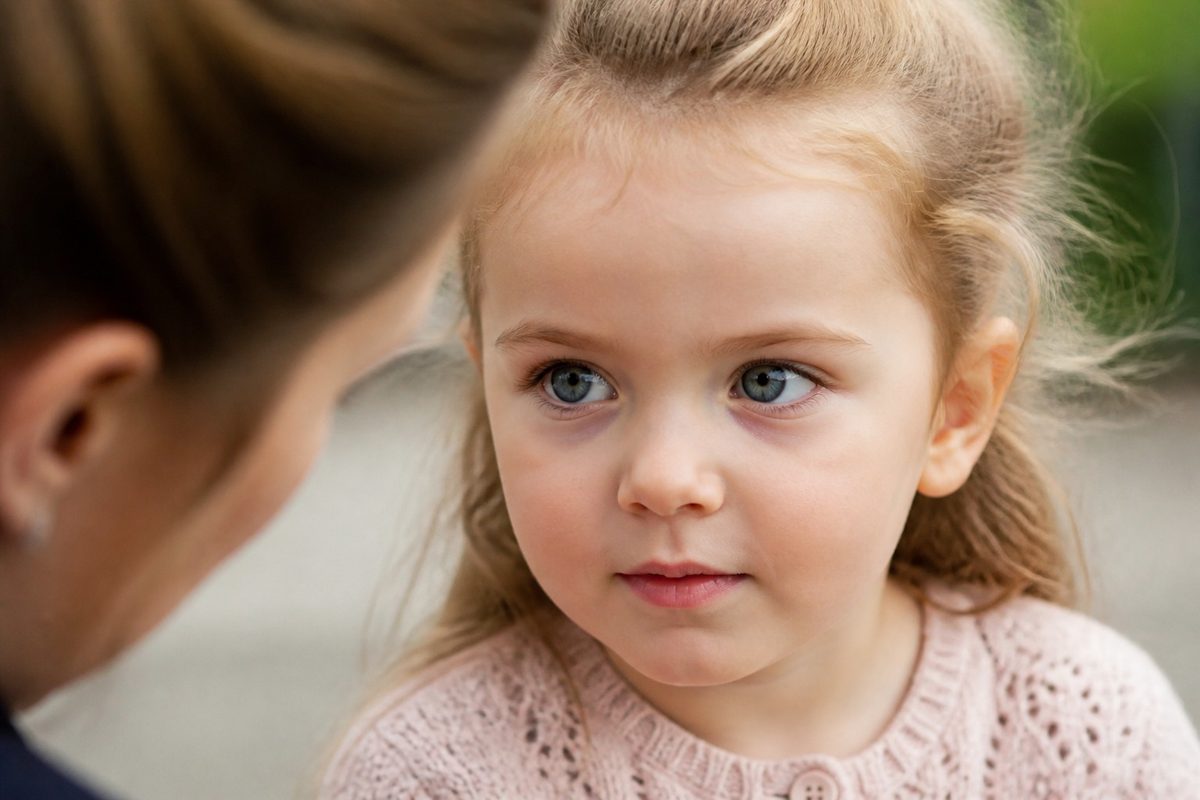
Use the widest aperture only when the child is relatively still and your autofocus is locking cleanly on the eyes. Soft background is useful. Soft eyes are not.
ISO: Raise It Before You Lose Motion
Low ISO looks clean on a test chart. It does not help if the shutter is too slow.
In child photography, a little noise is usually easier to manage than motion blur. Modern cameras handle ISO well enough that raising it is often the better professional choice.
A practical approach:
- keep ISO as low as the light allows
- raise ISO before dropping below a safe shutter speed
- accept moderate noise for sharp eyes
- shoot RAW so you have more recovery room later
- check skin carefully when ISO climbs indoors
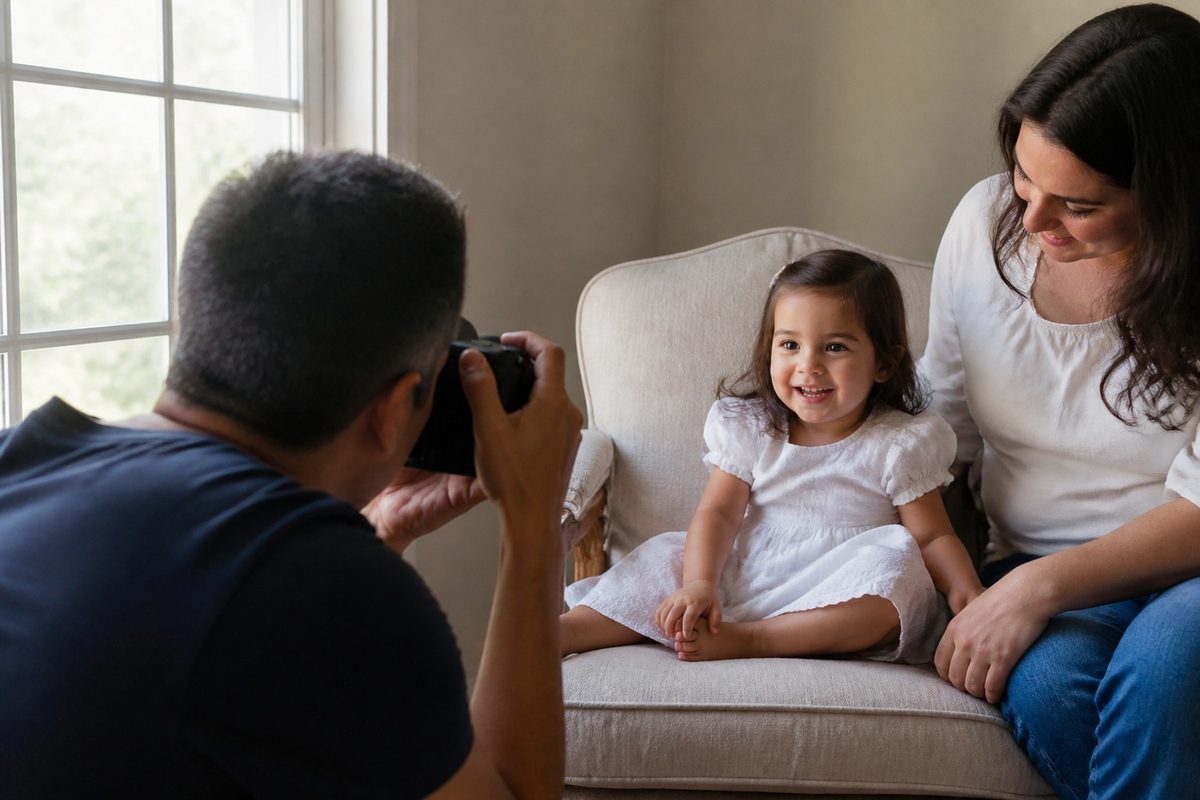
Do not chase “ISO 100 purity” during a toddler session. If the light is soft and the child is moving, a clean, sharp ISO 1600 file is more useful than a blurred ISO 400 file.
Autofocus: Choose Tracking Over Single-Shot Comfort
Single-shot autofocus works for still subjects. Kids rarely stay still long enough for it to feel reliable.
Continuous autofocus is usually the better default for child photography. Eye detection helps when it stays locked. If eye AF starts hunting, switch to a single point or a small zone on the face and recompose carefully.
Useful AF habits:
- continuous AF / AI Servo as the default
- eye detection when tracking is stable
- face or zone AF when eye AF struggles
- back-button focus if that keeps your workflow cleaner
- pre-focus on the path where the child will move
- refocus after every big direction change
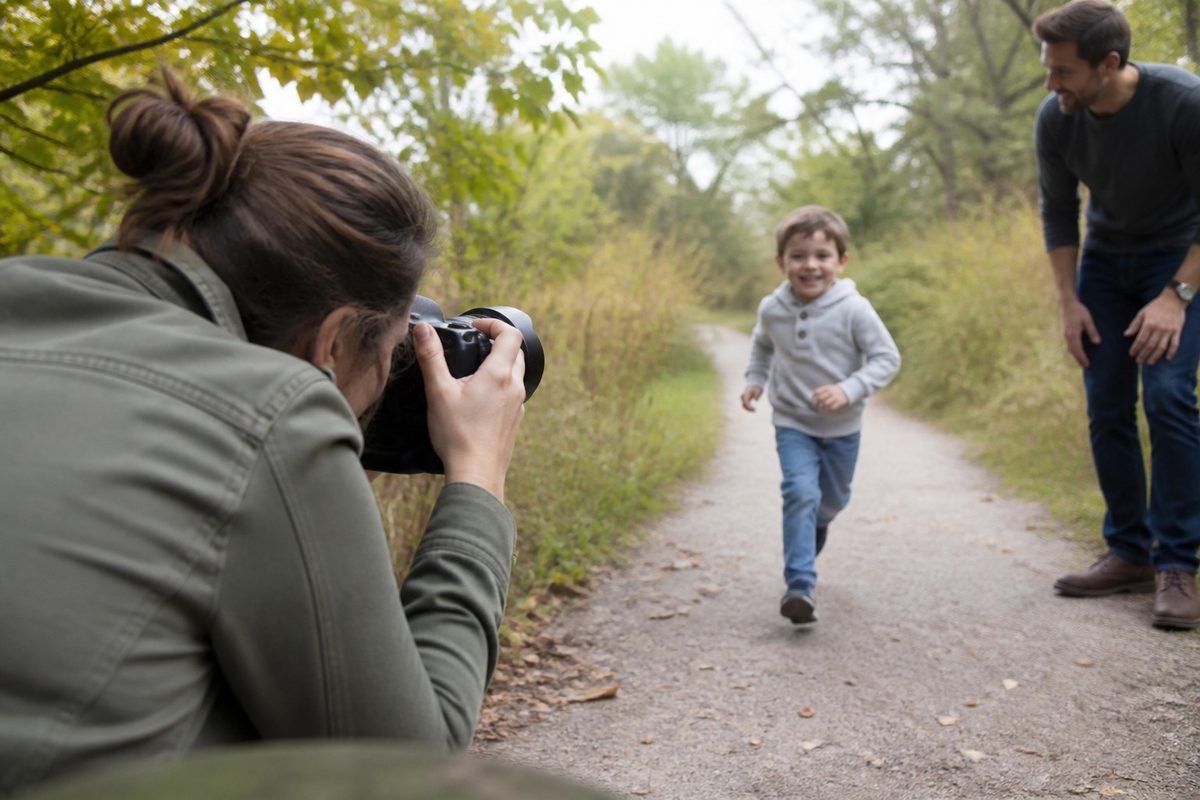
Test your camera’s tracking before the session, not during it. Some bodies track better in open shade than under patchy tree light. Some lenses hunt in low indoor light. Know where your system gets unreliable.
Burst Mode: Use It, Don’t Lean on It
Burst mode helps with peak expressions. It also creates hundreds of near-duplicates.
Use short bursts for clear actions: a jump, a laugh, a turn, a hug, a parent lift. Do not hold the shutter through every quiet seated moment. You will spend more time culling than shooting.
A better rhythm:
- one clean single frame for quiet poses
- short bursts for movement peaks
- pause between bursts to reset composition
- change the prompt before repeating the same action ten times
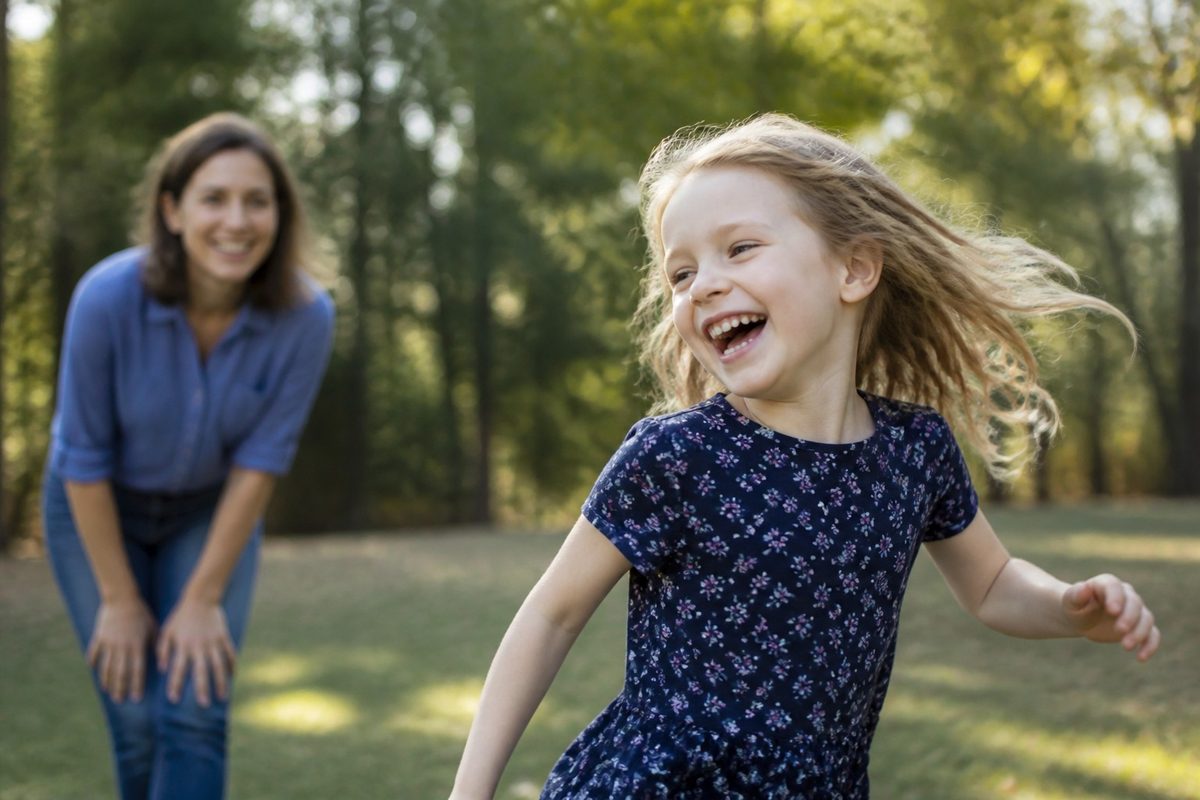
The setting is only useful if your selection process stays disciplined. Keep the frames that add expression or connection. Delete the almosts.
Exposure Mode: Stay Flexible
Manual mode is useful when the light is stable. Kids often move between shade, porch light, window light, and open sky within one session.
Aperture priority can work if you set a minimum shutter speed and watch ISO carefully. Shutter priority can work if you protect aperture enough for focus. Fully manual works best when you stay in one light pocket long enough to trust the exposure.
Many photographers use a hybrid approach:
- manual shutter and aperture
- auto ISO with a ceiling you accept
- exposure compensation when the background gets bright
- quick checks after moving into a new light pocket
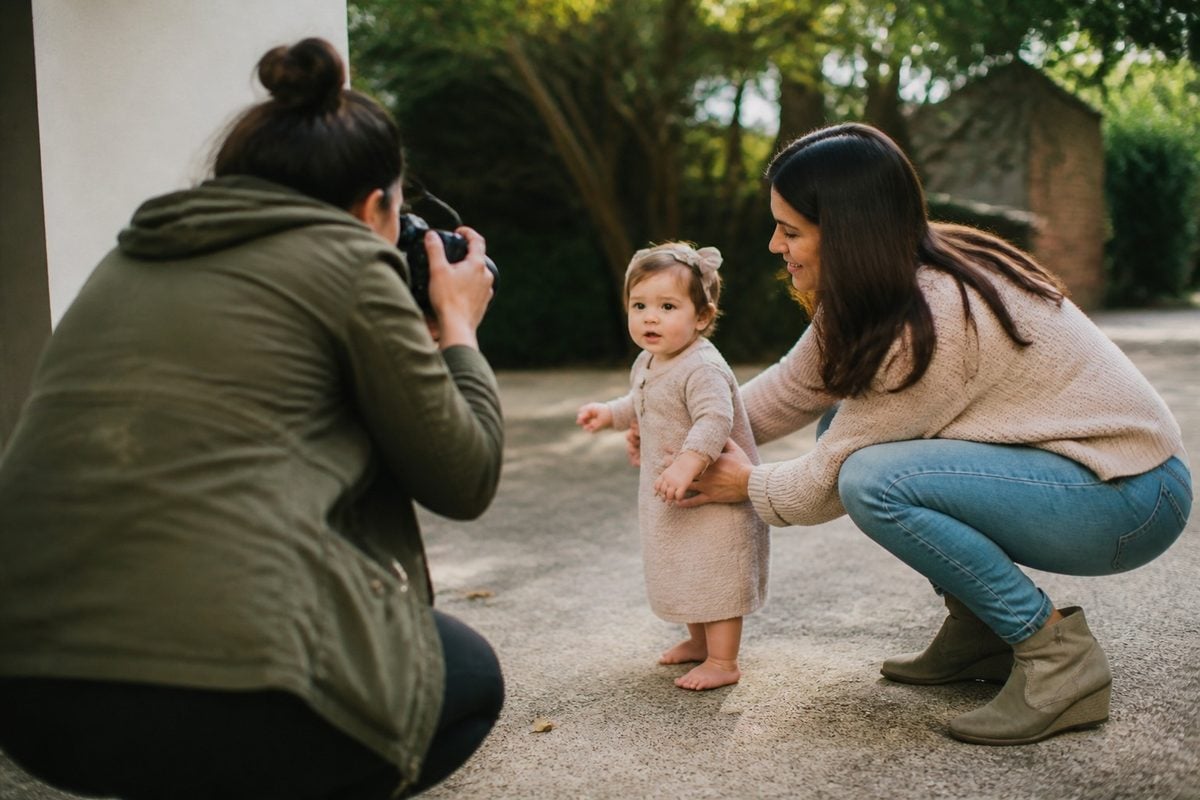
Whatever mode you choose, judge exposure by the face. Bright clothing, pale walls, grass, and sky can fool the meter. Skin is the priority.
White Balance and File Format
Auto white balance can drift when a child moves from grass shade to a warm porch or a cool window.
Shoot RAW whenever possible. It gives you more room to correct color later without destroying the file. If you prefer a custom white balance, set it when the light is stable, then reset when the location changes.
Watch for:
- green bounce from grass under the chin
- blue shade under trees
- warm lamp contamination indoors
- mixed window light and room lights
- orange over-warming in late-day sun
For a deeper foundation on correcting color temperature and tint, see White Balance in Photography: What It Is and How to Adjust It.
Indoor Child Photography Settings
Indoor light is often softer and weaker. That combination tempts photographers to drop shutter speed too far.
Start indoors with:
- shutter: 1/250s or faster if the child is active
- aperture: f/2–f/2.8 for solo portraits near a window
- ISO: raise as needed to protect shutter speed
- AF: continuous with eye or face tracking
- light: place the child near a window or open doorway first
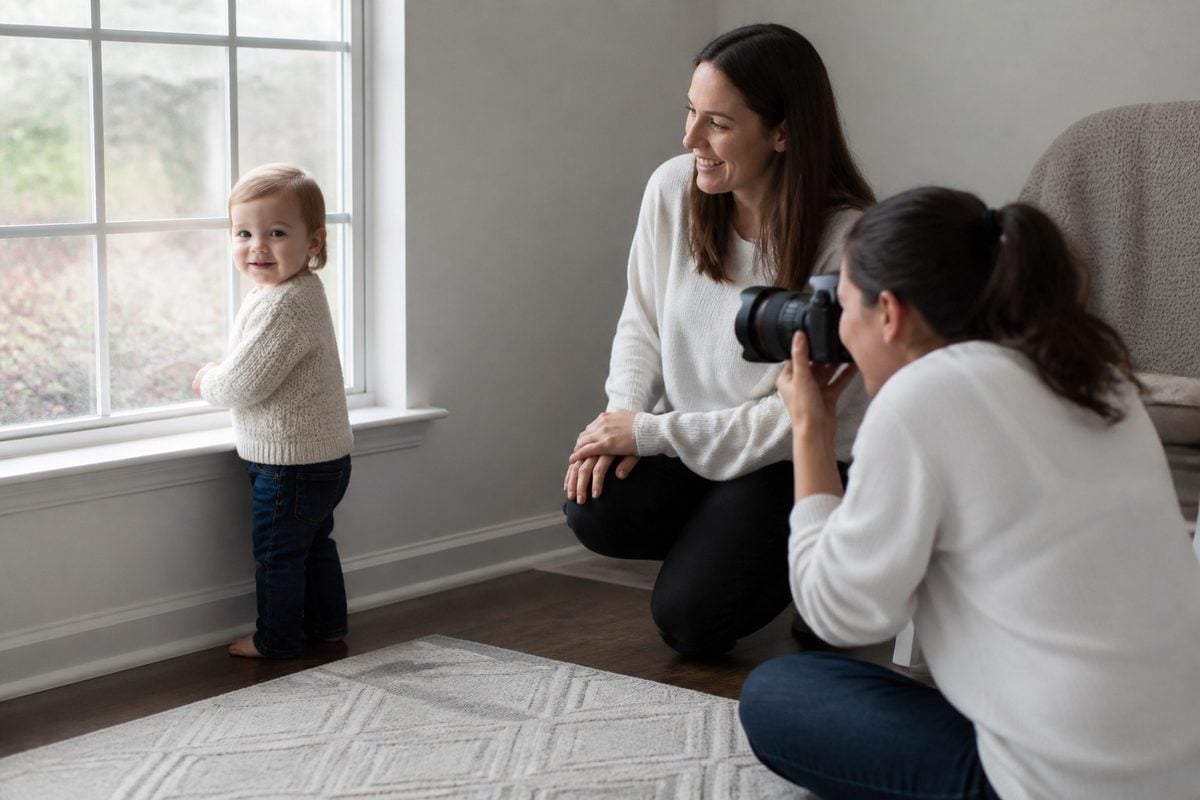
Avoid placing the child deep in the room if the light collapses. Move the child to the light before you force the camera to rescue a dark scene. If the ISO climbs high, that is often still better than introducing motion blur.
Outdoor Child Photography Settings
Outdoor light gives you more shutter speed, but it also creates contrast problems.
In open shade, you can often use cleaner settings with less noise. In harsh sun, protect the face first. In golden hour, watch warmth and flare while keeping shutter speed high enough for movement.
Outdoor starting points:
- open shade walking: 1/500s, f/2.8–f/4, ISO as needed
- open play or running: 1/800s–1/1250s, f/4, ISO as needed
- quiet seated portrait: 1/320s–1/500s, f/2–f/2.8
- siblings together: f/4 or deeper
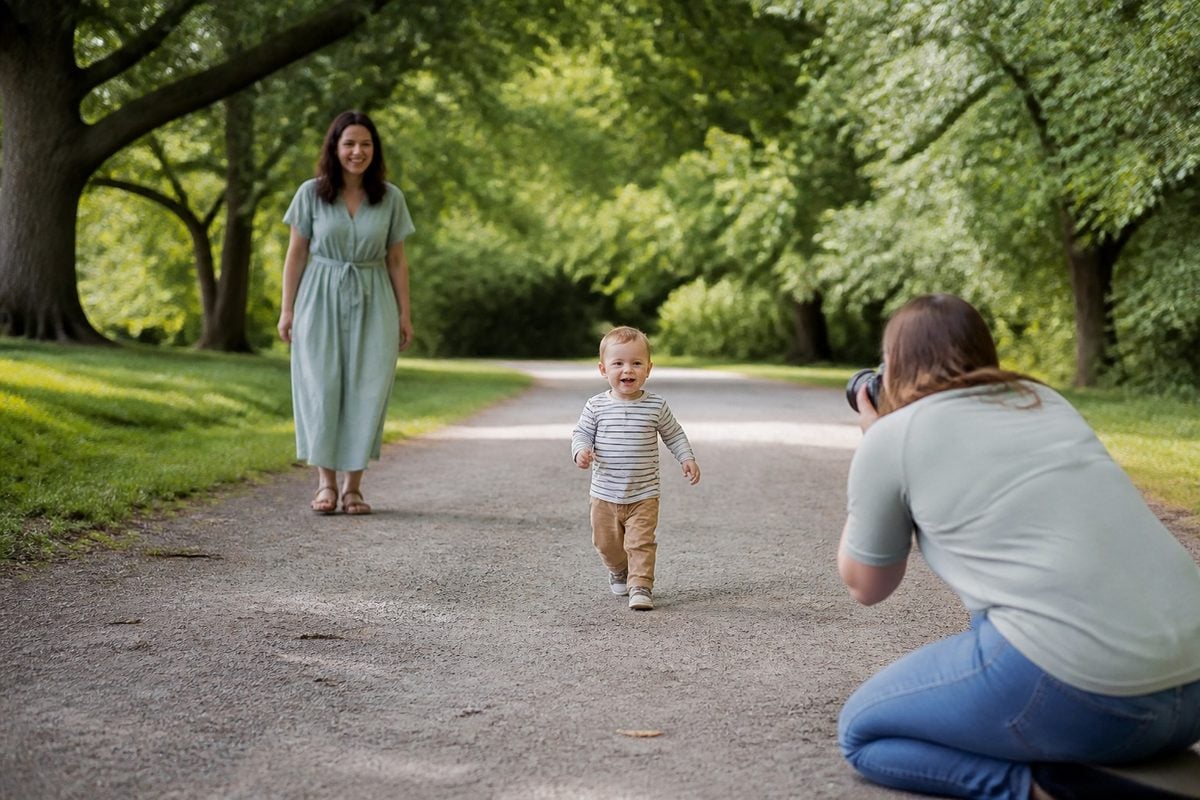
If the background is much brighter than the face, expose for skin. A slightly bright background is easier to manage than underexposed eyes.
Settings by Situation
Use these as starting points, then adjust to your camera and lens.
| Situation | Shutter | Aperture | Notes |
| Quiet seated toddler | 1/250–1/400 | f/2–f/2.8 | Watch small leans |
| Walking child | 1/500+ | f/2.8–f/4 | Continuous AF |
| Running / play | 1/800–1/1250 | f/4–f/5.6 | Short bursts |
| Parent + child | 1/400–1/800 | f/2.8–f/4 | Keep both faces sharp |
| Siblings | 1/500+ | f/4–f/5.6 | Depth over creaminess |
| Indoor window light | 1/250+ | f/2–f/2.8 | Raise ISO freely |
These numbers are not sacred. They are useful defaults when you need to move quickly.
After the Shoot: Settings Create Post Work Too
Fast shutter speeds, continuous AF, and burst mode create more keepers. They also create more near-duplicates, focus misses, and high-ISO frames.
A clean post workflow matters as much as the shooting settings:
- cull for sharp eyes and real expression first
- discard near-duplicates aggressively
- correct white balance before creative color
- reduce noise only as much as needed
- keep children’s skin texture believable
This is where Evoto fits after the session. AI Culling helps when short bursts create piles of almost-identical frames. For indoor sessions where ISO climbs, AI Image Denoiser can clean noise without flattening skin. Use Camera RAW Editor for exposure, white balance, and highlight recovery before a light finishing pass with Portrait Retouching.


Powerful AI Photo Editor
Child Photography Settings Checklist
Before the session:
- Is continuous AF on?
- Is eye or face detection enabled?
- Is shutter speed high enough for expected movement?
- Is aperture deep enough for the number of subjects?
- Is RAW enabled?
- Do you know your ISO comfort ceiling?
During the session:
- Check shutter first when the child speeds up
- Recheck exposure after changing light pockets
- Use short bursts only for peak moments
- Watch eyes, not just the histogram
- Raise ISO before accepting blur
Before delivery:
- Are the selected frames actually sharp where it matters?
- Did noise reduction leave skin looking natural?
- Are white balance and skin tone consistent?
- Did you keep variety instead of every burst frame?
Final Thoughts
The best camera settings for child photography are the ones that keep up with real kids.
Start with shutter speed. Protect focus. Give aperture enough depth. Raise ISO when the light asks for it. Use continuous autofocus and short bursts with intention. Then cull hard and edit lightly so the final gallery feels sharp, natural, and alive.
Settings will not create connection on their own. They just make sure the real moments are still there when you open the files.
Try Evoto AI Photo Editor
Retouch photos with Evoto AI and make your photos best! Available on Windows, MacOS and iPadOS.