

If you’re new to photography, one of the first technical terms you’ll encounter is ISO. Together with aperture and shutter speed, ISO forms the exposure triangle, which determines how bright or dark your photo appears.
Understanding ISO in photography helps you shoot in different lighting conditions, control exposure, and maintain image quality. In this guide, you’ll learn what ISO is, how ISO settings work, and how to choose the best ISO for your photos.
What Is ISO in Photography?
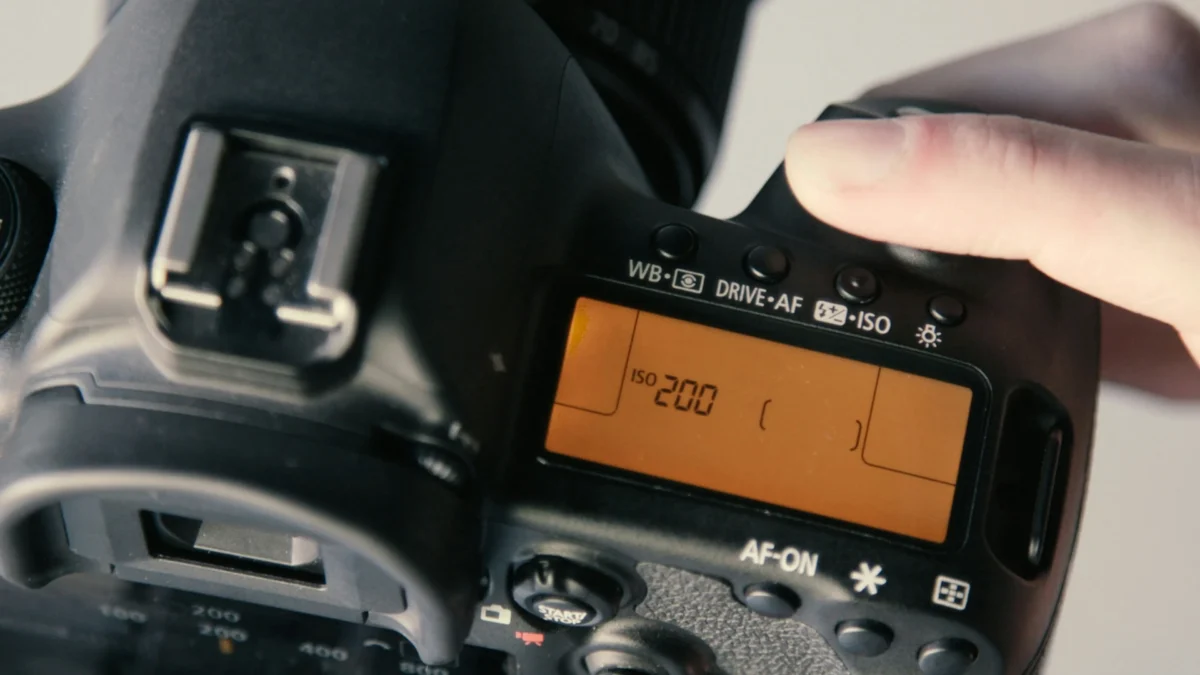
ISO in photography refers to your camera sensor’s sensitivity to light.
The higher the ISO value, the more sensitive the sensor becomes, making your image brighter. Lower ISO values make the sensor less sensitive to light, resulting in darker images but higher quality.
Typical ISO numbers include:
- ISO 100
- ISO 200
- ISO 400
- ISO 800
- ISO 1600
- ISO 3200 and higher
These numbers usually double each step, meaning each increase allows your camera to capture twice as much light.
For example:
- ISO 100 – low sensitivity, best image quality
- ISO 1600 – higher sensitivity, brighter image in low light
Photographers adjust ISO settings depending on the lighting environment and creative goals.
ISO and the Exposure Triangle
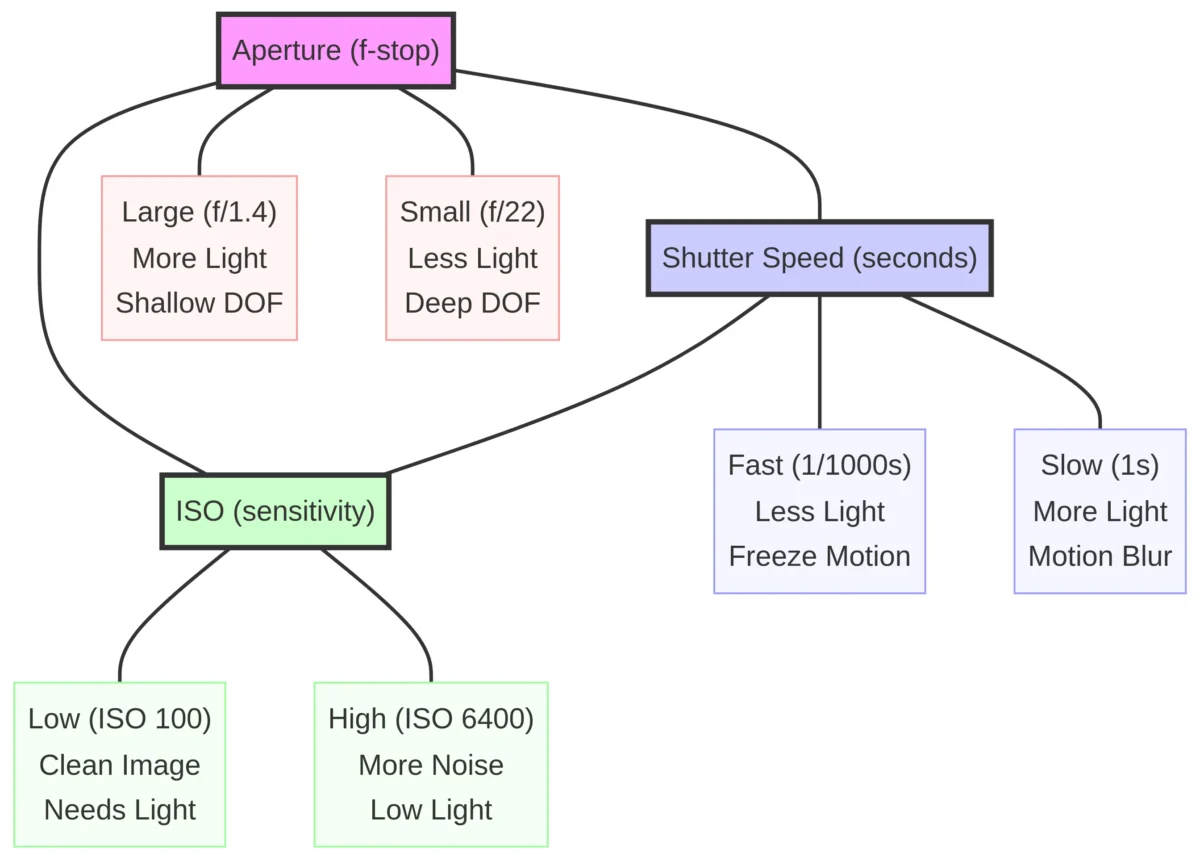
ISO is one of the three key settings in photography exposure.
The exposure triangle includes:
Aperture
Controls how much light enters the lens.
Shutter Speed
Controls how long the camera sensor is exposed to light.
ISO
Controls how sensitive the sensor is to that light.
For example:
- If you increase ISO, your image becomes brighter.
- This allows you to use faster shutter speeds or smaller apertures.
Understanding this balance helps photographers achieve the right exposure without sacrificing image quality.
Common ISO Settings and When to Use Them
Choosing the correct ISO settings depends on lighting conditions.
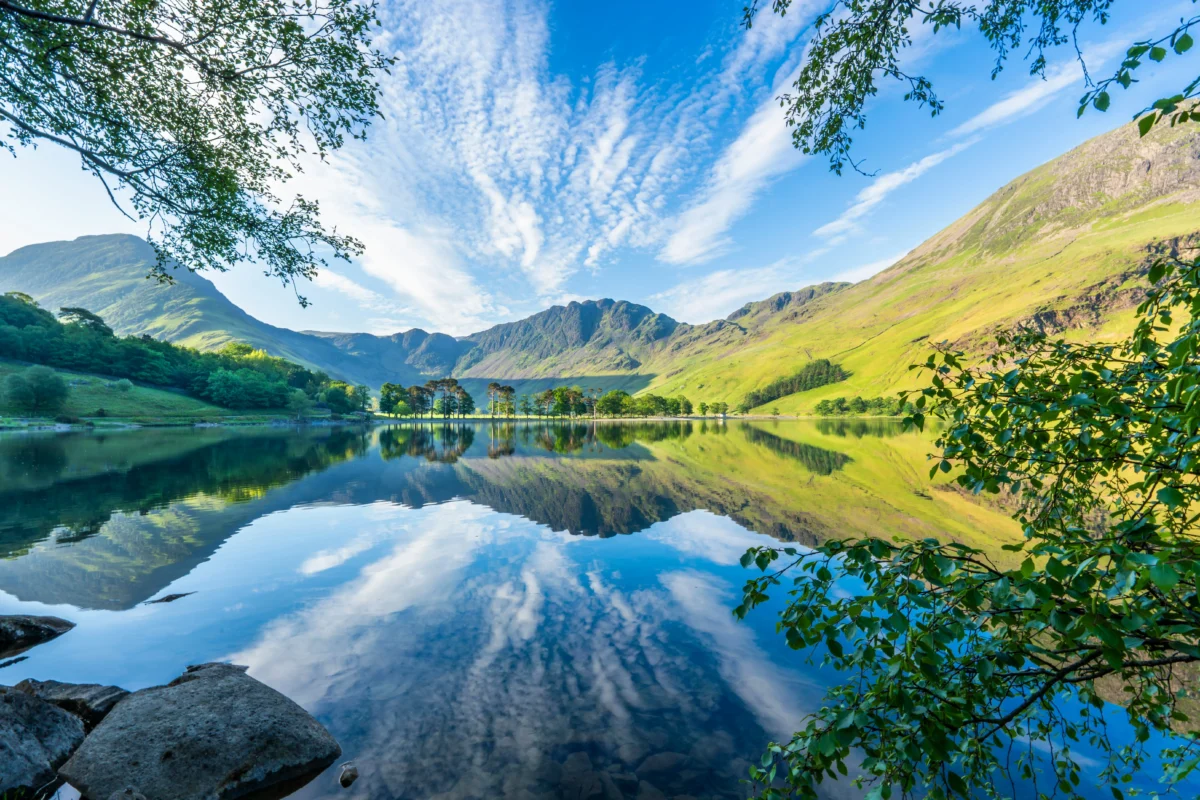
ISO 100–200
Best for bright daylight photography, such as landscapes or outdoor portraits.
Benefits:
- Minimal noise
- Maximum image quality
ISO 400–800
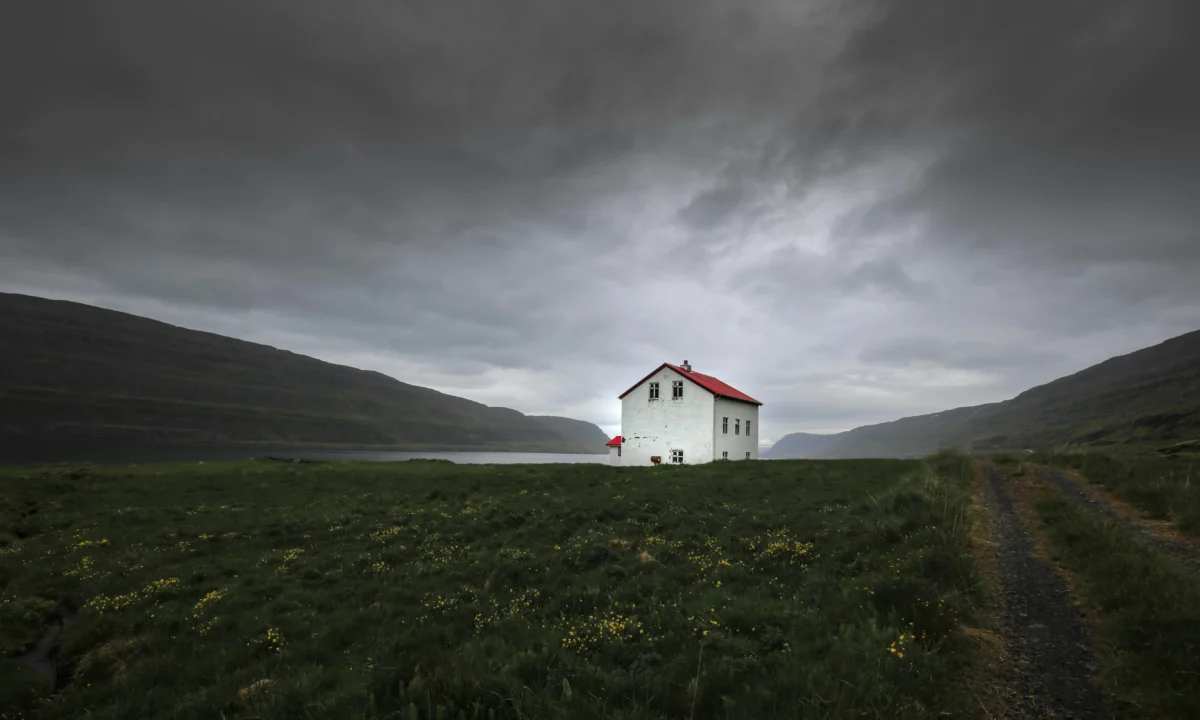
Suitable for:
- Cloudy weather
- Indoor photography with natural light
This range provides a good balance between brightness and image quality.
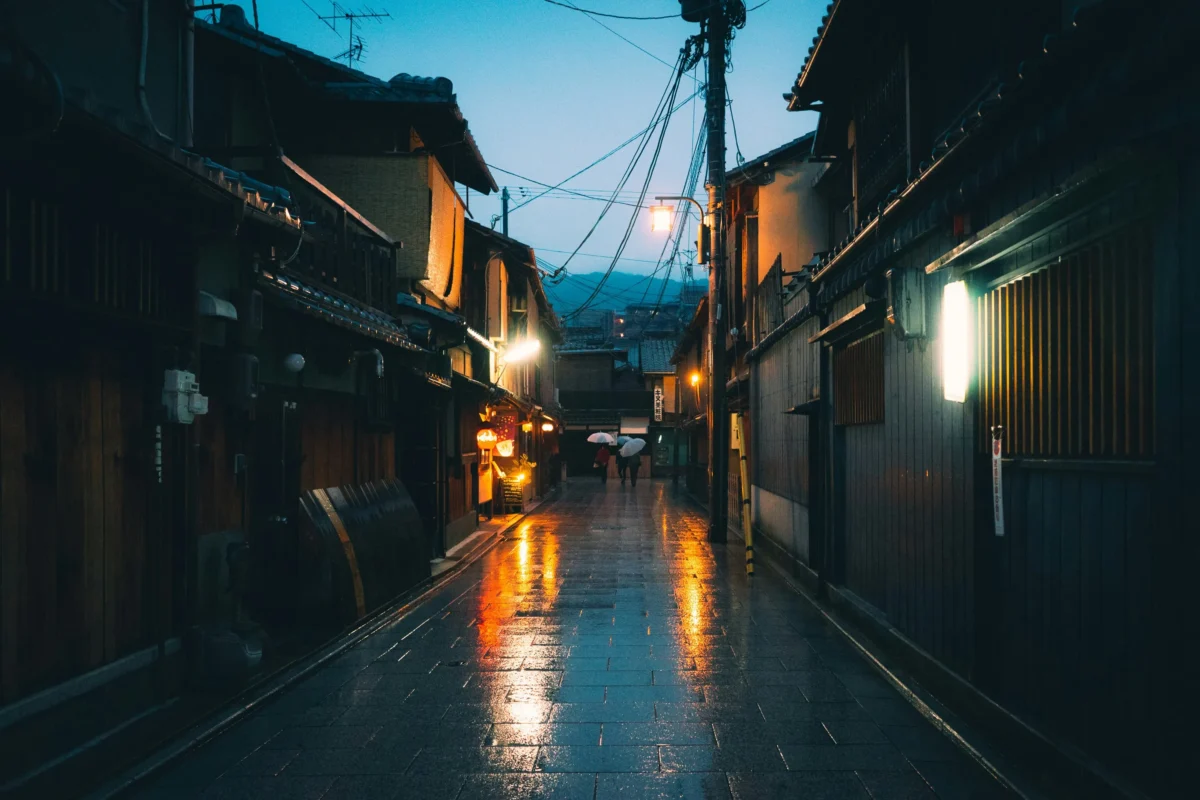
ISO 1600–3200
Often used for:
- Indoor events
- Night photography
- Sports photography
Higher ISO allows faster shutter speeds but may introduce digital noise.
ISO 6400 and Above
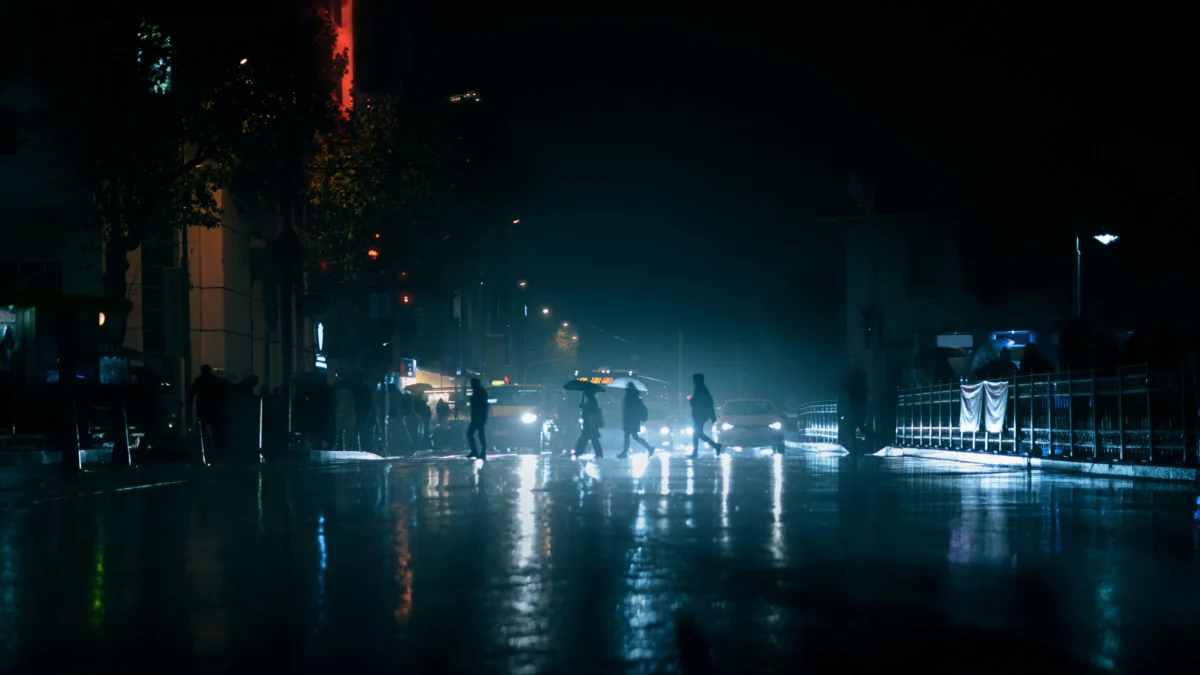
Useful in very low-light conditions, such as concerts or night street photography.
However, images may become grainy due to increased noise.
How ISO Affects Image Quality
While high ISO helps brighten photos, it can also affect image quality.
Image Noise
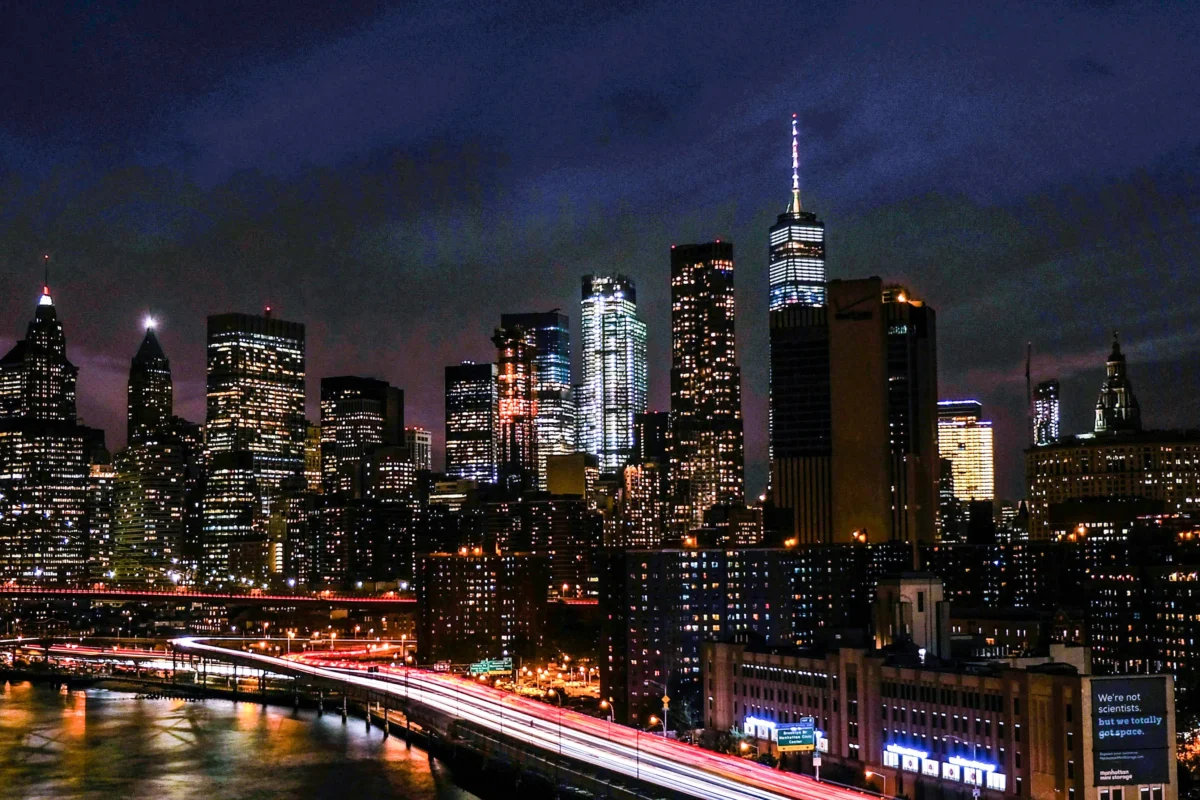
The most noticeable effect of high ISO is digital noise, which appears as grain or colored speckles in photos.
Reduced Detail
High ISO may reduce sharpness and fine detail in the image.
Lower Dynamic Range
Higher ISO can decrease dynamic range, making highlights and shadows harder to recover.
Because of these effects, photographers generally try to use the lowest ISO possible.
Tips for Choosing the Best ISO Settings
Here are some simple tips to help you choose the right camera ISO:
1. Start with the Lowest ISO
Begin with ISO 100 or your camera’s base ISO whenever lighting conditions allow.
2. Increase ISO for Low-Light Scenes
Raise ISO when shooting:
- Night photography
- Indoor events
- Fast-moving subjects
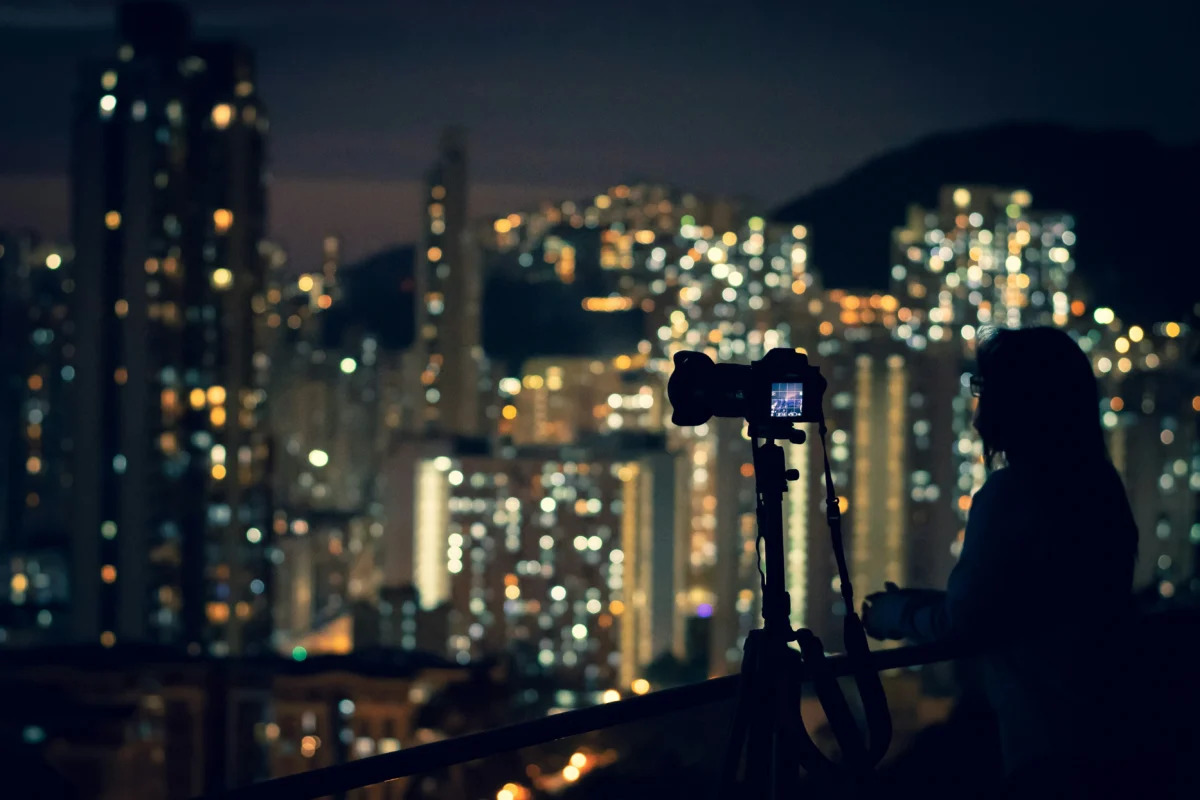
3. Use a Tripod When Possible
A tripod allows you to use slower shutter speeds instead of raising ISO, which helps maintain better image quality.
4. Adjust ISO with the Exposure Triangle
Balance ISO with aperture and shutter speed to achieve proper exposure without unnecessary noise.
How to Fix High ISO Noise in Photos
Even experienced photographers sometimes need to use high ISO settings, especially when shooting in low light. Unfortunately, this often leads to grainy or noisy photos.
Instead of discarding these images, you can enhance them using AI photo editing tools.
With Evoto, photographers can easily improve high-ISO photos with intelligent editing features:
- AI Culling automatically selects the best shots from large photo sets
- AI-powered noise reduction helps remove grain while preserving details
- Batch Edit allows you to correct multiple photos at once
These tools help photographers quickly improve image quality and maintain a consistent editing style.
How to Reduce High ISO Noise with Evoto
Here is a simple step-by-step workflow to remove ISO noise using Evoto.


Powerful AI Photo Editor
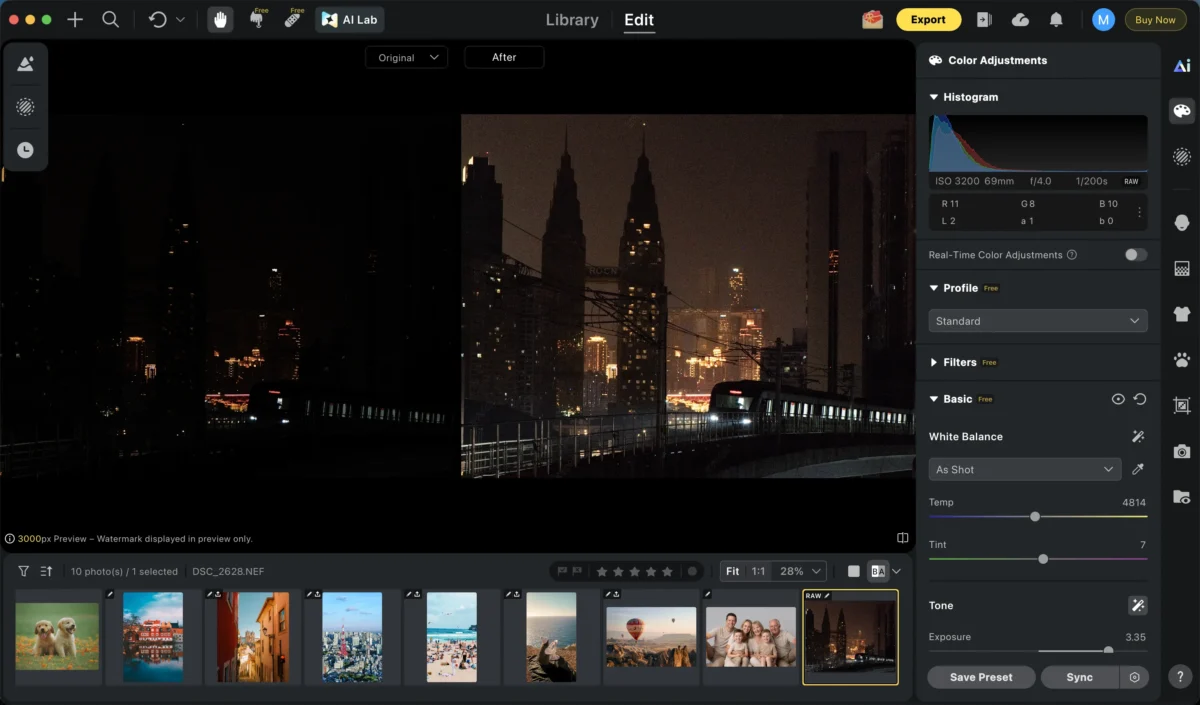
Step 1. Import Your Photo
Open Evoto and import your image into the editing workspace.
For best results, it is recommended to edit RAW files, as they contain more image data and allow AI tools to recover more detail during noise reduction.
Step 2. Apply AI Denoise
Navigate to the Denoise tool and enable AI noise reduction.
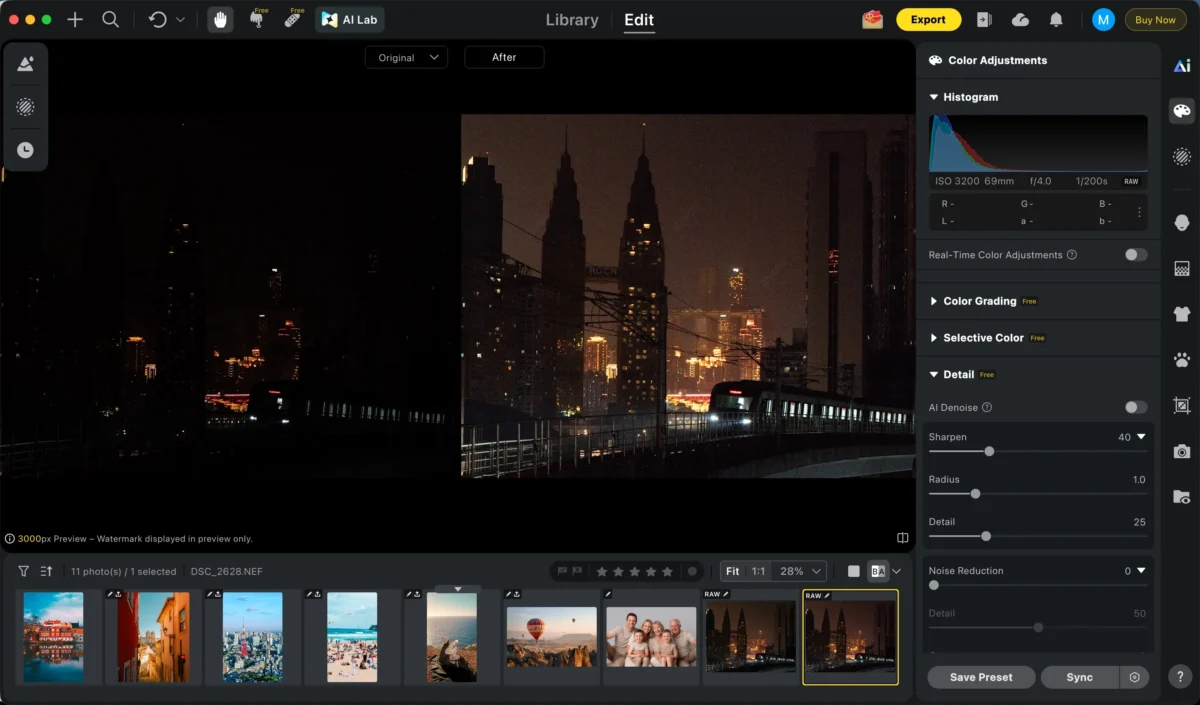
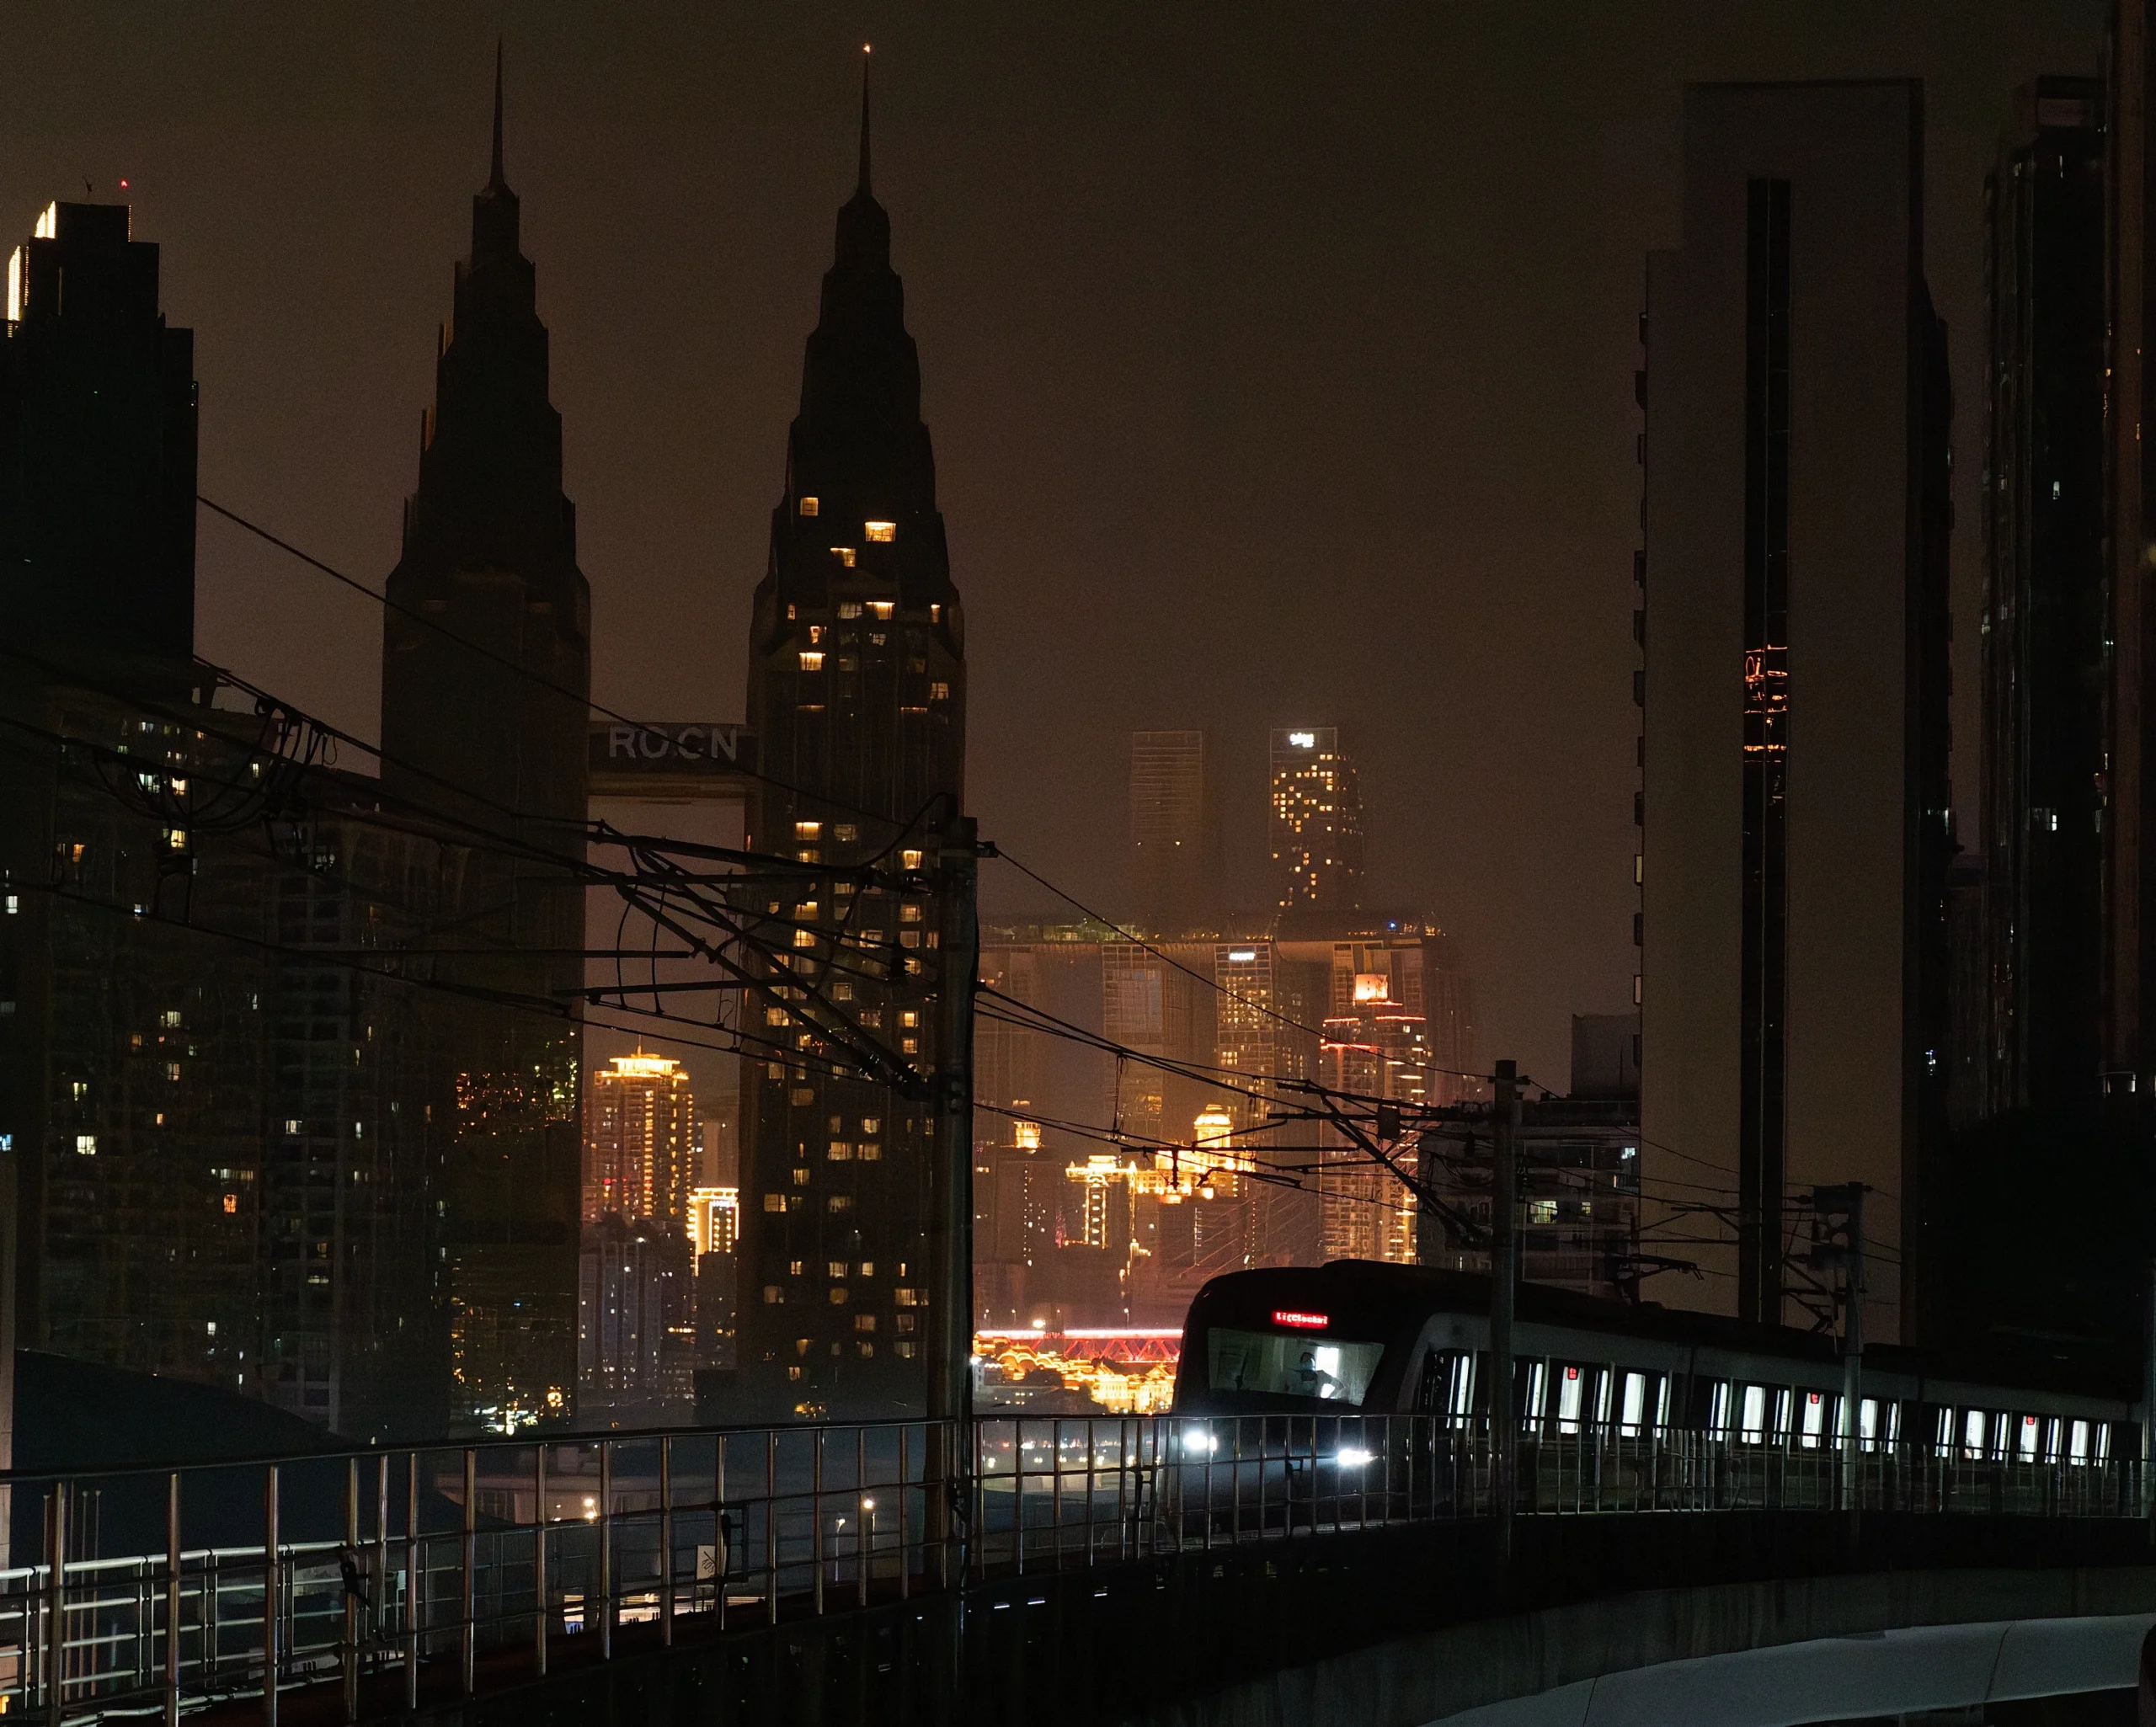
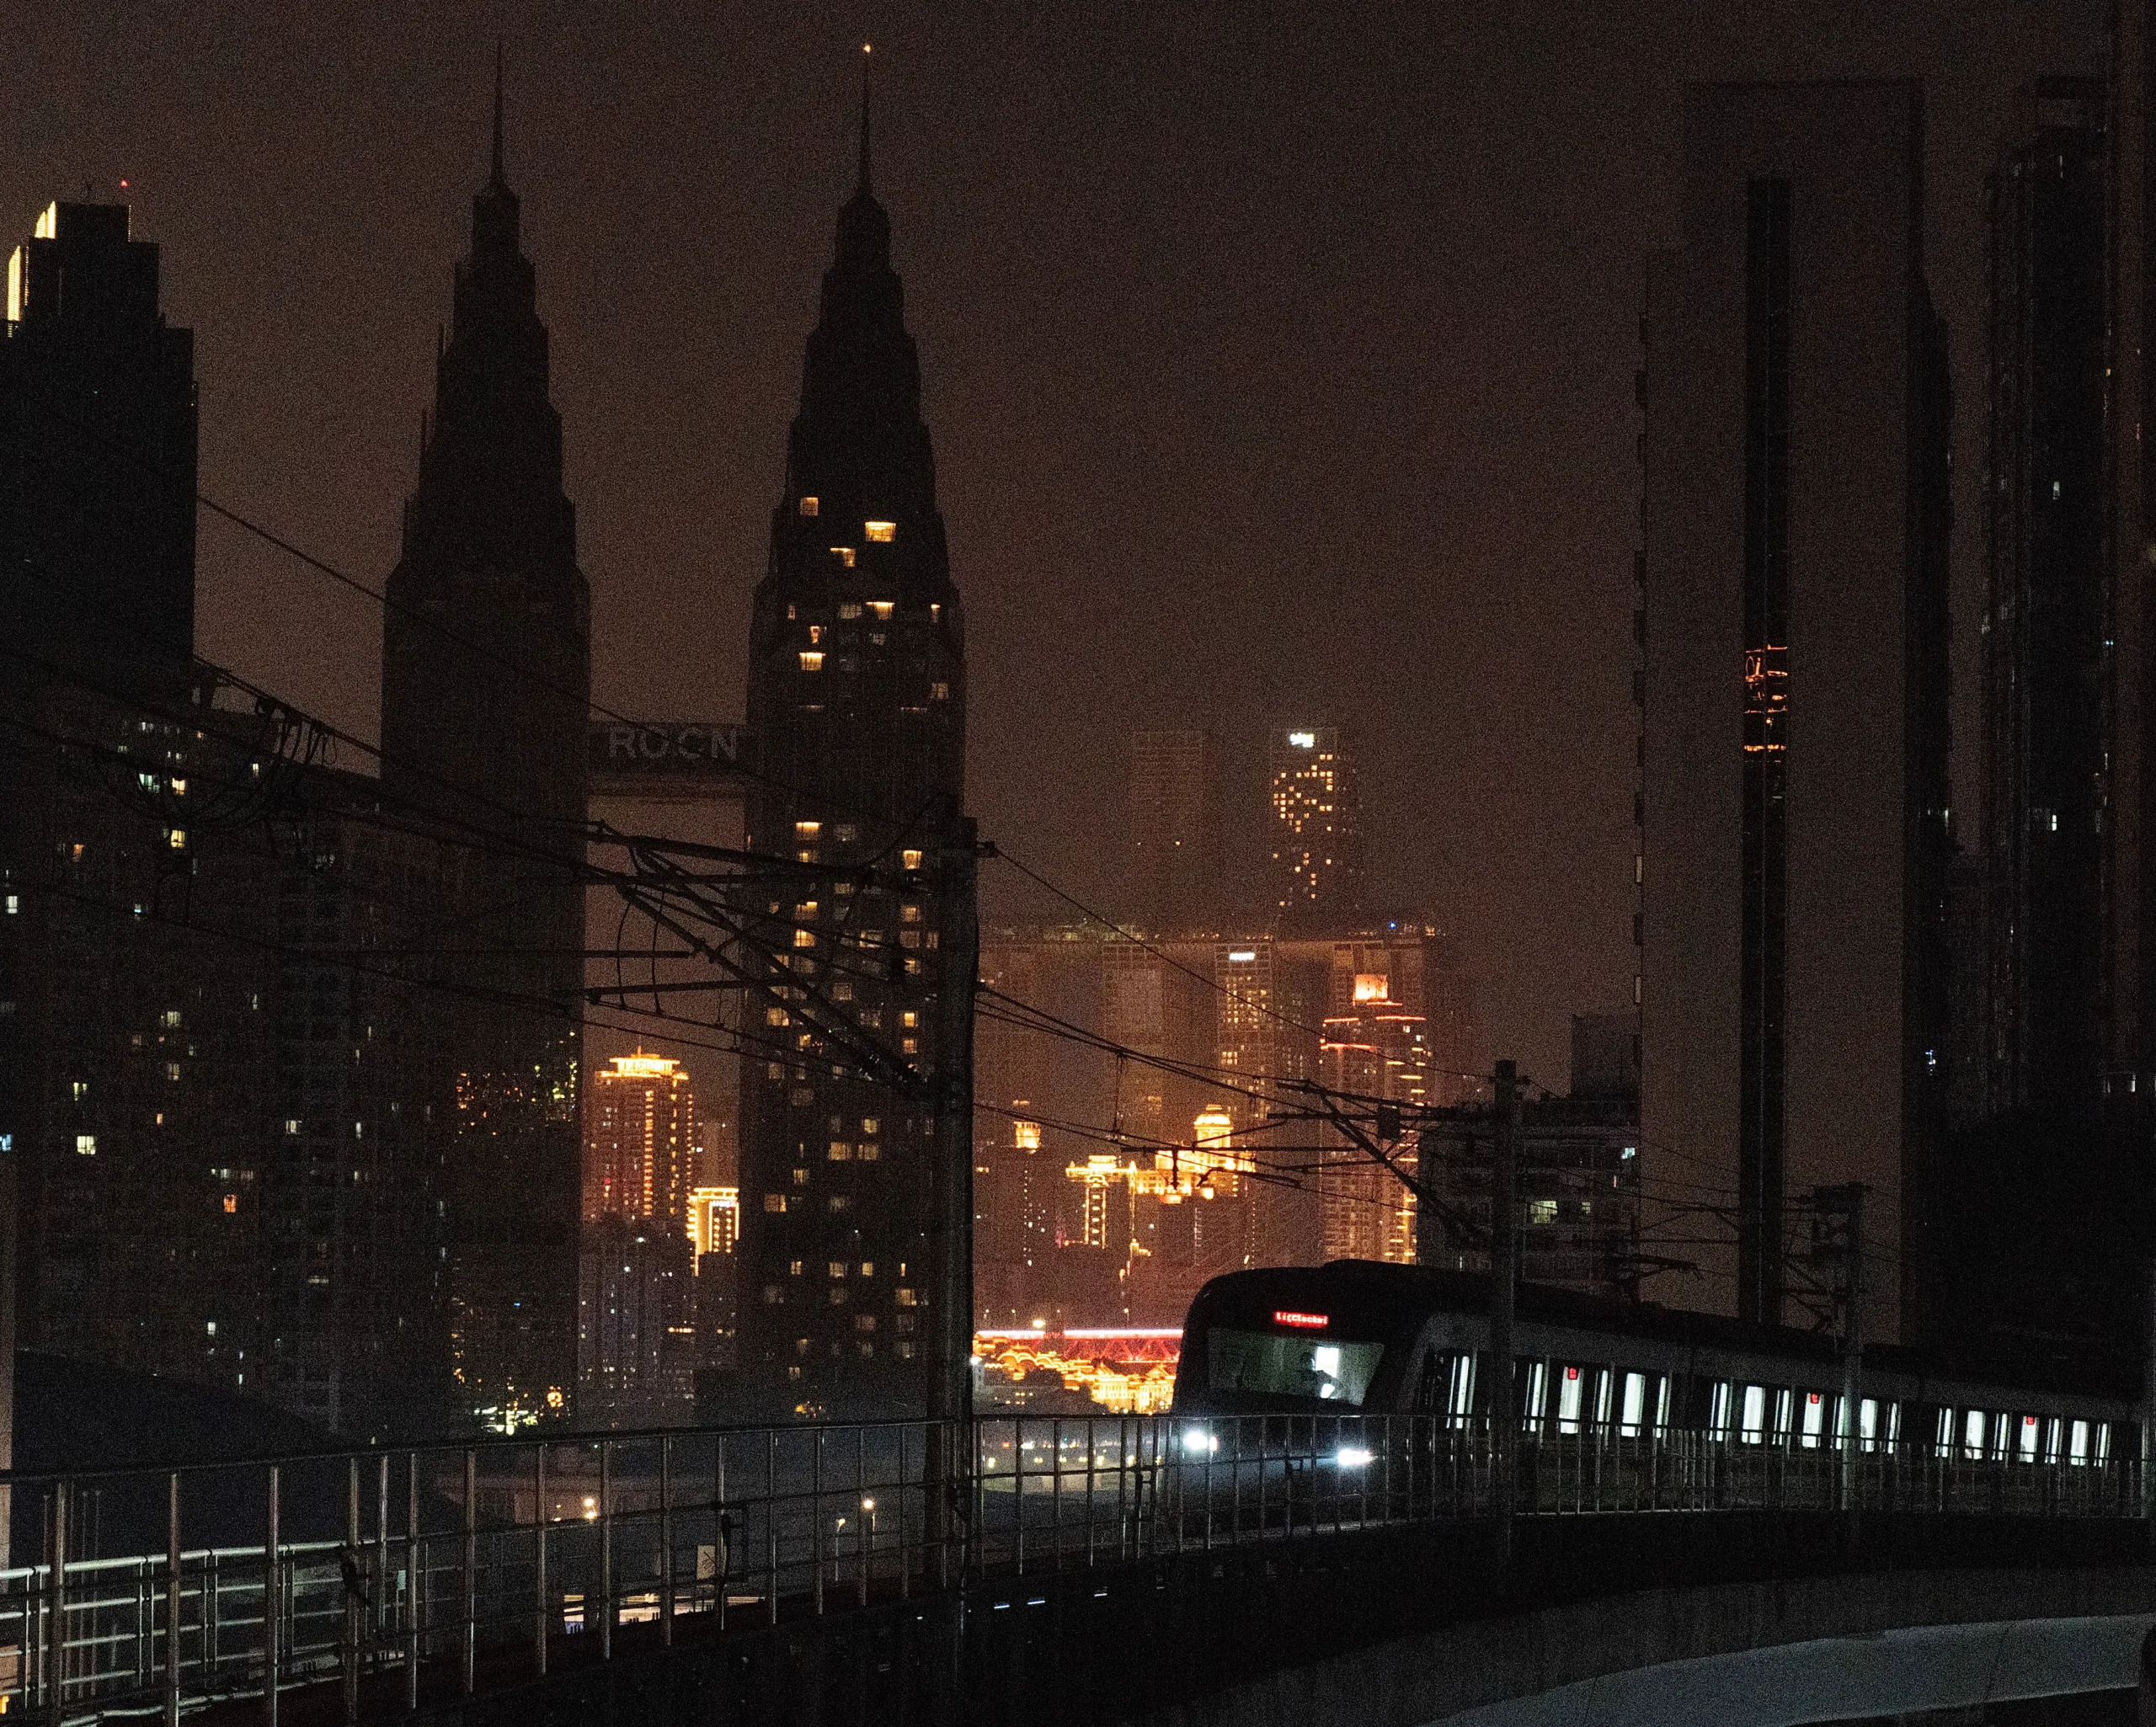
Evoto will automatically analyze the image and reduce grain while preserving fine textures and edges. You can adjust the strength of the effect depending on how much noise is present.
Step 3. Batch Edit Multiple Photos (Optional)
If you have many high-ISO images from the same shoot, you can use Batch Edit to apply the same noise reduction settings across multiple photos.
This saves time and ensures consistent results throughout your photo set.
Step 4. Export Your Edited Images
Once you’re satisfied with the results, click Export to save the cleaned images to your device.
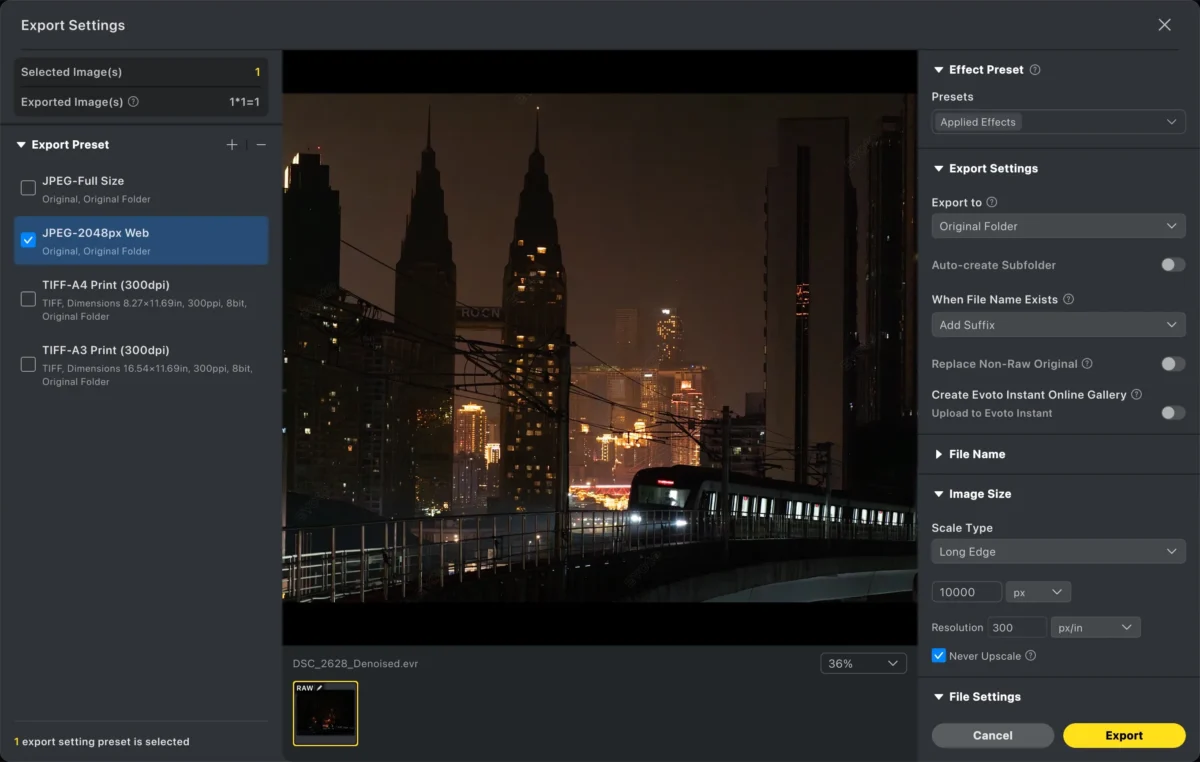
Your photos will now appear clearer, with significantly reduced noise and improved overall quality.
Final Thoughts
Understanding ISO in photography is essential for mastering your camera and improving your photos.
Key takeaways:
- ISO controls your camera sensor’s sensitivity to light
- Low ISO produces cleaner images
- High ISO helps in low-light situations but may introduce noise
- Balancing ISO with aperture and shutter speed is key to proper exposure
And if your photos still contain noise due to high ISO, tools like Evoto can help you enhance and refine your images with powerful AI editing features.
Try Evoto AI Photo Editor
Retouch photos with Evoto AI and make your photos best! Available on Windows, MacOS and iPadOS.



