

A portrait background does not need to be beautiful. It needs to do its job.
That job is simple: support the subject without stealing attention. In practice, this is where many portraits fall apart. The expression is good, the light is usable, and the pose works, but a bright sign, tree branch, window line, saturated wall, or cluttered edge pulls the viewer away from the face.
Choosing the best background for portrait photography is not about hunting for the prettiest wall or the most dramatic location. It is about reading the frame before the subject steps into it: separation, light, color, distance, edges, and how much cleanup the file will need later.
Start With Subject Separation
The first test is not whether the background looks interesting.
The first test is whether the subject reads clearly against it.
Look at the outline of the head, hair, shoulders, arms, and clothing. If the subject blends into the background, the portrait will feel weak even if the face is sharp. If a dark jacket sits against dark trees, or brown hair disappears into a warm wall, the viewer has to work harder than they should.
Before you shoot, check:
- Does the head separate from the background?
- Is the hair shape readable?
- Do shoulders disappear into dark areas?
- Is the face competing with a bright patch behind it?
- Does the clothing color merge with the location?

Good subject separation can come from light, contrast, color, depth of field, or distance. You do not need all of them at once. You need enough separation that the subject is the first thing the viewer understands.
Check the Light on the Background
A background that looks clean to your eye may become a problem once the camera reads the light.
Bright background patches are especially dangerous. A white sky behind the head, sunlit pavement behind the body, or a glowing window behind the face can become the brightest part of the portrait. When that happens, the viewer’s eye leaves the subject.
Before posing, look for:
- bright spots near the face
- hard light crossing the background
- patchy tree shade
- window reflections
- uneven wall brightness
- horizon lines cutting through the head or shoulders
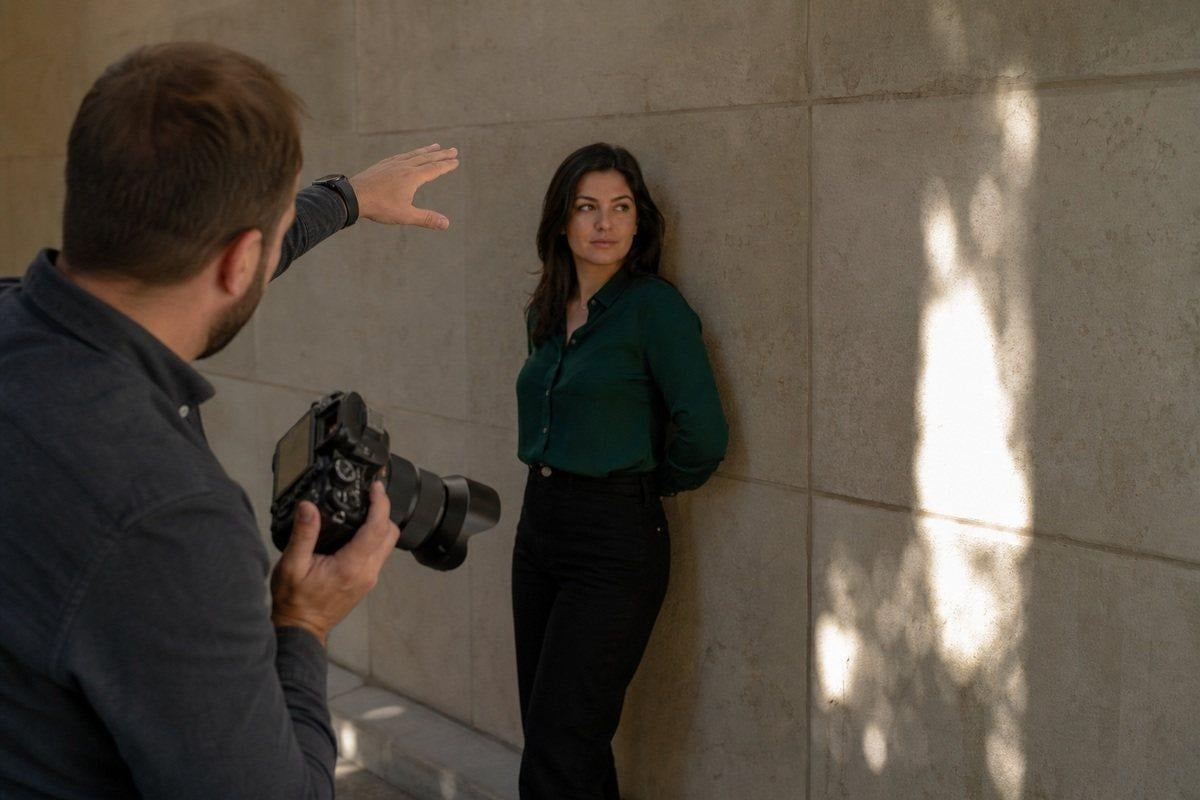
If the background is too bright, change one variable before you shoot. Move the subject. Shift your camera angle. Use a darker section of the wall. Lower your position. Bring the subject closer to a shaded area. A small adjustment in camera is usually cleaner than trying to darken a distracting background later.
The face should not compete with the background for brightness. If the background is brighter, it needs a reason.
Use Color Without Letting It Take Over
Color can make a portrait stronger, but it can also overpower the person.
A strong wall, flower bed, storefront, or painted door may look useful at first. The problem starts when the color becomes louder than the face. Saturated red, yellow, green, or blue can dominate the frame if the subject’s clothing, skin tone, and light are not strong enough to hold against it.
Use color deliberately:
- warm skin against a cooler background
- neutral clothing against a stronger wall
- muted background color for close portraits
- one dominant color relationship per frame
- simple clothing when the background is already loud

Avoid color fights. A green background that casts onto skin, a red wall that reflects into cheeks, or a neon sign near the head can make the edit harder and the portrait less believable.
If the background color is the first thing you notice, ask whether that is actually the point of the portrait.
Control Distance, Lens Choice, and Aperture
Background choice is not only about where the subject stands. It is also about how you photograph the distance behind them.
Three decisions matter:
- how far the subject is from the background
- what focal length you use
- how much depth of field you keep
More subject-to-background distance usually makes the background easier to soften. A longer focal length can compress and simplify the scene. A wider aperture can reduce detail, but it will not fix every background problem. Bright shapes, strong colors, and high-contrast edges can still pull attention even when blurred.
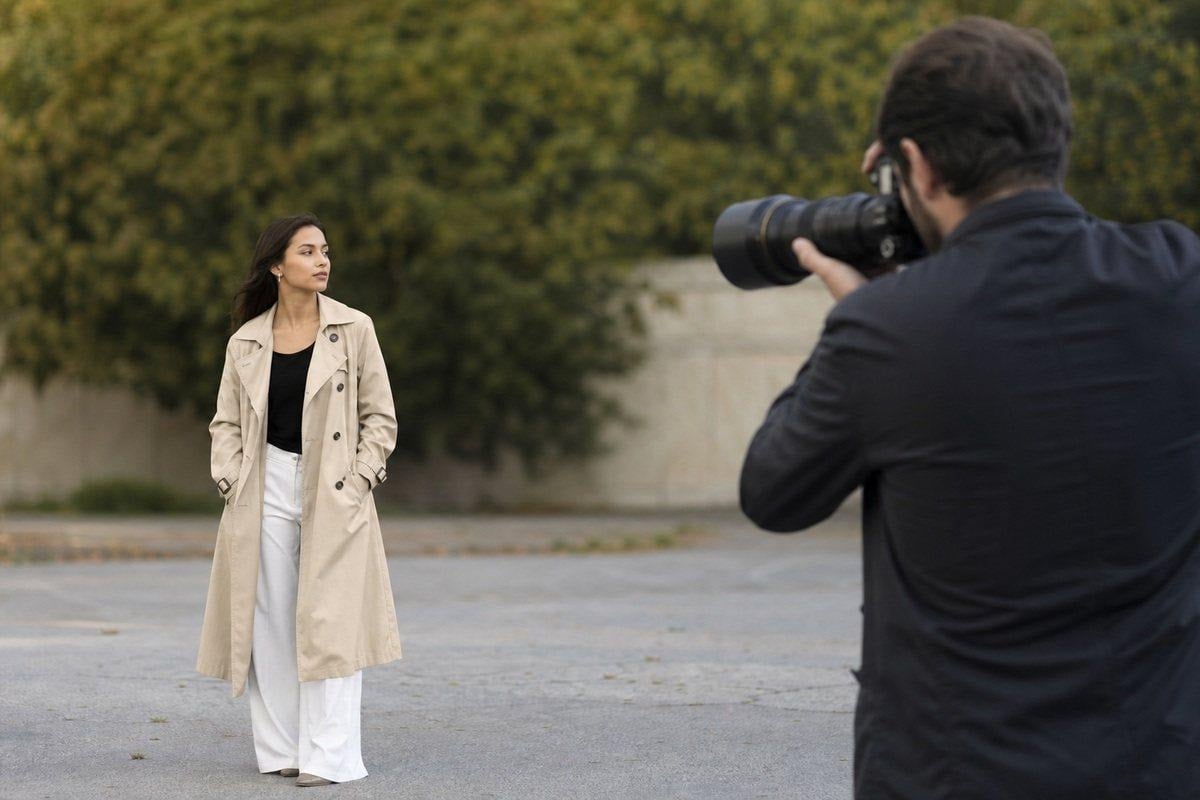
Do not use blur as a replacement for composition. If a tree branch, bright car, or strong line is directly behind the head, shallow depth of field may only turn it into a softer distraction.
Move first. Blur second.
Clean the Edges Before You Shoot
Frame edges are where many portrait backgrounds fail.
The face may look good, but a cropped sign, bright object, elbow, branch, bag, or parked car at the edge of the frame can weaken the whole image. Viewers may not name the distraction, but they feel the frame is less polished.
Before pressing the shutter, scan:
- top edge
- left and right edges
- behind the head
- behind shoulders
- around hands
- near clothing edges
- bright corners

This is a habit worth building. Scan the subject first, then the background, then the edges. It takes a second and saves many frames from needing unnecessary cleanup later.
Match the Background to the Portrait Type
The best background depends on what the portrait has to deliver.
Headshots
Headshots need clarity. Use backgrounds that do not fight the face, hair, and expression. Simple walls, soft office interiors, shaded outdoor backgrounds, and controlled studio paper all work. Avoid strong lines through the head, loud color, and busy texture near the face.
Family Portraits
Family backgrounds need room. The location should support movement, spacing, and group shape without filling the frame with clutter. Parks, paths, beaches, porches, and fields work best when the background can stay clean behind several people, not just one.
Editorial Portraits
Editorial portraits can use stronger backgrounds, but the background still needs intent. A bold wall, graphic shadow, street scene, or textured interior can work if it supports the subject’s attitude, wardrobe, or story.

Studio Portraits
Studio backgrounds give control, but they can still fail. Wrinkles, floor lines, uneven light, background spill, or a color that clashes with wardrobe can make a simple setup look careless. Keep the background tone intentional and watch the subject’s outline.
Outdoor Portraits
Outdoor portrait backgrounds change constantly. Light shifts, people walk through, cars move, and trees create unexpected shapes. Use simple planes, open shade, longer focal lengths, and cleaner angles when the location gets busy.
Fix Background Problems in Post Without Making the Scene Fake
The best background work happens before the photo is taken, but post-production still matters.
After the shoot, cull with background clarity in mind. Do not keep a frame only because the expression is strong if the background will require a heavy rebuild. Some distractions are easy to fix. Others are structural.


Powerful AI Photo Editor
Start with these checks:
- Is the subject still the first thing you see?
- Is any bright object pulling attention?
- Does background color affect skin tone?
- Are there edge distractions?
- Does the background match the rest of the gallery?

For small background distractions, AI Object Remover can help clean signs, edge clutter, small objects, or background marks without changing the whole scene. For broader tonal control around the subject, Background Cleaner can support subtle background refinement when the image already works.

For close portraits, the face still carries the image. Portrait Retouching helps keep attention on skin, eyes, and expression while preserving natural texture. If a session uses several backgrounds with different color temperatures, AI Color Match can help the selected portraits sit together as one gallery instead of separate location tests.
The goal is not to make every background perfect. The goal is to remove friction so the subject reads cleanly.
Portrait Background Checklist
Before shooting:
- Does the subject separate clearly from the background?
- Is the face brighter or more important than the background?
- Are there lines cutting through the head or shoulders?
- Is the background color supporting skin and wardrobe?
- Is there enough distance to simplify the scene?
- Would a longer lens or lower angle clean the frame?
While shooting:
- Check the edges before each final frame
- Watch bright spots near the face
- Move the subject if the outline disappears
- Use blur only after the composition works
- Keep one clear color relationship
- Make sure the background fits the portrait type
Before delivery:
- Does the subject remain the first read?
- Are small distractions cleaned naturally?
- Does the background tone feel believable?
- Does skin tone stay accurate?
- Do portraits from different backgrounds still feel consistent?
- Does the final image look finished, not rebuilt?
Final Thoughts
Choosing the best background for portrait photography is a practical discipline.
It is not about finding a prettier location. It is about making the subject easier to read. Light, color, distance, lens choice, edges, and cleanup all serve that purpose.
When the background supports the subject, the portrait feels intentional before anyone notices why. That is the standard to aim for: a frame where the person holds attention, and everything behind them quietly does its job.
Try Evoto AI Photo Editor
Retouch photos with Evoto AI and make your photos best! Available on Windows, MacOS and iPadOS.



