

Elopements look simple from the outside. No big guest list. No long family formal block. No ballroom rotation.
In the field they are a different kind of pressure. You often own more of the day: location advice, hiking logistics, weather calls, ceremony placement, and the only portrait window that exists. There may be two people, or a tiny guest group. There may be vows at midday under changing clouds, then a scramble for one usable golden-hour overlook before the wind closes the trail.
Good elopement photography tips are not destination lists. They are decisions about expertise, timeline, coverage order, and delivery that still work when the light fails, the hike runs long, or the couple needs privacy more than performance.
Lead the Day, Do Not Just Show Up to Shoot It
Traditional wedding portrait blocks are often squeezed by other vendors and a packed schedule. Elopements flip that. Couples usually hire you because they want the day to feel intentional, private, and place-specific. That means your job starts before the first frame.
Own these decisions early:
- What kind of elopement is this: urban, mountain, beach, forest, Airbnb, or destination micro wedding?
- How far can they realistically hike in their clothes and shoes?
- Do they want a self-solemnized ceremony, an officiant, or a few witnesses?
- Is sunrise or sunset the priority—and can they actually reach the overlook in time?
- What happens if the trail closes, the wind spikes, or the light goes flat?
This is where SLR Lounge’s elopement guidance is useful for photographers: niche down, become an expert in select locations, and sell the experience as much as the images. Do not pitch every couple into the same viral overlook. Match terrain difficulty, light window, and couple energy.
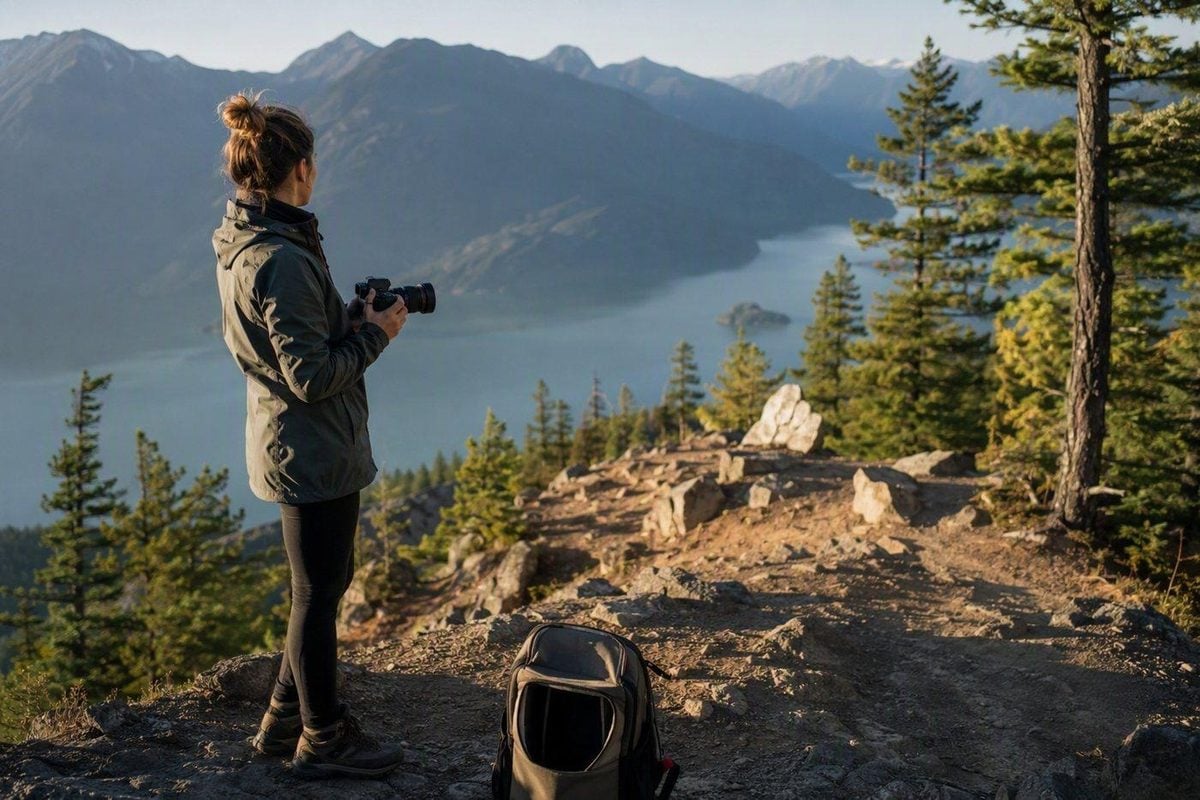
Become fluent in a few locations instead of vaguely familiar with twenty. Know parking, permit rules, bathroom access, cell service, crowd patterns, and where open shade sits at 10 a.m. versus 6 p.m. That expertise shows up in timelines, vendor recommendations, and calm decision-making when weather shifts.
Build the Timeline Around Emotion and Usable Light
Golden hour is valuable. It is not more important than vows.
A common failure is forcing the ceremony into the prettiest light window, then discovering the couple is rushed, cold, or emotionally flat when it matters. The opposite failure is ignoring light entirely and ending with beautiful emotion and unusable faces.
Plan in blocks that protect both:
- Arrival and reset: shoes, layers, hair, nerves—before cameras feel heavy
- Ceremony: place them where faces stay readable, wind is manageable, and audio or quiet still works
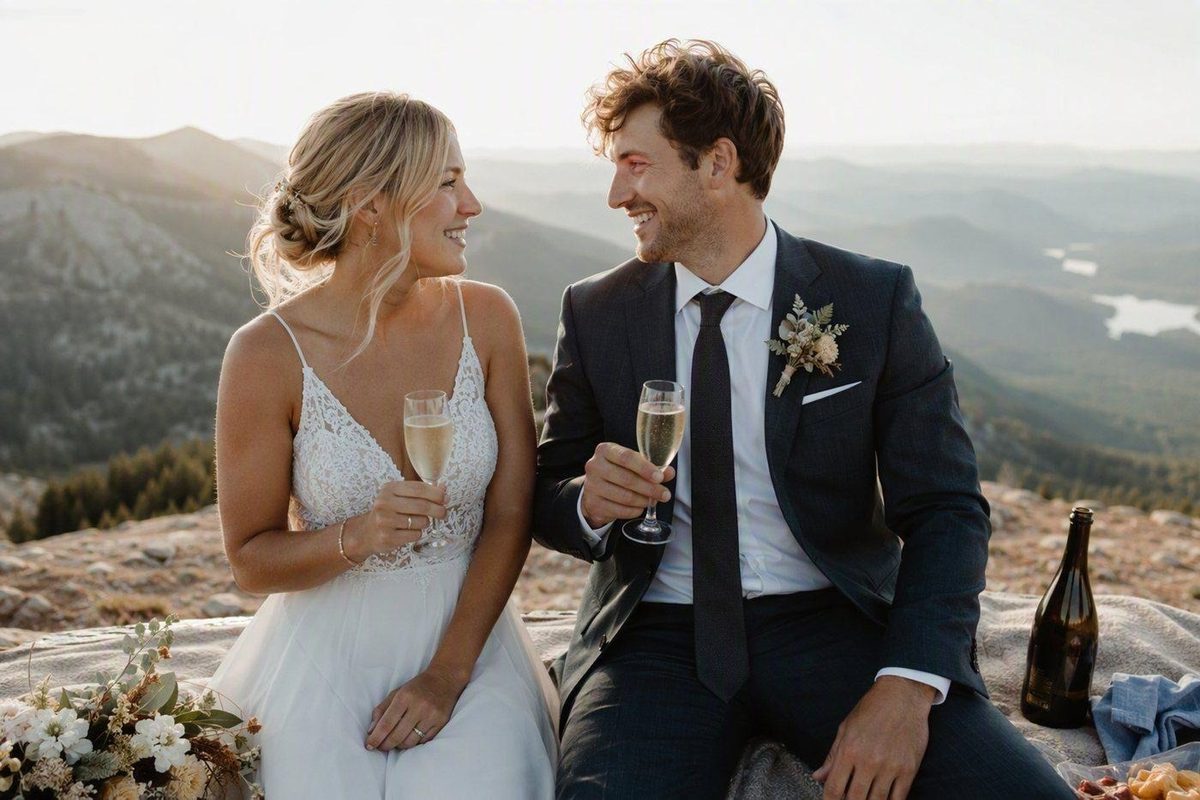
- Private post-ceremony moment: toast, letter exchange, sit-and-breathe, short walk alone together
- Portrait block: safe full-length, three-quarter, close connection, then movement
- Adventure or scenic block: wider environmental frames, ridge lines, water, city skyline
- Closing frame: one quieter image before packing out
If storms move through midday, do not abandon the vow exchange. Work the available light, expose for faces, and keep the ceremony intact. Save the more dramatic backlight and flare for later if the weather opens. The same layered light logic used in Golden Hour Photography still applies: lock the safe frames first, then spend the disappearing light on the frames that need it.
Ask the couple what the day must include before you design the map. Private vows. A short hike. A picnic. A first dance on a dirt road. One guest toast. Those moments create coverage variety without inventing poses.
Coverage That Survives an Intimate Day
Elopement galleries fail when they are all landscape and no ceremony, or all pretty portraits and no sense that a wedding happened.
Secure this coverage set before you chase anything experimental:
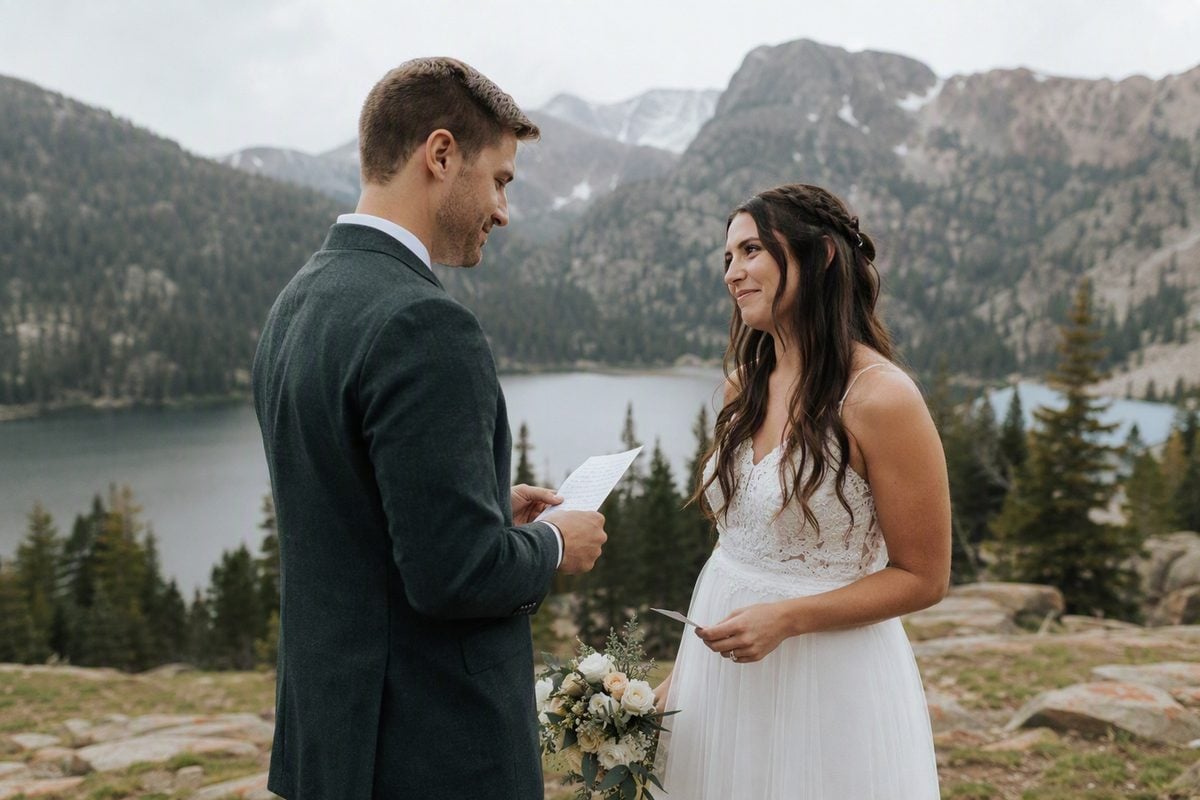
- Ceremony wide enough to show place and people
- Ceremony detail: hands, rings, vows notes, bouquet, shoes in terrain
- Reaction frames during vows or ring exchange
- One private post-ceremony moment with no performance energy
- Clean full-length couple portrait
- Flattering three-quarter portrait
- Close connection or forehead frame
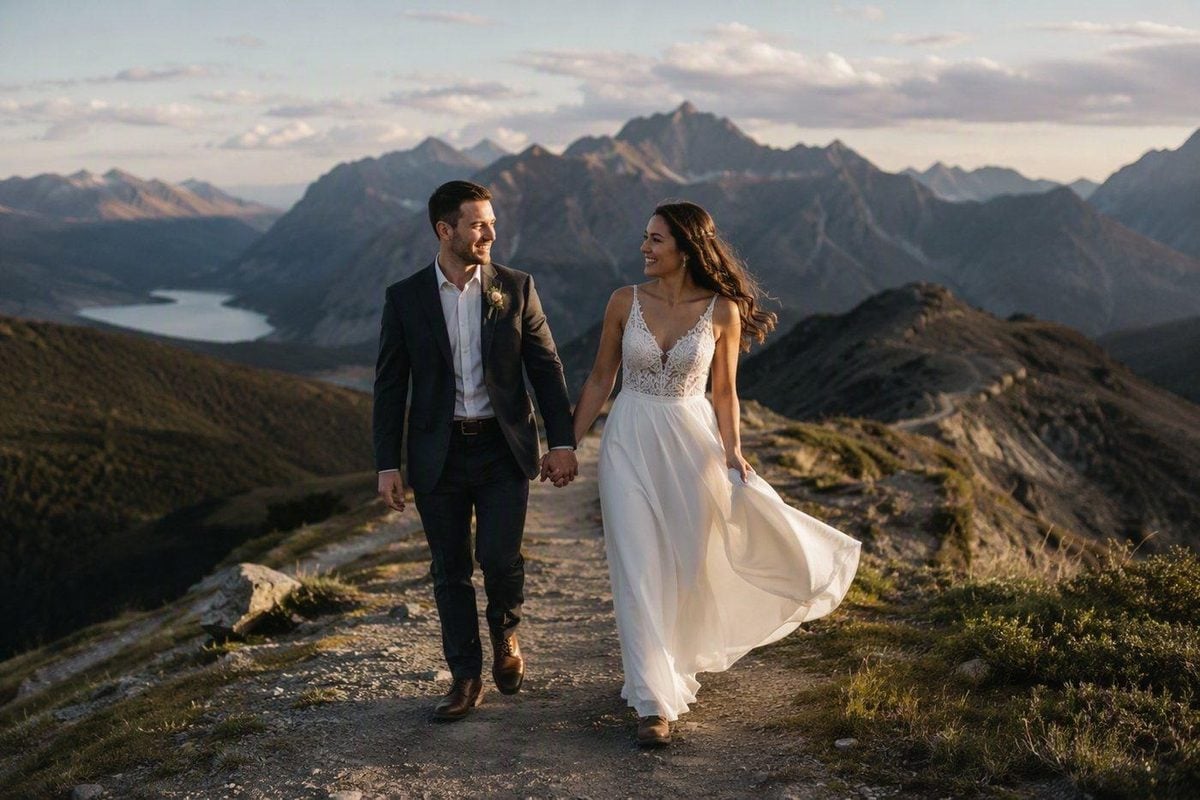
- Walking or movement through the location
- One true environmental frame where the place is unmistakable
- Guest or witness frames if anyone is present
This is closer to documentary wedding thinking than to a staged portrait session. Observe transitions: walking to the ceremony spot, adjusting a veil in wind, the first quiet laugh after “I do.” For more on story-driven coverage under real conditions, see Documentary Wedding Photography Tips.
Keep family-formals logic out of the day unless guests are actually there. If parents or friends attend, give them a short, clear grouping block, then return to the couple. Do not let a two-person elopement inherit big-wedding pacing. The pressure shape is different from Wedding Portrait Photography: fewer people, more location risk, more ownership of time.
Location Expertise Beats Trendy Destinations
Couples often arrive with a Pinterest location. Your job is to translate that wish into a shootable plan.
Check these constraints on every site:
- Can they walk it in the shoes they will actually wear?
- Is there a backup five to fifteen minutes away if wind or crowds ruin the first overlook?
- Where do faces get open shade if noon ceremony is non-negotiable?
- Will the background stay clean when other hikers appear?
- Do you need a permit, drone restriction, or parking reservation?
Meaningful locations usually photograph better than famous ones the couple has never visited. If the place holds history for them, they settle faster. That emotional ease shows up in vow reactions and candid frames more reliably than another cliff edge with no wind shelter.
For adventure elopements, decide in advance what “adventure” means in miles and elevation. A couple who wants “mountain energy” may only manage a short walk in formalwear. Lead that conversation early so the gallery does not become a stress documentary.
Urban and Airbnb elopements need the same discipline. Mixed indoor light, small rooms, and street noise create different failures than alpine wind, but the fix is similar: choose one dominant light source, simplify the background, and build a short coverage list before you invent creative extras.
Direct Less, Prompt Better—Especially on Uneven Ground
Elopement posing should respect terrain. Long pose instructions on a ridge are a safety problem and an energy drain.
Use short jobs:
- Walk toward me on the safe side of the path
- Stop, face each other, breathe once
- Read one line of your vows again, just for each other
- Fix their hair, then laugh at yourself for fixing it
- Hold hands and look at the view, not the camera
- Walk away together, then turn back when it feels natural
Start with connection, not hero landscape posing. Once faces and hands look settled, step wider for environment. Switch lenses when the location starts repeating itself: a wider lens for place and scale, a longer lens when you need compression and separation from busy trail backgrounds. Changing focal length is one of the simplest ways to keep coverage fresh without inventing gimmicks.
Save experimental looks—heavy motion blur, prism effects, drone composites—for after the must-have set exists. Creativity is useful. It should not replace ceremony coverage or a clean portrait the couple can actually hang.
Pack for Weather, Wind, and Battery Drain
Elopement days punish soft logistics.
Carry more than a normal portrait session:
- Layers that photograph well and keep the couple warm between setups
- Spare batteries and cards; cold and long hikes drain both
- Microfiber cloths for sea spray, rain, and sweaty lenses
- A compact rain cover or clear umbrella that still looks intentional
- Blotting papers, hair pins, fashion tape
- Snacks and water if the hike is real
- A written Plan B location with similar emotional value and better shelter
When weather turns, decide fast: protect ceremony emotion, move to covered light, or delay portraits. Do not keep the couple posing in unsafe wind for one more “epic” frame. The gallery needs them present and okay more than it needs another rim-light silhouette.
If guests are present, brief them before the ceremony. Ask them to stay out of key backgrounds, silence phones, and give the couple space for a private moment afterward. Small guest groups can still wreck clean frames if nobody sets expectations.
Edit for Mixed Environments, Not One Preset Fantasy
An elopement file set often jumps from forest green to open ridge, from midday cloud to warm dusk, from indoor Airbnb window light to windy overlook. Skin can drift cool, green, or orange across the day. Landscape color can overpower faces if you grade for scenery first.
Work in this order:
- Cull for coverage, not only for drama
- Group keepers by environment and light before broad color moves
- Correct white balance and protect skin before saturating sky, trees, or water
- Recover highlights on dresses, shirts, and backlit hair
- Retouch lightly: wind-blown hair, temporary shine, stray distractions—not a new face
- Keep the gallery consistent from ceremony through closing portraits
This is where volume and variety collide. Adventure days create more near-duplicates than a short studio bridal session: walking frames, vow reactions, and scenic variations that look similar until you compare them carefully.
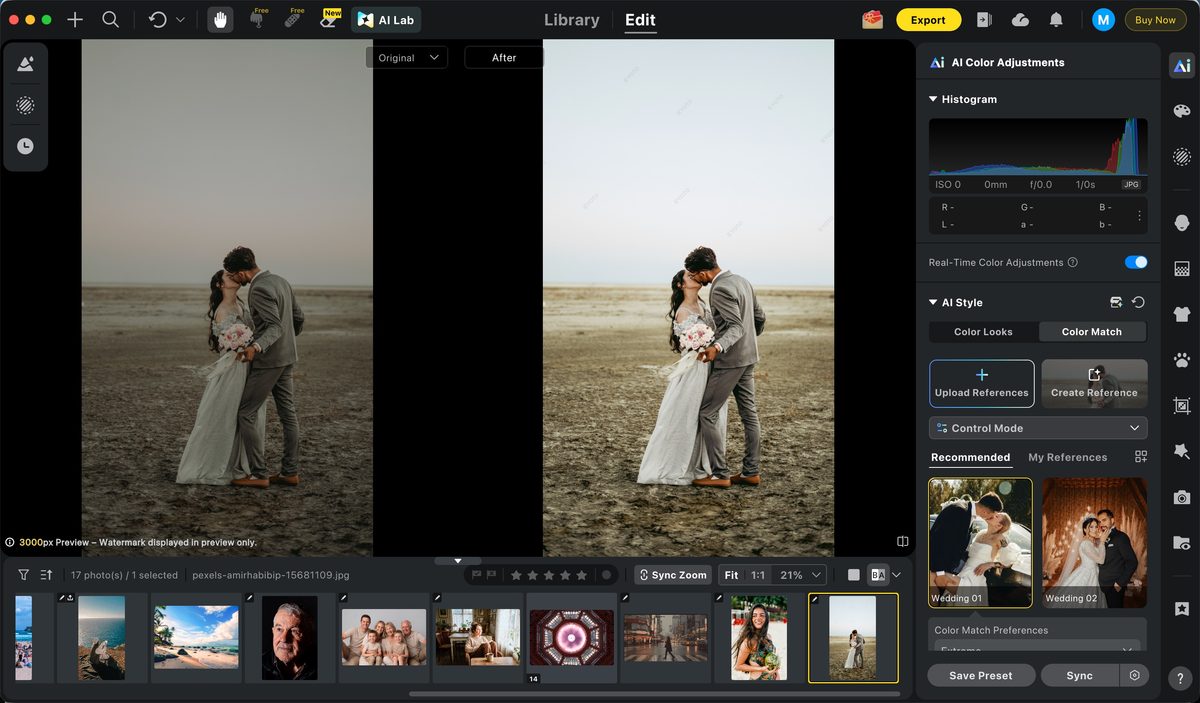
After selects are locked, use AI Culling to move through repeated bursts faster so ceremony and private-moment keepers do not get buried under trail walking frames. When forest shade and sunset ridge files sit in the same gallery, AI Color Match helps lock skin to a believable reference instead of letting one orange dusk frame dictate everything. For final delivery polish on closer portraits, Portrait Retouching belongs after color is stable: clean flyaways and temporary distractions without sanding away the day they actually had.
If trail signs, bright jackets in the background, or edge clutter keep stealing attention in otherwise strong environmental frames, restrained Background Adjustments can quiet the distraction without rebuilding the location. The goal is still the same as the shoot: the couple remains recognizable, the place stays honest, and the set feels like one day.
Elopement Day Checklist
Before the day
- Did you niche the elopement type and confirm hike difficulty in real shoes?
- Have you scouted parking, permits, wind, shade, and a backup location?
- Does the timeline protect vows before epic portrait chasing?
- Are batteries, layers, rain cover, and cards packed for cold or long walks?
- Do the couple know where private time sits after the ceremony?
During the day
- Are ceremony faces readable before you step back for scenery?
- Did you capture vows, rings, reactions, and one private post-ceremony moment?
- Is there a clean full-length and a flattering three-quarter portrait?
- Did you get one environmental frame that clearly shows the place?
- Are guests briefed so they do not fill the background?
Before delivery
- Are keepers grouped by light and location before final color?
- Do skin tones stay believable from shade to sunset?
- Does the gallery prove a wedding happened, not only a scenic couple session?
- Is retouching still recognizable as the same people on the same day?
Final Thoughts
The best elopement photography tips are operational: know the location, protect the ceremony, build portraits in layers, and plan for weather before you need the backup. Intimate days give you more creative room than a packed wedding timeline, but they also give you more responsibility for logistics and light.
When the coverage is secure, the place is honest, and the gallery stays consistent from vows to the last overlook frame, the day reads as what it was—an intentional wedding—not a landscape shoot with rings added later.