

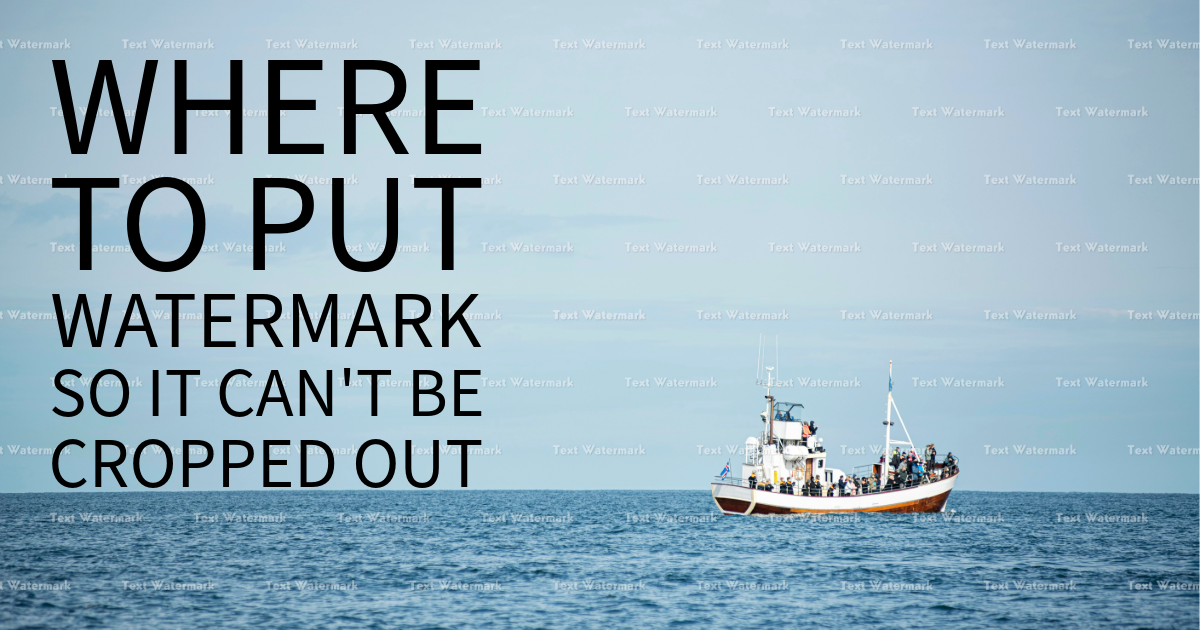
Photographers often ask for the one perfect place to put a watermark so nobody can crop it away. The honest answer is that no position is completely impossible to remove. Any mark near an edge can be cropped, and a mark over the subject can be edited out. The practical goal is to make casual cropping inconvenient while keeping the photo attractive and readable.
Watermark placement should respond to the composition, the platform, and the reason you are sharing the image. A wedding preview, a product listing, and an Instagram portrait each need a different strategy. Use the following principles to place a watermark that survives common crops without taking over the frame.
Why corner placement is easy to crop
Corners are popular because they feel unobtrusive. They are also the first areas people remove when they want a clean image. Social platforms may crop a landscape photo into a square or vertical format, and a buyer may trim the edges for a print. If your logo sits in the lower-right corner with generous empty space around it, it can disappear before anyone notices.
Corner placement is still useful for tasteful branding. Just avoid treating it as complete protection. Keep a safe margin, preview platform crops, and consider a secondary mark or a more central placement for images that will circulate widely.
The best general strategy: integrate the mark with the composition
Instead of placing a watermark in a random empty corner, look for a location that is visually connected to the image. A lower-third position over a quiet area, beside a subject, or along a natural line can make cropping more awkward without covering important detail. The watermark becomes part of the layout rather than a sticker added afterward.
Use enough contrast for identification, then lower opacity until the mark recedes. A small shadow or outline can keep white text legible over a changing background. If the scene has no suitable quiet area, a semi-transparent mark closer to the center may be less damaging than a huge opaque logo at the edge.


Powerful AI Photo Editor
Placement by photo type
Portraits and headshots
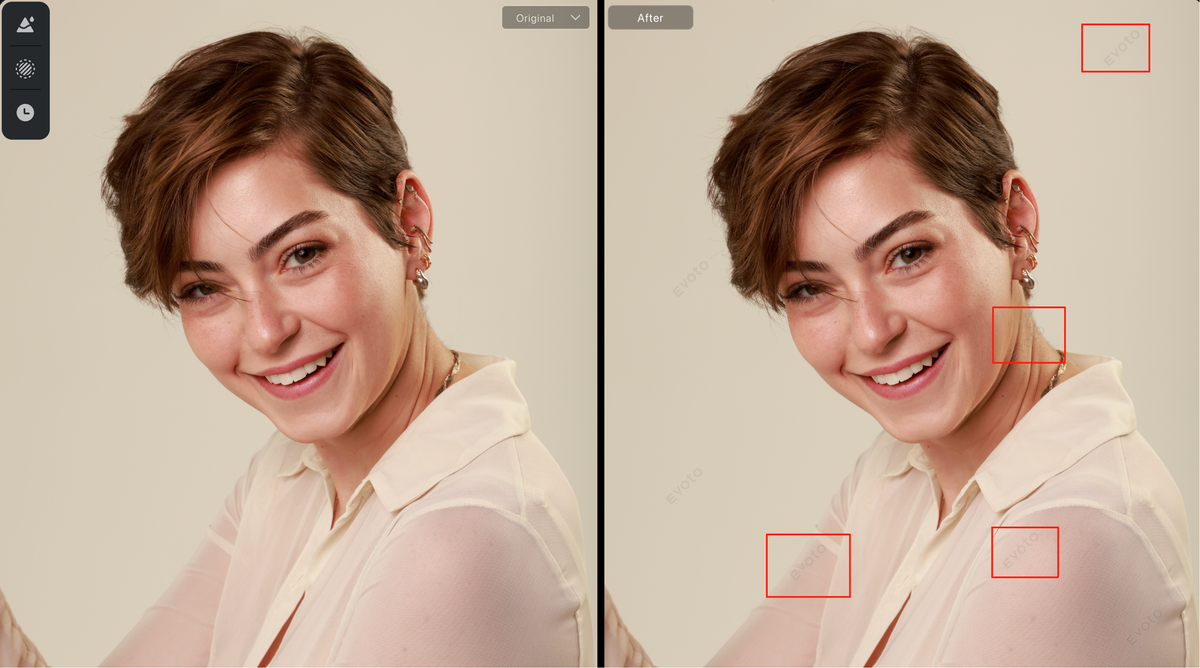
Never cover the eyes, mouth, or other defining facial features. For a single portrait, try a lower-third position near the shoulder or clothing, provided it does not hide a logo or important styling detail. A watermark beside the subject’s body can survive a basic crop better than one at the far edge.
For vertical social crops, test the mark after the platform trims the top and bottom. A watermark that begins beside the shoulder in the original may land across the face in a 4:5 or 9:16 crop. Create separate presets for portrait, square, and landscape exports.
Wedding and event photography
Event images are frequently shared in galleries and previews. A tasteful logo in the lower third or near a natural background detail works well for most scenes. For proofing, you can use a larger or more central mark because clients are reviewing rather than publishing the image. Deliver clean files only after licensing or payment terms are complete.
Product photography
Keep the watermark away from product names, labels, measurements, and key features. Place it over a calm section of the background or in a lower-third band. If the product fills the entire frame, a subtle diagonal or center-adjacent mark may be more practical than hiding it in a crop-friendly corner. Always verify that the mark does not make the product color appear different.
Landscapes and travel photos
Landscapes often have open sky or water that seems ideal for a watermark, but these areas are also easy to crop. Try a position near a natural boundary such as the horizon, a shoreline, or a dark foreground—without covering the main focal point. On panoramic images, preview common social crops before choosing the final location.
Artwork and illustrations
For illustrations, integrate a signature or logo into the design at a scale that is difficult to remove without damaging nearby lines. Avoid placing it only in a blank margin. A subtle repeated pattern can protect a low-resolution preview, but use it sparingly so the artwork remains enjoyable to view.
Use a two-level watermark system
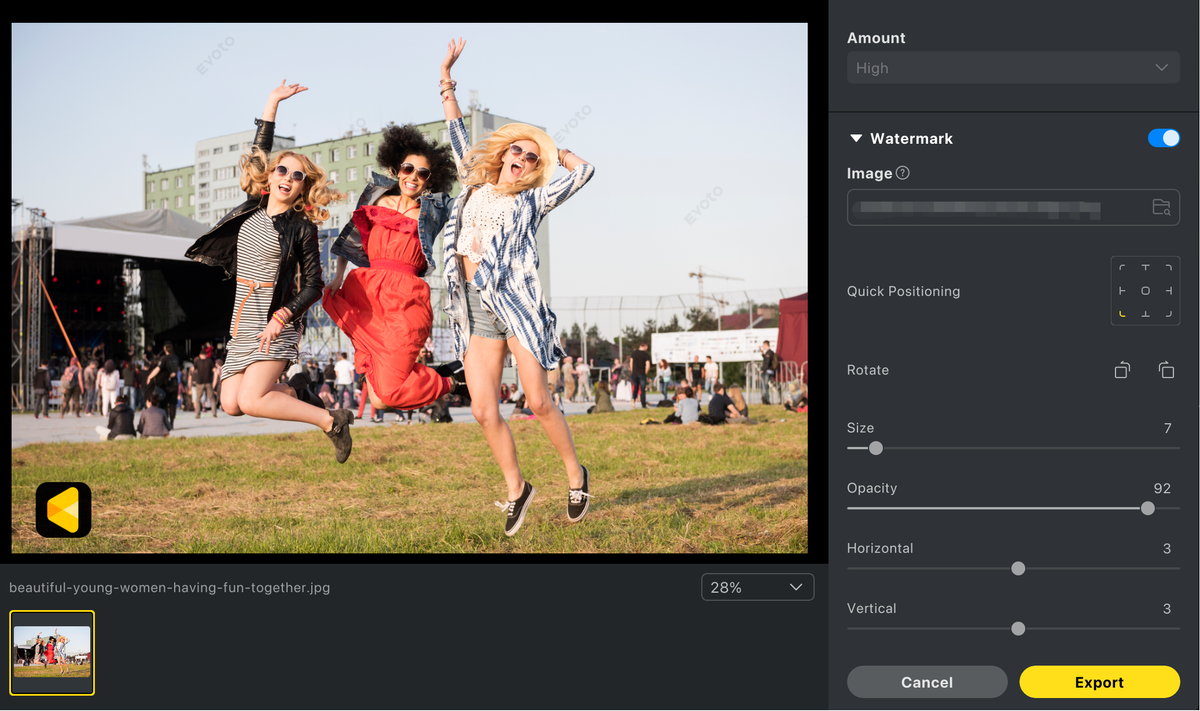
One watermark does not have to serve every purpose. Create a discreet edge mark for portfolio and social posts, then use a stronger, semi-transparent center or tiled mark for client proofs and downloadable previews. Keep the two versions as separate export presets so you do not accidentally send a proof watermark to a paying client.
For public images, a second small mark can sit in a different visual zone when the crop risk is high. Do not scatter logos randomly; consistency looks more professional. A repeating pattern is most appropriate for previews where preventing clean reuse is a priority, not for a final marketing image meant to attract attention.


Design for real platform crops
Before publishing, test the watermarked file in the places people will see it. Instagram commonly displays square and 4:5 portrait crops; TikTok and Stories favor 9:16; websites may use responsive containers that change the visible area. Open the actual preview if possible. A safe position in the original file is meaningless if the platform cuts it away.
Keep the watermark inside a “safe zone” with a comfortable margin, but not so close to the edge that a small crop removes it. For a batch of images, use consistent relative placement and then spot-check unusual compositions. Faces, products, and high-contrast backgrounds can require manual adjustment.
A workflow that keeps placement consistent
Edit and crop the image first. Watermarking before composition changes creates misaligned marks and inconsistent scale. Once the image is finished, apply the correct watermark preset for its destination, then review at both full size and normal display size.
Evoto can support this process for photographers and visual teams. Complete AI-assisted retouching, color work, and batch adjustments first, then prepare branded exports for galleries or social media. A consistent editing workspace reduces the chance that one image in a set has a watermark that is too large, too dark, or badly positioned.
Powerful AI Photo Editor
What to do when every area is important
Some photos have no empty space: a close-up portrait, a detailed product, or a tightly composed editorial image. In that case, prioritize the viewer’s experience. Use a small, low-opacity mark near the visual center but outside the most important detail, or provide a low-resolution preview with a subtle repeating pattern. Another option is to share a smaller file that is useful for viewing but less suitable for high-quality printing.
Remember that a watermark is one layer of protection. Maintain original files, retain copyright metadata, use controlled galleries, and document licenses. If a work is stolen, a visible mark can help prove attribution, but it cannot replace a sensible rights-management process.
Watermark placement FAQ
Is the center the safest place for a watermark?
It is harder to remove by a simple crop, but it is also more distracting. Use a center or center-adjacent mark for proofs and previews when protection is the priority. For public portfolio work, integrate a smaller mark into the composition.
Should a watermark touch the edge?
No. Leave a consistent margin so the mark feels intentional and survives minor crops. Do not place it so far inward that it covers the subject.
Can I use a diagonal watermark?
Yes, particularly on proofs or low-resolution previews. Keep opacity moderate and avoid making the mark so large that it overwhelms the photo.
How do I watermark a batch of photos?
Create export presets and apply them after editing and cropping. Review a sample from each aspect ratio and adjust unusual images manually. Evoto’s batch-oriented editing workflow can help keep the underlying photo treatment consistent before you export branded versions.
The practical answer
There is no uncroppable watermark location. The strongest approach combines smart placement, platform-aware crops, separate proof and public presets, and a watermark that is readable but restrained. Put the mark where it relates to the composition, keep it away from essential details, and review every destination format. When you pair that strategy with an efficient editor such as Evoto, you protect attribution while preserving the reason people want to see the photograph in the first place.
Powerful AI Photo Editor



