

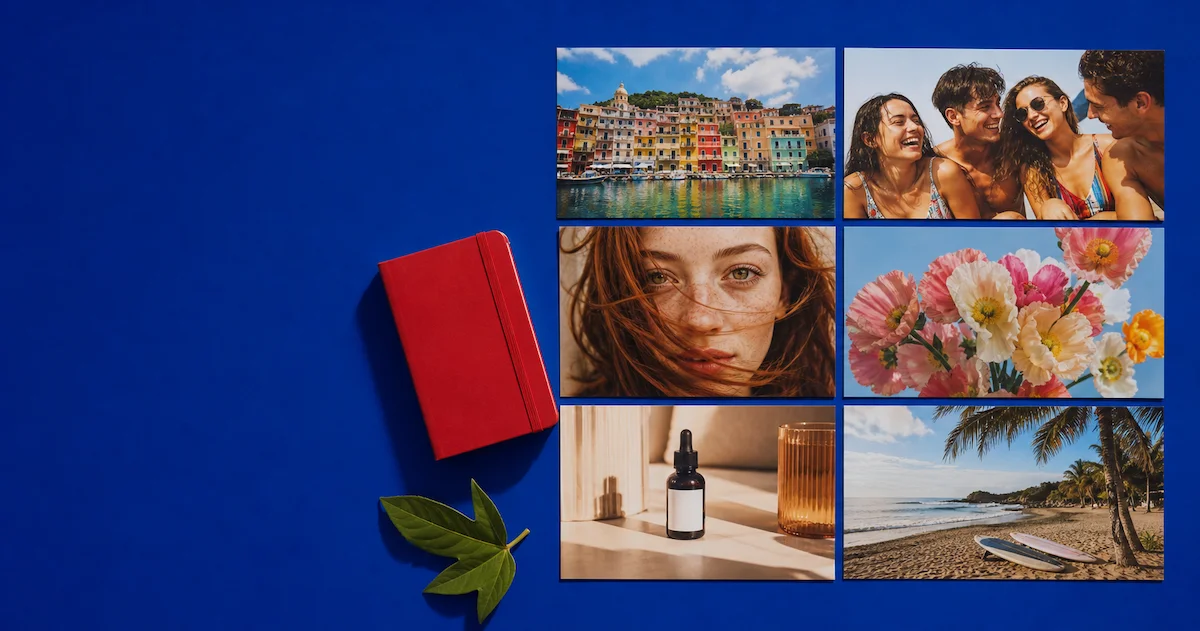
Want to combine several photos into one image? An online photo collage maker lets you create a clean, shareable collage without opening complicated design software.
The basic process only takes a few steps: choose a layout, upload your photos, adjust each image, and download the finished design.
Here is how to make a photo collage online.
What You Need to Make a Photo Collage Online
Before you start, prepare:
- The photos you want to combine
- An idea of how many images you want to include
- The place where you plan to share or use the collage
- An online collage maker with templates or grid layouts
You do not need to use every photo from your camera roll. A smaller group of well-matched images usually creates a clearer and more attractive result.
If you are choosing from a large photo set, Evoto AI Culling can help you narrow down duplicates, blurry shots, and other weaker images before you begin.
Step 1: Choose a Photo Collage Layout
Start by choosing the layout that best fits your photos.
Match the layout to the number of photos
Online photo collage makers usually offer layouts for different numbers of images. You may find options for two, three, four, six, or more photos.
Choose a smaller layout when:
- You want each image to be easy to see
- One or two photos should stand out
- You are creating a comparison or side-by-side design
Choose a larger layout when:
- You want to show several moments from an event
- The photos tell a story in sequence
- You are creating a travel, family, or product collage
Do not choose a layout simply because it has the most slots. The best layout is the one that gives your photos enough room to be seen.
Choose between a grid and a creative template
A regular grid gives each photo a similar amount of space. It works well for family photos, product images, and simple social posts.
A creative template may use different frame sizes or shapes. This is useful when you want one main image supported by several smaller photos.
Before choosing a template, ask:
- Should every photo have equal importance?
- Do I want one main image?
- Are the photos connected by a shared event, place, or mood?
Step 2: Upload and Arrange Your Photos
Once you have chosen a layout, upload the photos you want to use.
Start with photos that belong together
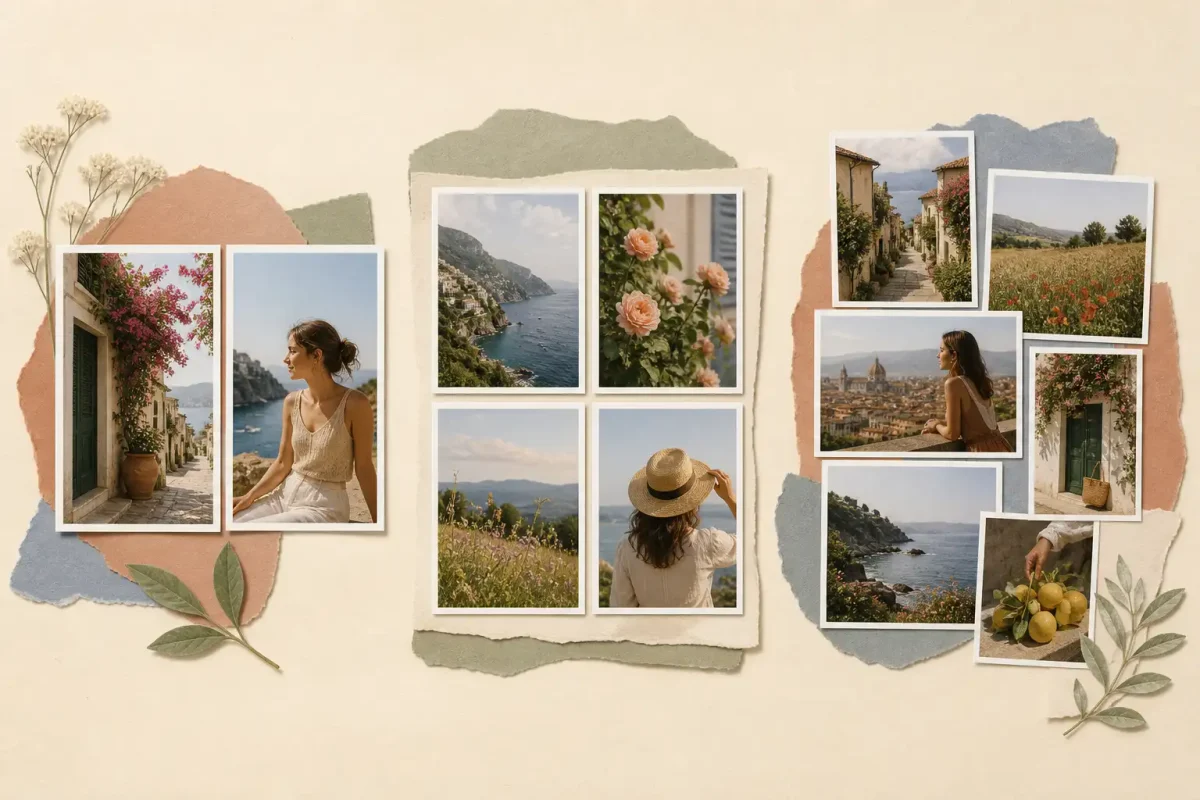
Photos often look more cohesive when they share at least one characteristic:
- Similar lighting
- Complementary colors
- A common subject
- The same event or location
- A consistent mood
For example, a travel collage might include a wide landscape, a portrait, a meal, and a close-up detail from the same trip.
Check each photo slot
After uploading, review the full layout before making detailed edits. Check that:
- The right photo is in each slot
- No image appears twice
- The most important image has a prominent position
- The photos make sense together
If one photo feels out of place, replace it now instead of trying to fix it with cropping.
Reorder the images
Many tools let you drag photos between slots or swap one image for another.
You can arrange the images by:
- Time
- Location
- Subject
- Color
- Direction of movement
A clear order helps viewers understand the collage more quickly.
Step 3: Crop, Replace, and Adjust Each Photo
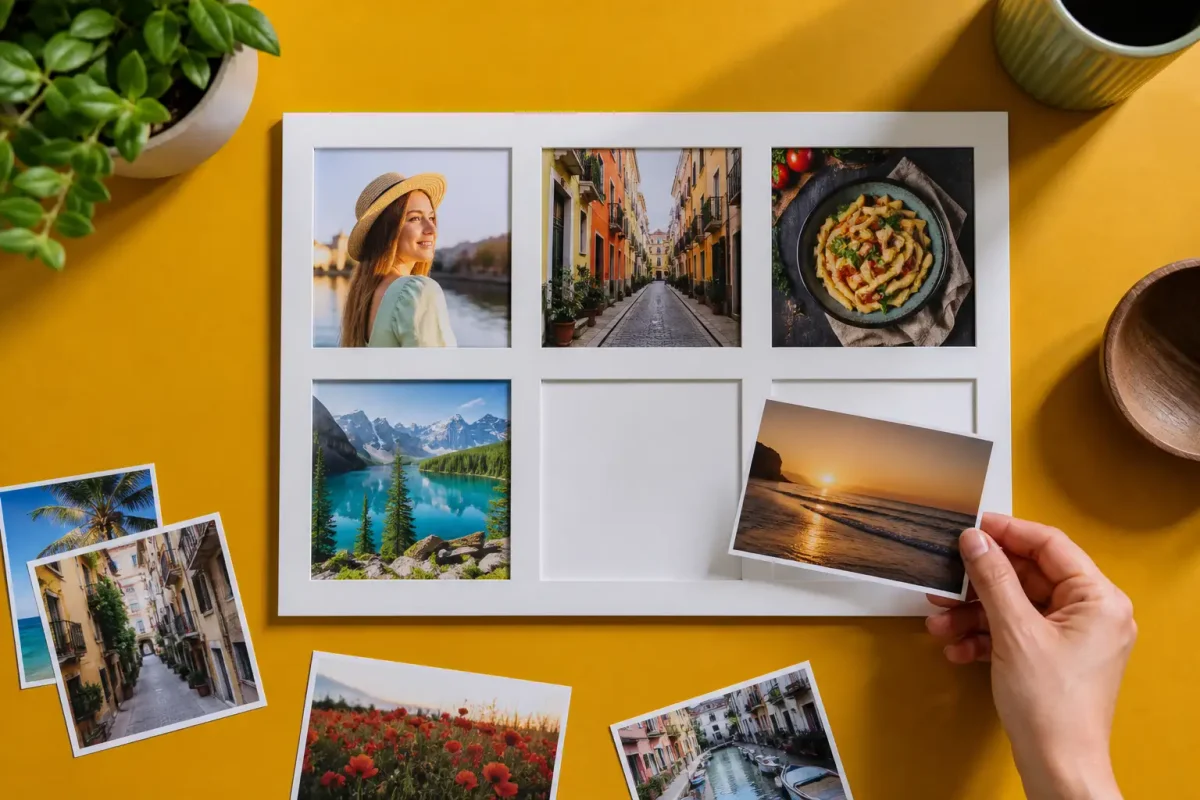
Once your images are in place, adjust each photo so the important parts remain visible.
Crop to protect the subject
Different frames may have different proportions. A horizontal image inside a vertical frame can crop out a face, product, or important detail.
When adjusting a photo, protect:
- Faces
- Hands and gestures
- Products
- Signs or text
- The main action in the scene
If the subject is cut off, drag the image inside the frame until the most important area is visible.
Zoom in or out
Zoom in when:
- The subject is too small
- You want to emphasize a face or product
- The background is distracting
Zoom out when:
- An important object is being cropped
- The image needs more context
- The crop feels too tight next to other photos
Try to keep the main subjects at a similar visual scale. One extremely close crop beside several distant images can make the collage feel unbalanced.
Rotate or flip when needed
Use rotation to straighten a tilted image. A horizontal or vertical flip can help when the direction of a subject conflicts with the rest of the composition.
After flipping an image, check any text, logos, signs, or product labels. They should not appear backward.
Replace one image without starting over
If the layout works but one photo does not, use the Replace option if your tool provides it. This lets you keep the layout while changing only the image that is not working.

Step 4: Choose the Size and Download Your Collage
When the composition looks right, choose the final size or aspect ratio.
Pick a ratio for the final destination
Use a square ratio for a compact, balanced design.
Use a portrait ratio for vertical feeds, stories, phone wallpapers, or mobile-first layouts.
Use a landscape ratio for presentations, website banners, or horizontal displays.
If you change the ratio after arranging your photos, inspect every frame again. A new canvas shape can change how much of each image is visible.
Review the whole collage
Before downloading, look at the design as one complete image.
Check for:
- Uneven spacing
- Faces or products being cropped
- One photo appearing much darker
- A confusing image order
- Noticeable differences in color or brightness
If you want to adjust the look of your photos before combining them, Evoto Photo Filters can help create a more consistent color treatment.
Download the finished image
Choose the export format that matches your intended use. JPEG is a practical choice for most web and social uses, while some tools may also offer PNG or other formats.
Save the final file with a descriptive name so you can find it easily later.


Powerful AI Photo Editor
Make Your Collage in a Few Clicks
Making a photo collage online does not have to be complicated. Choose a layout, upload your photos, adjust the framing, and download the finished image.
Start with the photos that matter most, keep the layout easy to read, and check the final crop before you share or print your collage.
For more photo editing tips before you combine your images, read How to Touch Up Photos for Beginners.



