

The Photoshop Slice tool divides one image into rectangular export regions. Use it for separate web graphics, tiled designs, or defined portions of a finished layout. Slices do not permanently cut your original document into separate Photoshop files or layers.
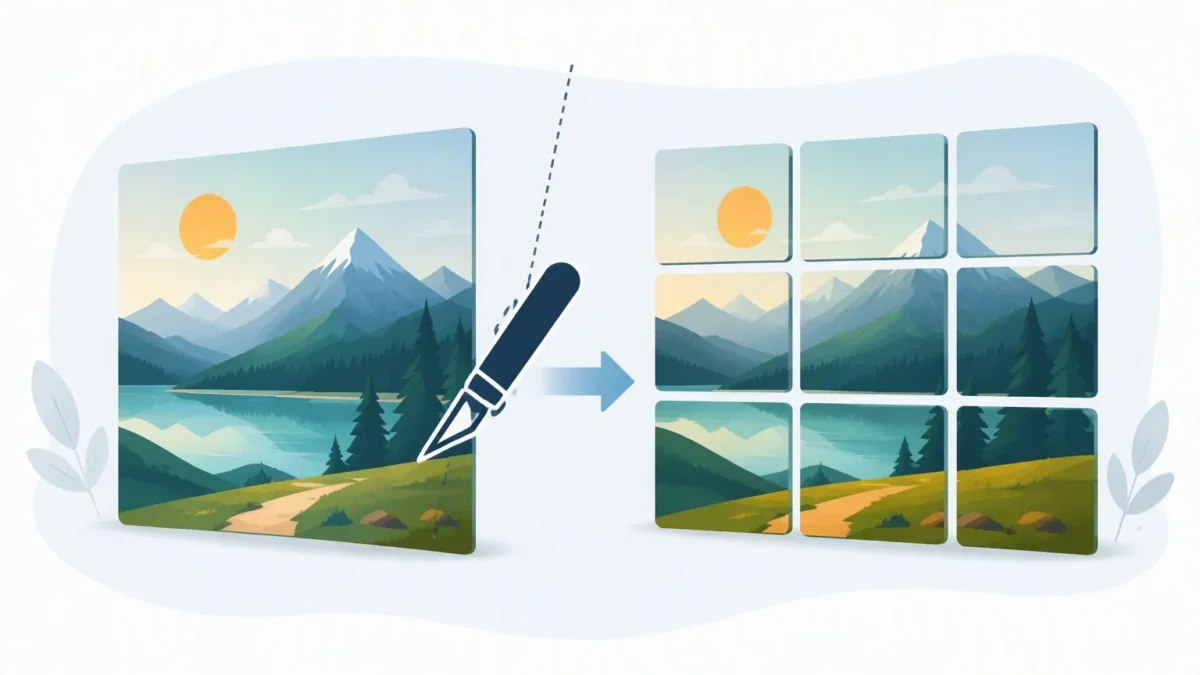
How to Split an Image in Photoshop With the Slice Tool
To split an image into sections in Photoshop, choose the Slice tool from the Crop tool group, draw rectangles over the export areas, then save them with File > Export > Save for Web (Legacy). For evenly sized pieces, create guides first and use Slices From Guides instead of drawing every slice by hand.
When the Slice Tool Is the Right Choice
Use slices when you are still in a layered Photoshop layout and need rectangular export regions that do not share one grid. A studio may cut a banner, thumbnail, and social crop from the same campaign file. A photographer designing a web gallery header may export a consistent set of graphic panels. If you need independent documents for printing, use selections, Crop, or artboards instead. If you only need an even grid from one finished photo, skip the Slice tool and use the free splitter path later in this article.
Create Image Slices in Photoshop Step by Step
Step 1: Open a duplicate of your image or finished layout. Keeping the original intact makes later revisions easier.
Step 2: Choose the Slice tool from the Crop tool group. Press C to cycle through that group until the Slice tool appears.
Step 3: In the options bar, use Normal for freely drawn slices or Fixed Size when every slice needs exact dimensions.
Step 4: Drag across the canvas to draw the first slice. Hold Shift while dragging to make a square slice.
Step 5: Draw the remaining export regions. Keep faces, type, and logos inside a slice, not on its boundary line.
Step 6: Choose the Slice Select tool, grouped with the Slice tool, to adjust a slice’s position or dimensions.
Step 7: Review slice edges at 100% zoom. Gaps, overlaps, and uneven boundaries are easy to miss when zoomed out.
Step 8: Go to File > Export > Save for Web (Legacy). In the save dialog, choose All User Slices and confirm the folder, filenames, and format.
Photoshop may add automatic slices around the remaining canvas. User slices use solid lines and blue markers. Auto slices use dashed lines and gray markers. Use Hide Auto Slices in the options bar to reduce clutter, then export All User Slices to avoid unexpected extra files.
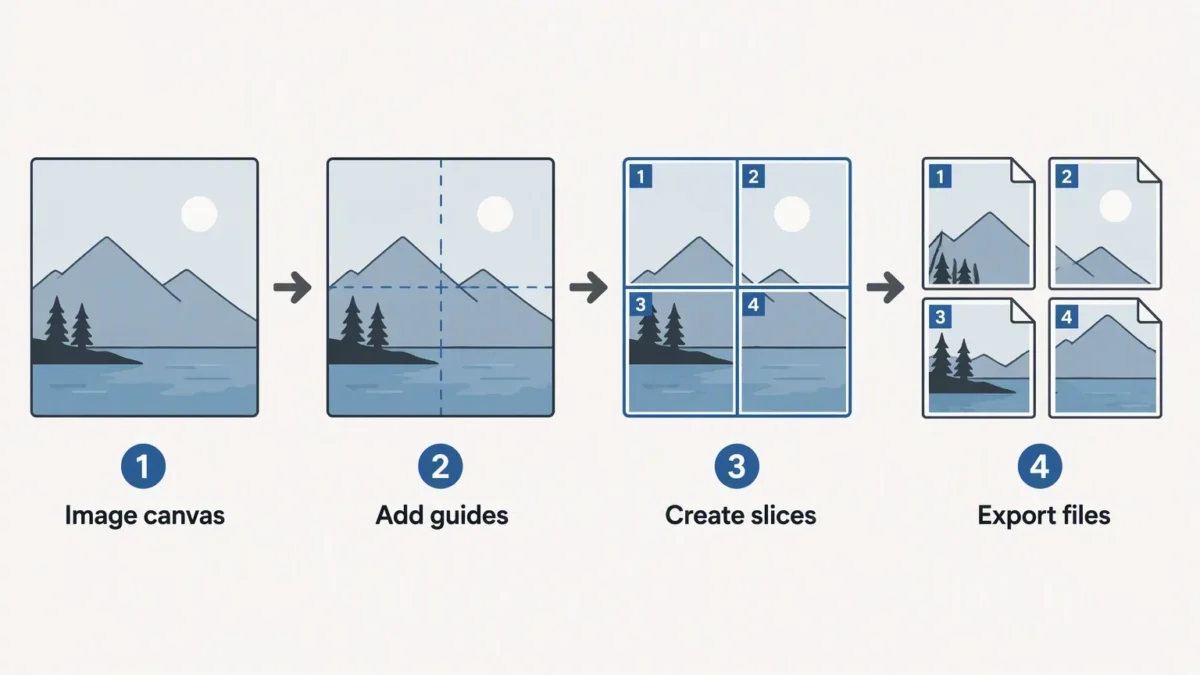
Split an Image in Photoshop Evenly With Guides
Hand-drawn slices work well for irregular layouts, but guides are faster and more reliable for an equal grid. Guides are nonprinting alignment aids, so they let you plan the divisions without changing the pixels in the image.
Step 1: Decide how many columns and rows you need. A 2-by-2 grid produces four sections. A 3-column by 1-row grid produces three side-by-side panels.
Step 2: Choose View > New Guide Layout to create an even grid quickly. You can also turn on rulers and place guides manually at calculated division points.
Step 3: Select the Slice tool, then click Slices From Guides in the options bar. Photoshop turns the guide layout into slices and deletes any slices you already drew.
Step 4: Use the Slice Select tool to inspect the boundaries. Move a guide and recreate the slices if the grid needs adjustment.
Step 5: Export a test set and check every saved file’s pixel dimensions.
For example, a 3,000-pixel-wide image divided into three equal columns should yield 1,000-pixel-wide sections when there are no gutters between them. If your design includes spacing between panels, account for those gutter pixels before calculating each slice width.
Slice Tool vs. Other Ways to Divide an Image
“Split image in Photoshop” can describe several different tasks. Choose the method based on the output you need, not simply on what is fastest to click. The options below all stay inside Photoshop.
| Method | Best use | What you get |
|---|---|---|
| Slice tool | Exporting rectangular regions from one layout | Defined export regions and separate output files |
| Guides plus slices | Equal rows, columns, or a precise grid | Consistent, aligned image sections |
| Selection plus copy to new document | Creating independently editable files | Separate documents you can edit individually |
| Crop tool | Saving one alternate framing at a time | One cropped image per export |
| Artboards | Designing multiple deliverables in one PSD | Separate canvases for each deliverable |
If the job is one finished photo split into a regular Instagram grid, carousel, or stack, a free splitter is faster than any of these Photoshop methods.
Common Photoshop Slice Tool Mistakes
Expecting Slices to Make Separate Layers
A slice is an export boundary, not a layer-cutting command. If you need each section on its own layer for retouching, compositing, or color adjustment, make a selection, copy it to a new layer, and name that layer clearly. Use slices later if you still need individual exports.
Putting Important Portrait Details on a Slice Edge
When splitting a portrait or wedding image into a grid, avoid cutting through a face, hand, bouquet, or focal line just to make divisions mathematically equal. Shift the guides, change the grid, or use a deliberate gutter. A slightly asymmetric export is often visually stronger than a rigid cut through the subject.
Skipping the Exported-File Check
Do not assume the canvas view tells you everything about the final files. Check the output dimensions, filenames, and visible edges. This matters when images will sit next to each other in a website layout, carousel, or client presentation.
How to Split an Image in Evoto Image Splitter
Step 1: Upload your photo.
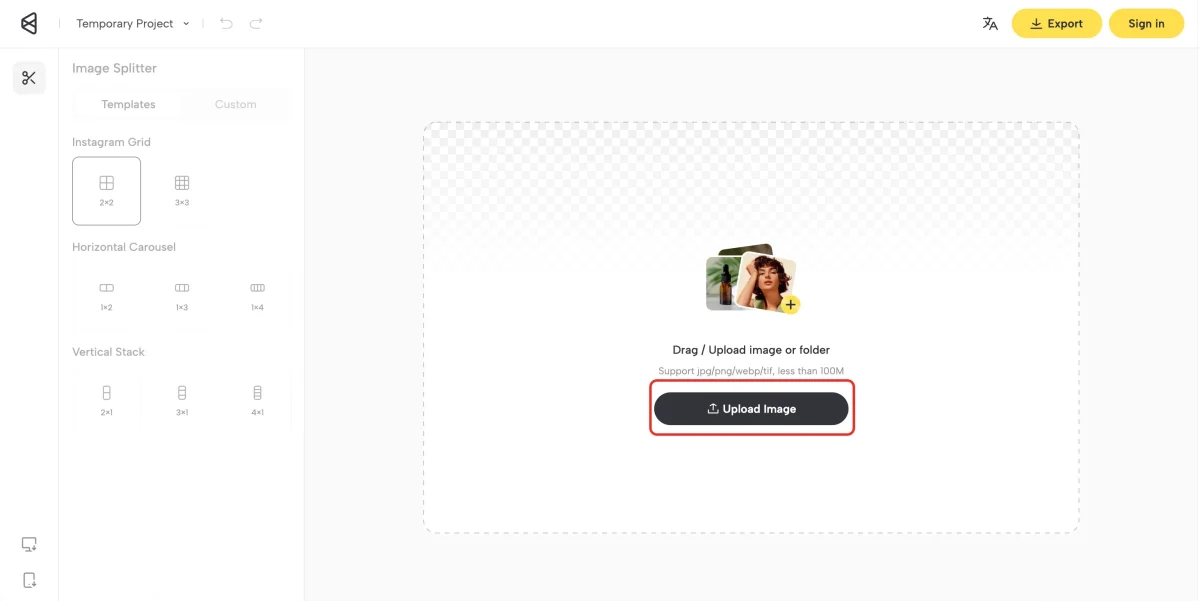
Step 2: Choose Instagram Grid, Horizontal Carousel, or Vertical Stack, or switch to Custom for a regular grid.
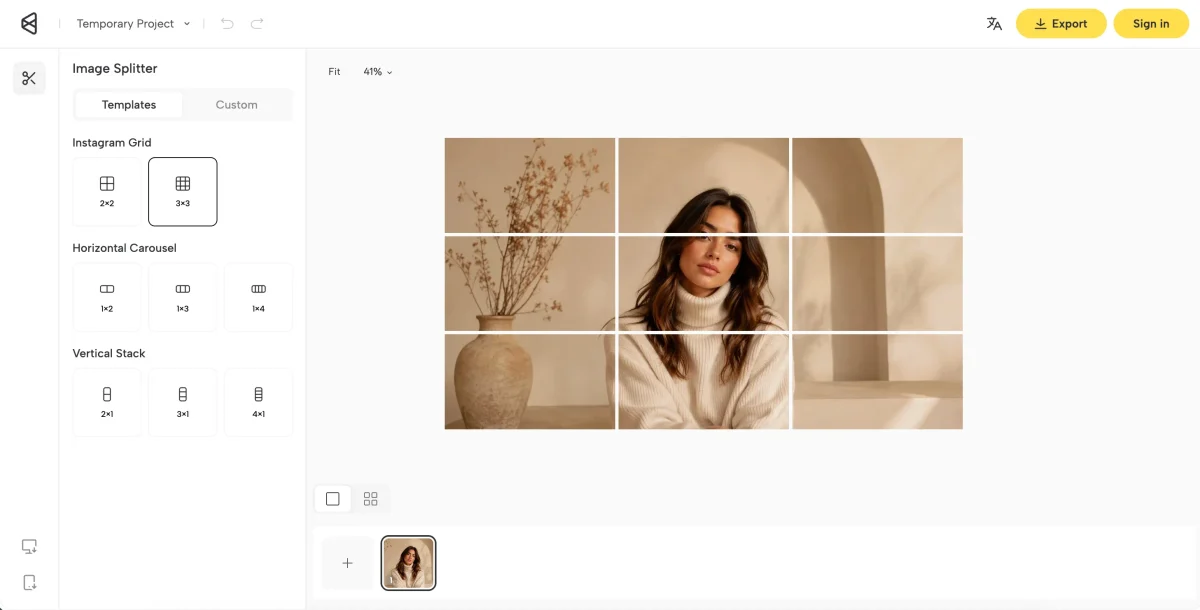
Step 3: Export and download the slices as a ZIP.
Photoshop Slice Tool vs Evoto Image Splitter for Regular Grids
Choose the path from the output you need. Stay with the Photoshop Slice tool when you are still in a layered PSD or campaign layout, and the export regions do not share one grid. Use Evoto Image Splitter when one finished image only needs an even grid, carousel, stack, or custom regular split. That route skips guides, auto slices, and Save for Web (Legacy). Evoto Image Splitter is free for this workflow. No paid plan is required.
| Job | Better path | Why |
|---|---|---|
| Uneven crops from one PSD | Photoshop Slice tool | You draw each export region where the layout requires it. |
| Equal Instagram grid or carousel | Evoto Image Splitter | Choose a template or custom grid, then download the slices as a ZIP. |
| Separate files for print or heavy retouching | Selection, Crop, or Artboards | Slices are export boundaries and do not create independent editable layers. |


Powerful AI Photo Editor



