

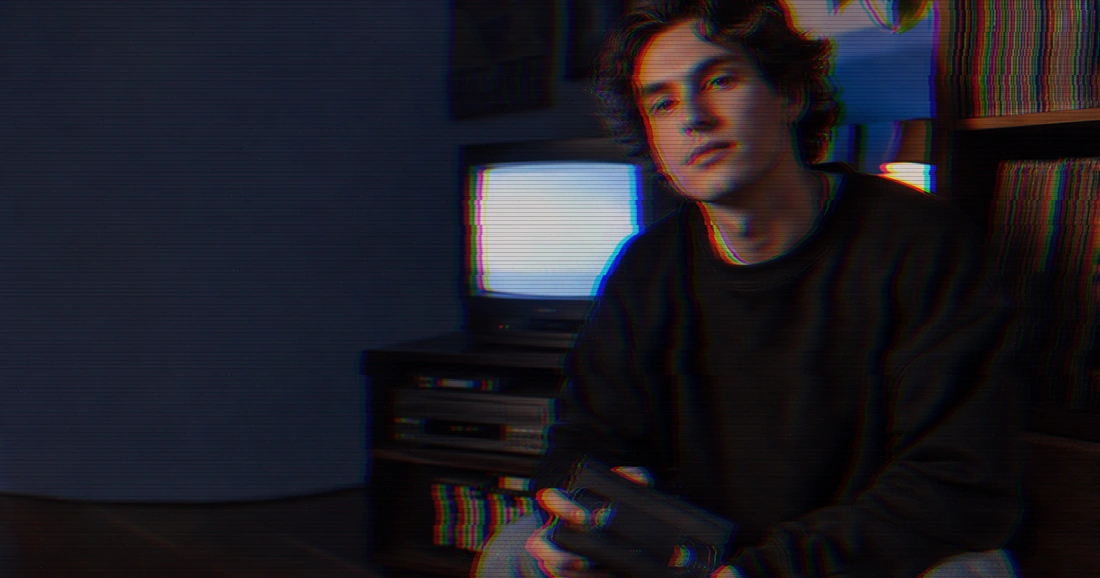
A realistic VHS photo effect is not just grain, dark shadows, and a red-and-blue outline. It should feel like an image passed through an imperfect analog video signal: colors soften and drift slightly, horizontal details become unstable, and faint scanlines add texture without covering the photo.
That is why many “VHS filters” look fake. They add a heavy overlay but do not recreate the balance between color, detail, and signal distortion.
With Evoto’s Glitch Effect, you can upload a photo, continue to Evoto Online, and adjust the effect until it feels like worn tape rather than a generic retro filter.
What Makes a VHS Photo Effect Look Real?
A convincing VHS look is layered, subtle, and slightly uneven. It preserves the subject while making the image feel as if it came from an older video source.
VHS vs. vintage filters, film grain, RGB split, and scanlines
These terms are often used together, but they describe different looks.
- Vintage filter: Changes color, contrast, fading, or warmth to make a photo feel old.
- Film grain: Adds texture associated with photographic film. It can support a retro edit, but it is not a VHS artifact.
- RGB split: Separates red, green, and blue color channels. A small horizontal shift can suggest color bleed; a large split often looks like a 3D glasses effect.
- Scanlines: Fine horizontal lines that recall CRT displays. They should be subtle enough to create texture without becoming stripes.
- VHS effect: Combines softened color detail, slight channel misalignment, horizontal instability, and screen-like texture to imitate analog videotape playback.
Put simply: vintage is about age, film grain is about texture, and VHS is about an imperfect video signal.
The visual signals of a believable VHS look
A realistic VHS photo effect usually includes these details:
- Soft color bleed: Color extends slightly beyond strong edges while the main image remains readable.
- Mostly horizontal distortion: VHS-style glitches tend to move sideways, like a signal losing sync.
- Uneven interference: A few localized shifts look more natural than an identical effect across the whole image.
- Faint scanlines: They support the retro-TV mood without hiding facial features or text.
- Readable shadows: The image can feel faded or worn, but dark areas should not collapse into empty black blocks.
Why Most VHS Photo Effects Look Fake
The problem is rarely that an edit has too few effects. It is usually that every effect is too visible at the same time.
The effect is too strong everywhere
A uniform heavy glitch makes an image look like a preset placed on top of it. A more believable VHS edit keeps the focal point clear and lets distortion appear as a supporting detail.
For a portrait, protect the eyes, face, and expression. For a poster or album cover, you can push the treatment further, but the visual hierarchy should still remain clear.
It only adds grain
Grain alone usually reads as a generic vintage filter. It does not make color and image detail behave like an analog signal.
For a more convincing result, use a restrained RGB shift or horizontal jitter first. Add scanlines afterward as a finishing texture.
The RGB split is too obvious
A bold red-and-blue outline is one of the fastest ways to make a VHS effect photo look artificial. It often resembles an anaglyph 3D effect or neon cyberpunk artwork rather than videotape.
Keep color separation close to the edge of the subject and favor horizontal movement. If the split is the first thing viewers notice, reduce it.
The blacks are too crushed
Very dark shadows can make hair, clothing, and backgrounds merge into one flat shape. They can also make already uneven skin tones look muddy.
A VHS-inspired image may be imperfect, but it should still keep enough shadow detail for the subject to feel alive.
How to Create a Realistic VHS Photo Effect in Evoto Online
Evoto’s Glitch Effect is a web page that takes you to Evoto Online, where you can apply a preset and adjust the result in the editor.


Powerful AI Photo Editor
Step 1: Start from the Evoto Glitch Effect page
Go to the Evoto Glitch Effect page, then upload or drag in your image. This opens the photo in Evoto Online.
The editor applies a Glitch effect and lets you compare the edited version with the original while you work.
Step 2: Choose a preset with a retro direction
Evoto Online includes four Glitch presets:
- Soft Shift
- Bold Split
- Prism Shake
- Retro Lines
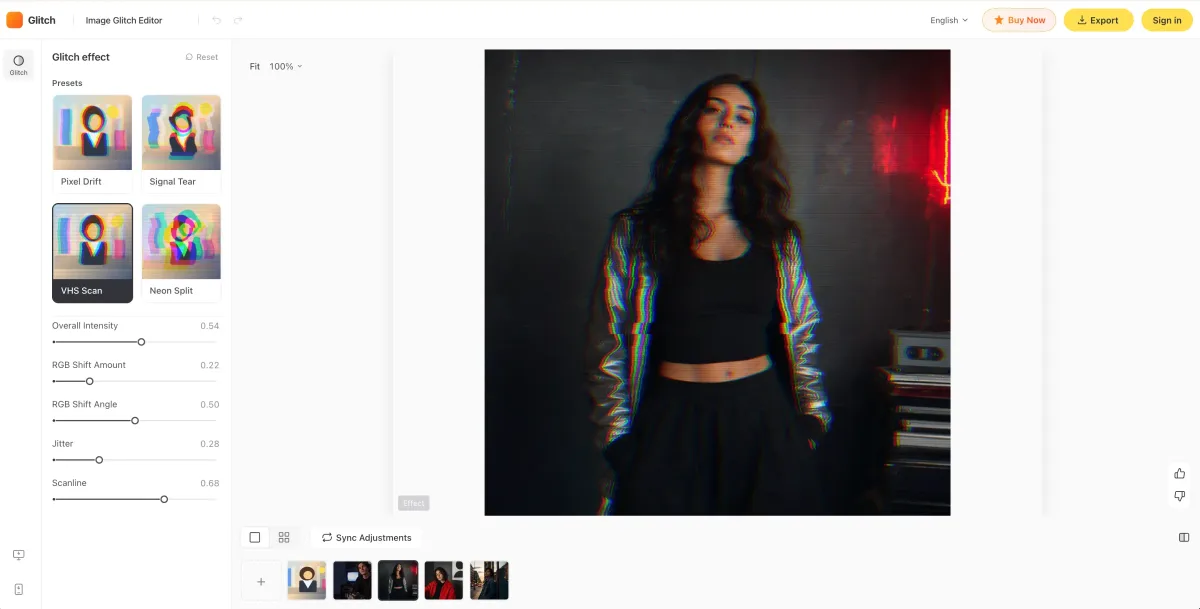
For a VHS-inspired photo, start with Retro Lines. It gives you a useful screen-texture foundation without forcing you into a heavy red-and-blue glitch look.
The preset is only a starting point. The realistic part comes from refining the individual controls for your image.
Step 3: Choose the right intensity for the image
Think in three creative directions rather than one universal setting.
Subtle VHS works best for portraits, polished social posts, and images where the person should still look natural. Keep color shift and scanlines light, with only a trace of signal instability.
Medium worn-tape works well for album covers, posters, and campaign artwork. Let color bleed and horizontal distortion become visible, while protecting important text and the main subject.
Heavy damaged-tape suits experimental artwork, music visuals, and intentionally chaotic poster designs. Use stronger jitter and scanlines, but make sure the image still communicates its central idea.
If the filter becomes more noticeable than the photo itself, pull the overall effect back.
Step 4: Adjust the Glitch controls with restraint
Use each control for a specific purpose instead of increasing everything at once.
- Overall Intensity: Controls how strongly the complete Glitch effect appears.
- RGB Horizontal Shift: Creates lateral color separation. This is the most useful control for tape-like color bleed.
- RGB Vertical Shift: Adds vertical channel movement. Use it carefully, since too much can look more digital than VHS-like.
- Jitter: Creates blocky signal instability. It works best in moderation.
- Scanline: Adds a CRT-style horizontal texture. Keep it light enough that it does not obscure faces, typography, or fine details.
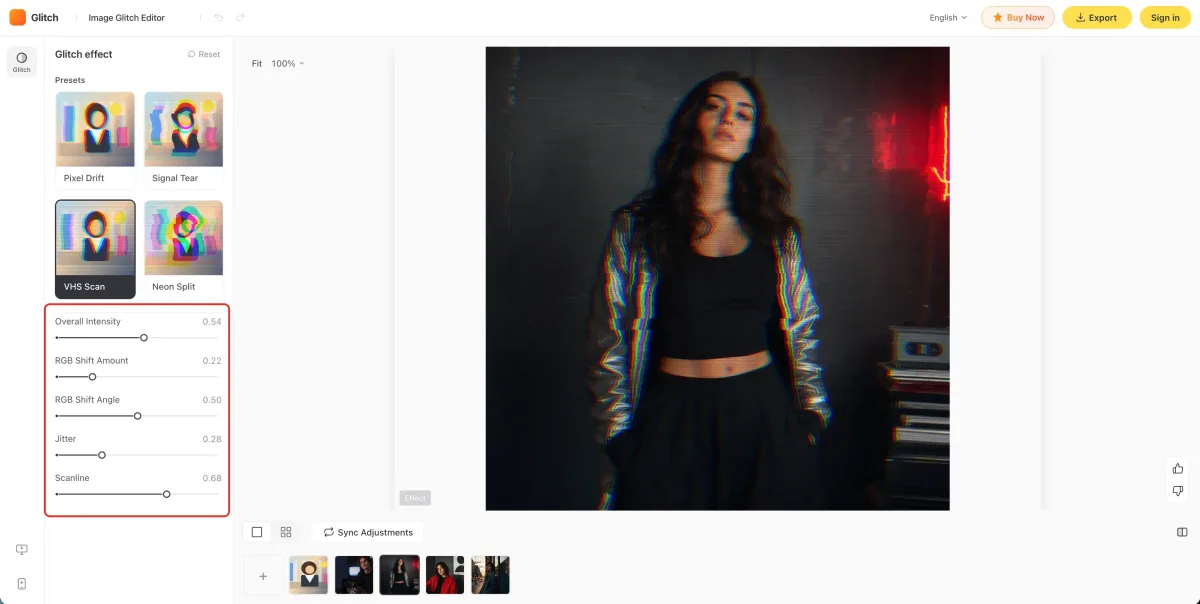
A simple working method is to adjust one visual signal, check the image, then add the next only if it helps the result feel more like analog video.
Step 5: Compare before and after
Use the Before/After control in Evoto Online before exporting. Check these questions:
- Is the subject still immediately recognizable?
- Does the RGB shift feel like slight color bleed instead of a thick outline?
- Do scanlines add texture without becoming a visible overlay?
- Does the image retain detail in dark areas?
- Does the effect match the mood of the original photo?
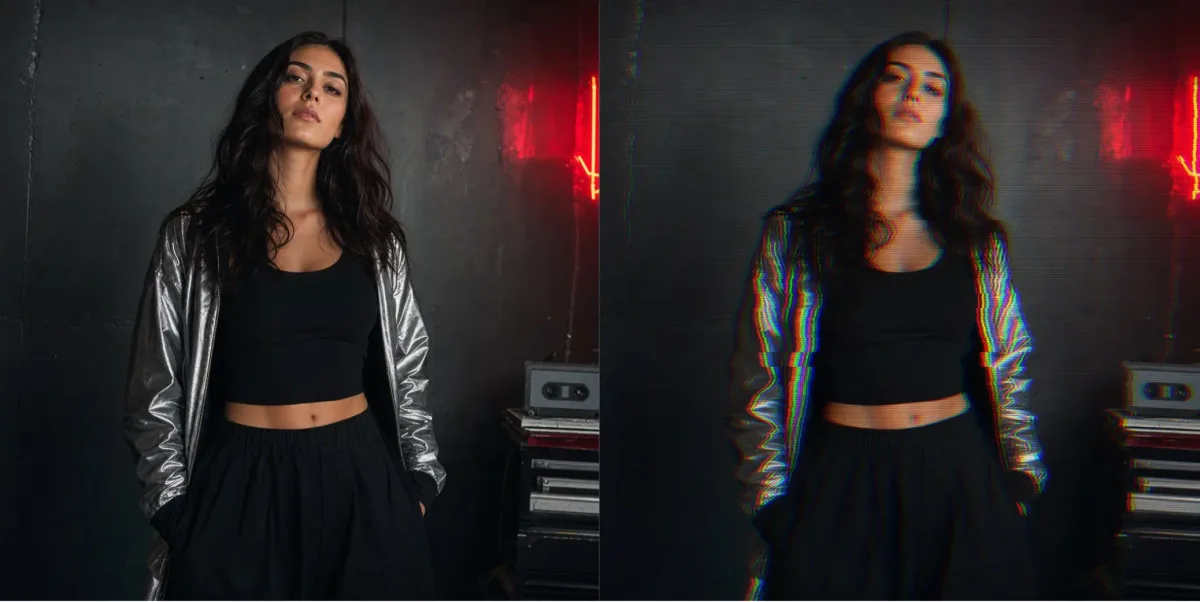
Evoto Online updates the preview as you adjust the controls, so you can make the result more restrained before you export.
Step 6: Export your VHS-style image
When you are happy with the edit, choose an export quality.
A low-resolution or compressed version can be downloaded directly. For HD or original-quality export, Evoto Online follows its sign-in and existing paid-retouching export flow while keeping your current editing state available after you sign in.
Which Photos Work Best for a VHS Effect?
A VHS effect works best when the original image has enough clear detail to lose a little without losing its subject.
Good choices include:
- Portraits with clean skin tones, a clear face, and a simple background
- Album covers with bold shapes, typography, or silhouettes
- Posters with strong contrast and intentional graphic composition
- Social posts that need a nostalgic late-night, retro-TV, or music-inspired mood
Avoid using a VHS effect on:
- Photos that are already blurry or lacking detail
- Portraits with skin tones that already look muddy or heavily edited
- Severely overexposed images with lost highlights
- Images containing small text that must stay perfectly sharp
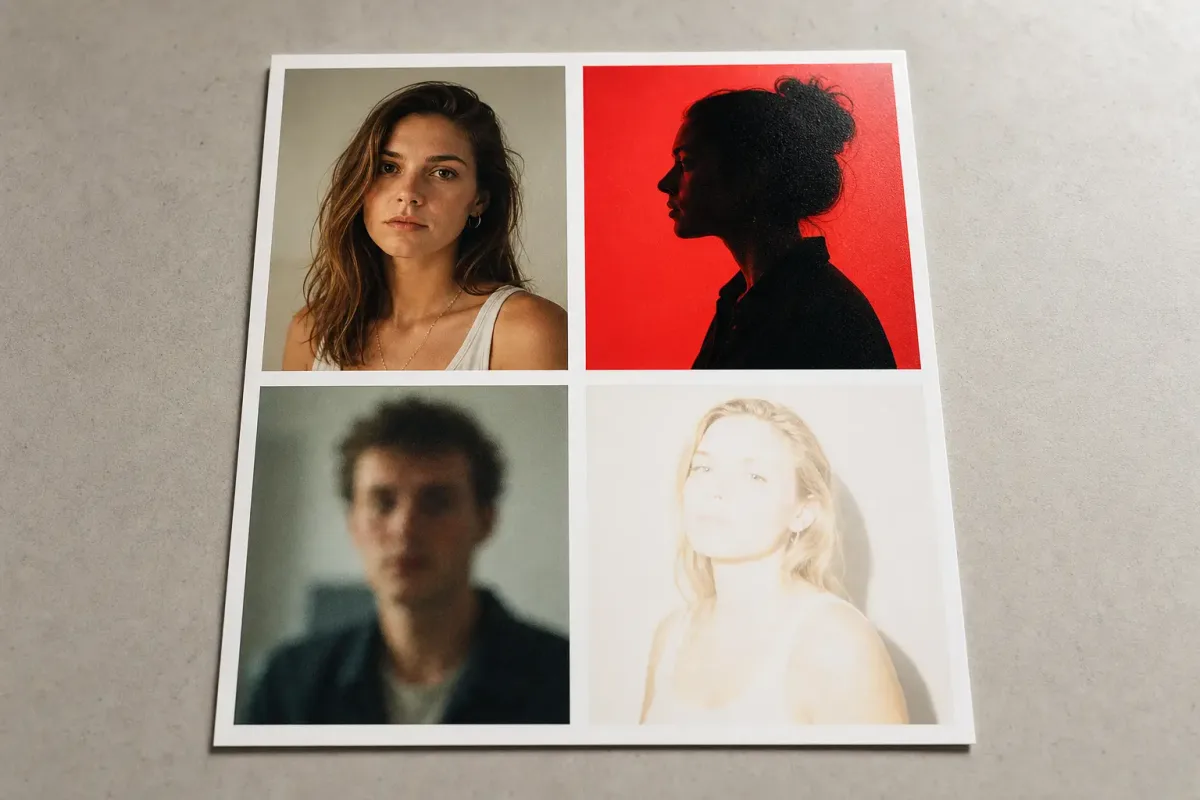
A VHS effect cannot restore missing detail. It works by changing the behavior of detail and color that already exist in the photo.
A Short Traditional Photoshop Method
Photoshop can also create a VHS-inspired image, but it requires more manual work. The traditional approach usually involves:
- Converting the image into a Smart Object.
- Duplicating the image and separating RGB channels across layers.
- Applying slightly different distortion to selected color channels.
- Moving a few thin horizontal selections to imitate tracking errors.
- Adding a low-opacity scanline pattern.
- Making gentle tone adjustments and adding restrained colored noise.
This method offers detailed control, but it can be slow and easy to overdo. If you want a faster way to experiment with presets, RGB shifts, jitter, and scanlines, start from Evoto’s Glitch Effect page and continue in Evoto Online.
Final Checklist: Does Your VHS Effect Look Real?
Before exporting, review the image one more time:
- The focal point is still clear.
- RGB shifts are restrained and mostly horizontal.
- Scanlines create texture instead of stripes.
- Jitter appears purposeful rather than random across the whole frame.
- Shadows still contain visible detail.
- Skin tones remain believable.
- The effect fits the image’s intended use: portrait, album cover, poster, or social post.
A realistic VHS photo effect should feel imperfect on purpose. It should not look like every retro setting was turned on at once.
Powerful AI Photo Editor



