

Manual mode feels confusing when you treat every setting like a separate problem.
ISO. Aperture. Shutter speed. Exposure meter. Motion blur. Background blur. Grain.
It is a lot to hold in your head when the light is changing and the subject is moving.
The simplest way to shoot in manual mode is not to memorize perfect numbers. It is to decide what matters most for the photo, lock that setting first, then balance the other two settings around it.
That is the shift that makes manual mode useful.
You stop guessing. You start making trade-offs on purpose.
What Is Manual Mode in Photography?
Manual mode is a camera mode that lets you control the three core exposure settings yourself:
- ISO
- aperture
- shutter speed
Together, these settings control how bright or dark the image is. They also control how the photo looks.
ISO affects image noise. Aperture affects depth of field. Shutter speed affects motion.
That is why manual mode is not only about exposure. It is about deciding which visual trade-off matters most.
Auto mode chooses those trade-offs for you. Manual mode makes you choose them.
That can feel slower at first, but it gives you more consistency when the camera would otherwise guess wrong. It is especially useful when the light is stable, the background is tricky, the subject is backlit, or you need a full set of images to match.
Manual Mode Cheat Sheet
Use this as a quick starting point.
ISO: Brightness and Grain
ISO controls how sensitive the camera is to light.
Lower ISO gives cleaner files. Higher ISO brightens the image but adds noise or grain.
Simple rule:
- ISO 100-200: bright daylight or studio light
- ISO 400-800: shade, window light, cloudy days, indoor daylight
- ISO 1600-3200: low light, events, indoor action
- ISO 6400 and higher: very low light when you need the shot more than a clean file
Keep ISO as low as you can, but do not protect ISO so much that your shutter speed becomes too slow and ruins the image.
A sharp noisy file is usually more useful than a clean blurry file.
Aperture: Brightness and Depth of Field
Aperture controls how much light enters the lens and how much of the image appears sharp from front to back.
A low f-number, like f/1.8 or f/2.8, lets in more light and creates more background blur. A higher f-number, like f/8 or f/11, lets in less light and keeps more of the scene sharp.
Use a wider aperture when:
- you want portrait separation
- the background is distracting
- the light is low
- the subject is one person or one detail
Use a narrower aperture when:
- you need a group sharp
- you are photographing a landscape
- the scene has important foreground and background detail
- product or architecture detail needs to stay readable
Shutter Speed: Brightness and Motion
Shutter speed controls how long the sensor records light.
A fast shutter speed freezes movement. A slow shutter speed lets in more light but can create motion blur or camera shake.
Useful starting points:
- 1/1000s or faster: sports, fast action, running, jumping
- 1/500s: children, events, active portraits
- 1/250s: general handheld portraits or casual movement
- 1/125s: still subjects with steady hands
- 1/60s or slower: only when the subject is still, you have stabilization, or you want blur
If the subject is moving, protect shutter speed first. If the subject is still, you have more room to adjust.
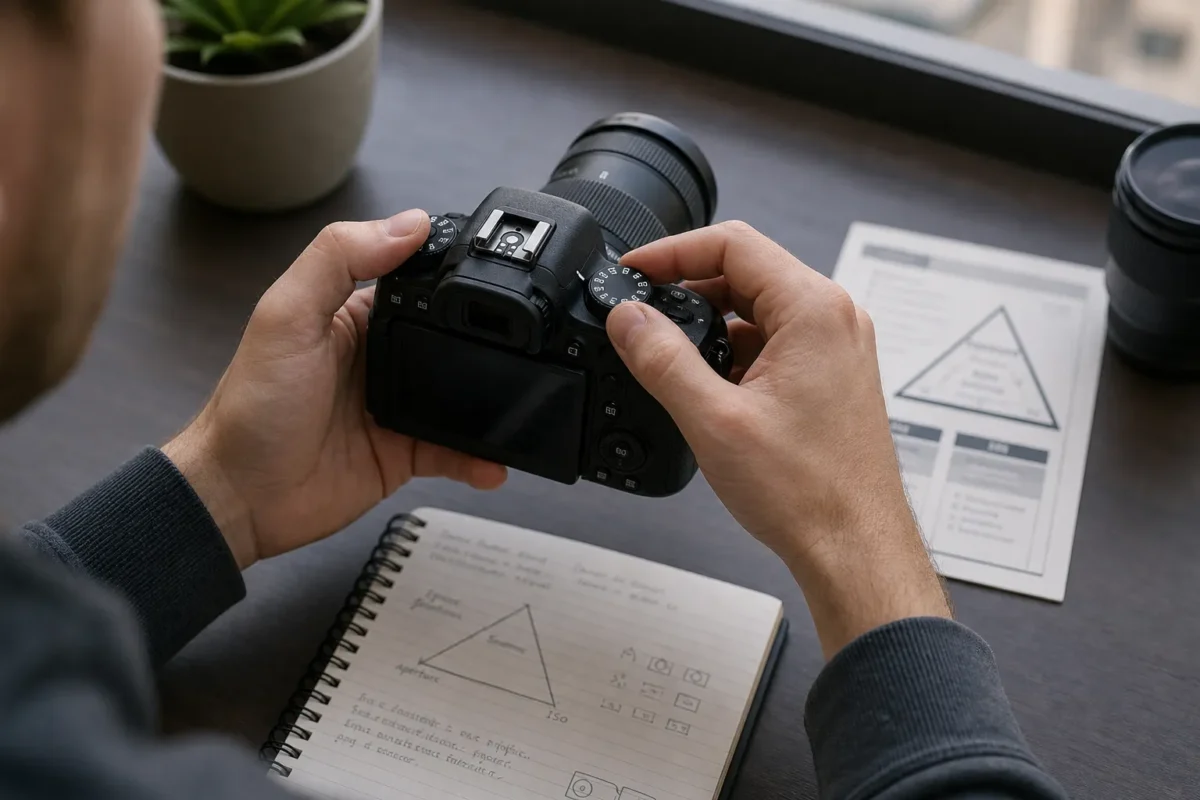
The Simple Manual Mode Process
Manual mode becomes easier when you follow the same order every time.
Decide What Matters Most
Before touching the camera settings, decide what the photo needs.
Ask:
- Do I need a blurred background?
- Do I need everything sharp?
- Do I need to freeze motion?
- Do I want intentional motion blur?
- Am I trying to keep the file clean in low light?
This tells you which setting to prioritize.
If depth of field matters most, start with aperture. If motion matters most, start with shutter speed. If the scene is very dark and your limits are tight, decide how much ISO noise you can accept.
Set Your Priority First
Once you know the priority, set that value and protect it.
For a portrait with soft background blur, you might start at f/2.8. For a landscape, you might start at f/8. For a soccer match, you might start at 1/1000s. For handheld street photography, you might protect at least 1/250s.
At this stage, the exposure may not be perfect. That is okay.
You are choosing the look first.
Balance Exposure With the Other Settings
Now use the remaining settings to bring the exposure into range.
If the image is too dark, you can:
- raise ISO
- open the aperture
- slow the shutter speed
If the image is too bright, you can:
- lower ISO
- close the aperture
- use a faster shutter speed
The right choice depends on what you are willing to trade.
Do not change the setting that protects the photo unless you have to.
Take a Test Shot and Read the Result
Take one photo and review it.
Check four things:
- Is the subject sharp?
- Is the brightness where you want it?
- Is there motion blur?
- Is the noise acceptable?
Use the histogram or exposure meter if you need a more objective check, especially in bright sun or backlit scenes where the LCD can mislead you.
Adjust one setting at a time. If you change everything at once, you will not know what fixed the problem.
Manual Mode Settings for Common Scenarios
There are no universal perfect settings, but these starting points help.
Portraits
For portraits, start with aperture because depth of field usually controls the look.
Try:
- aperture: f/1.8 to f/4 for one person
- shutter speed: 1/250s or faster for handheld portraits
- ISO: as low as possible while keeping the shutter speed safe
If the background is distracting, open the aperture. If both eyes or multiple people are not sharp, stop down.

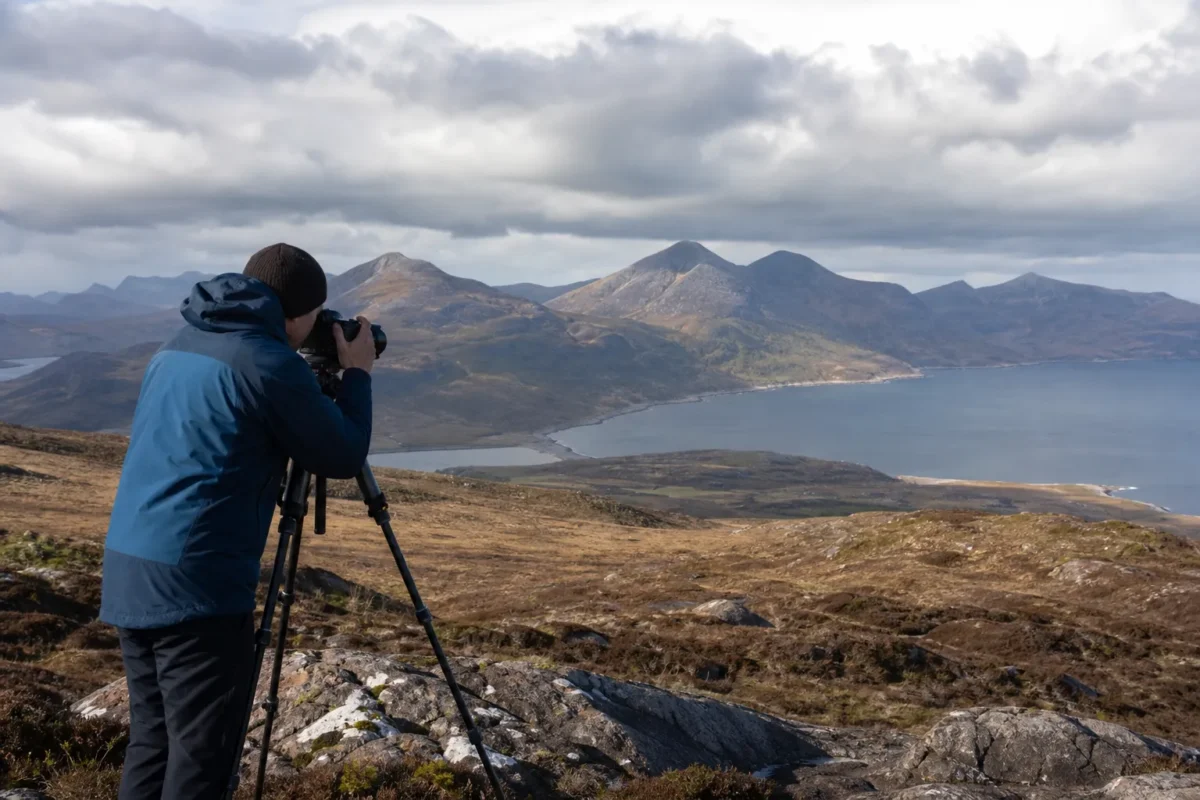
Landscapes
For landscapes, start with aperture because depth from foreground to background usually matters.
Try:
- aperture: f/8 to f/11
- ISO: 100-200
- shutter speed: whatever gives correct exposure if the camera is on a tripod
If you are handheld, protect shutter speed. If the light is low and you want clean files, use a tripod instead of pushing ISO too far.
Moving Subjects
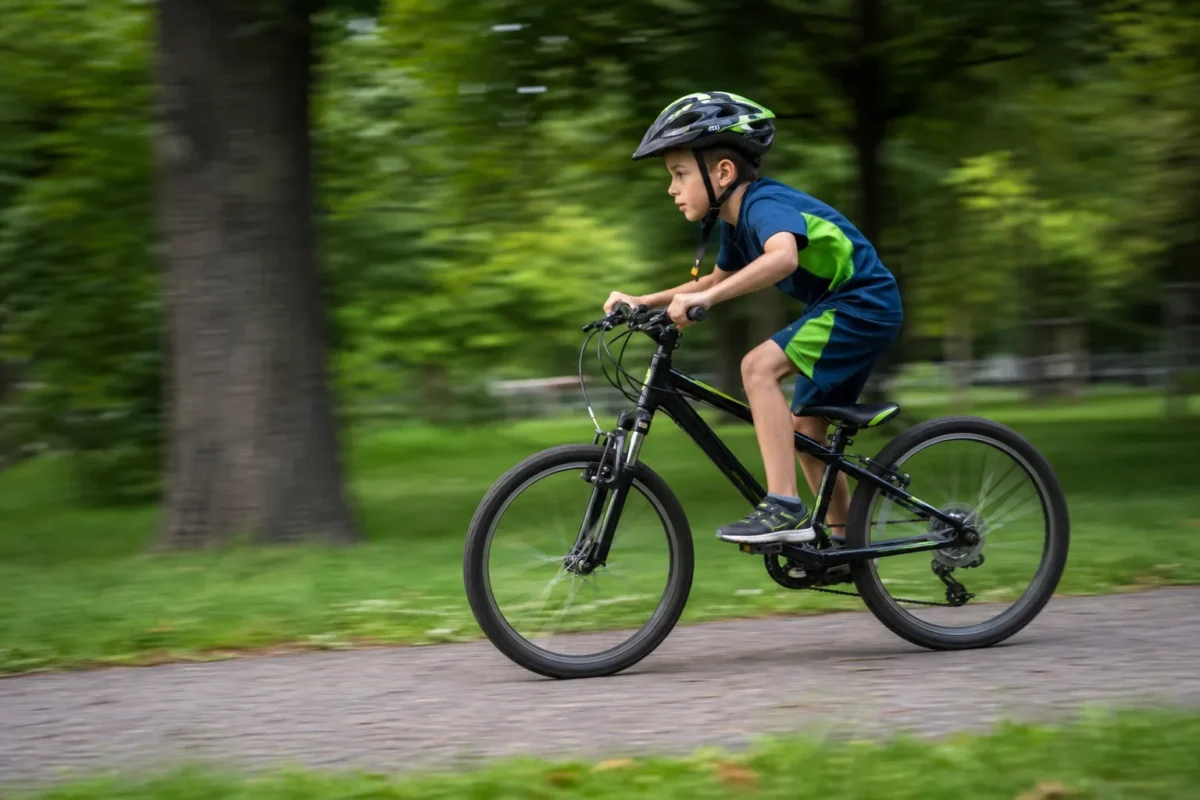
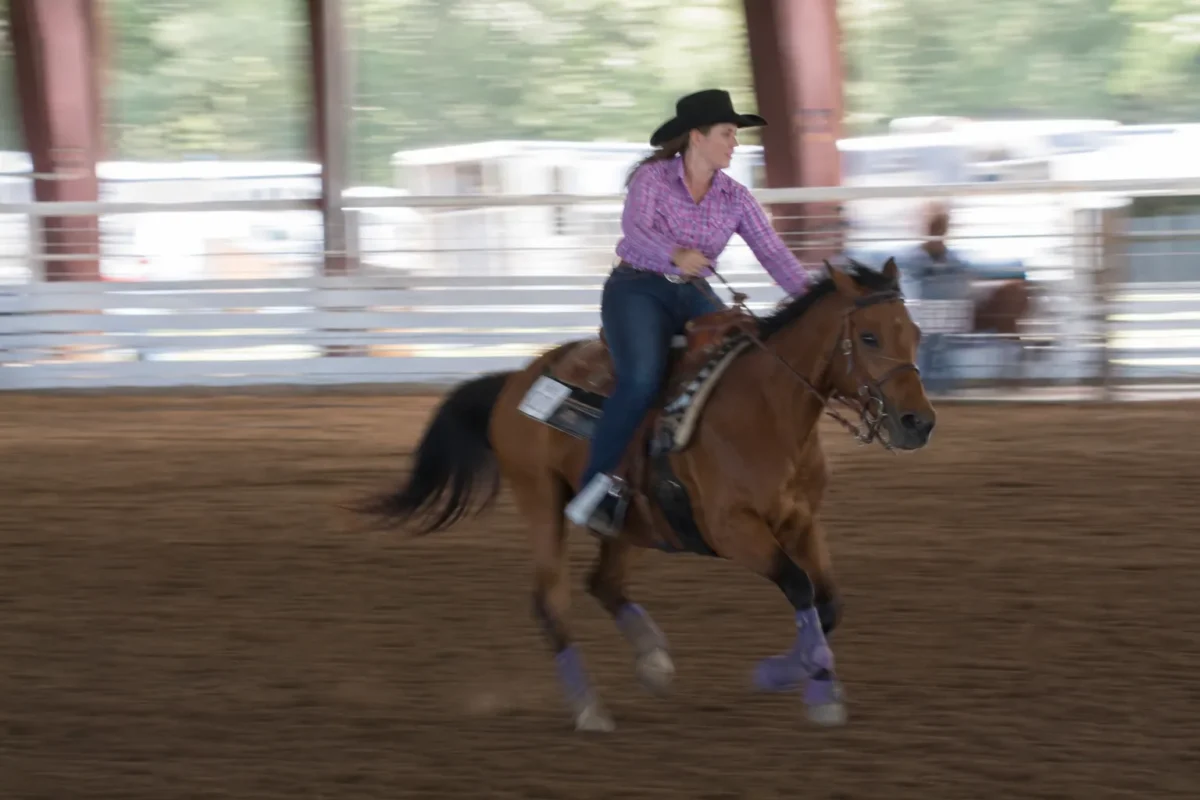
For moving subjects, start with shutter speed.
Try:
- fast action: 1/1000s or faster
- children or active events: 1/500s
- slower movement: 1/250s
- panning blur: 1/30s to 1/125s, depending on speed
Once shutter speed is set, use aperture and ISO to balance exposure.
Low Light
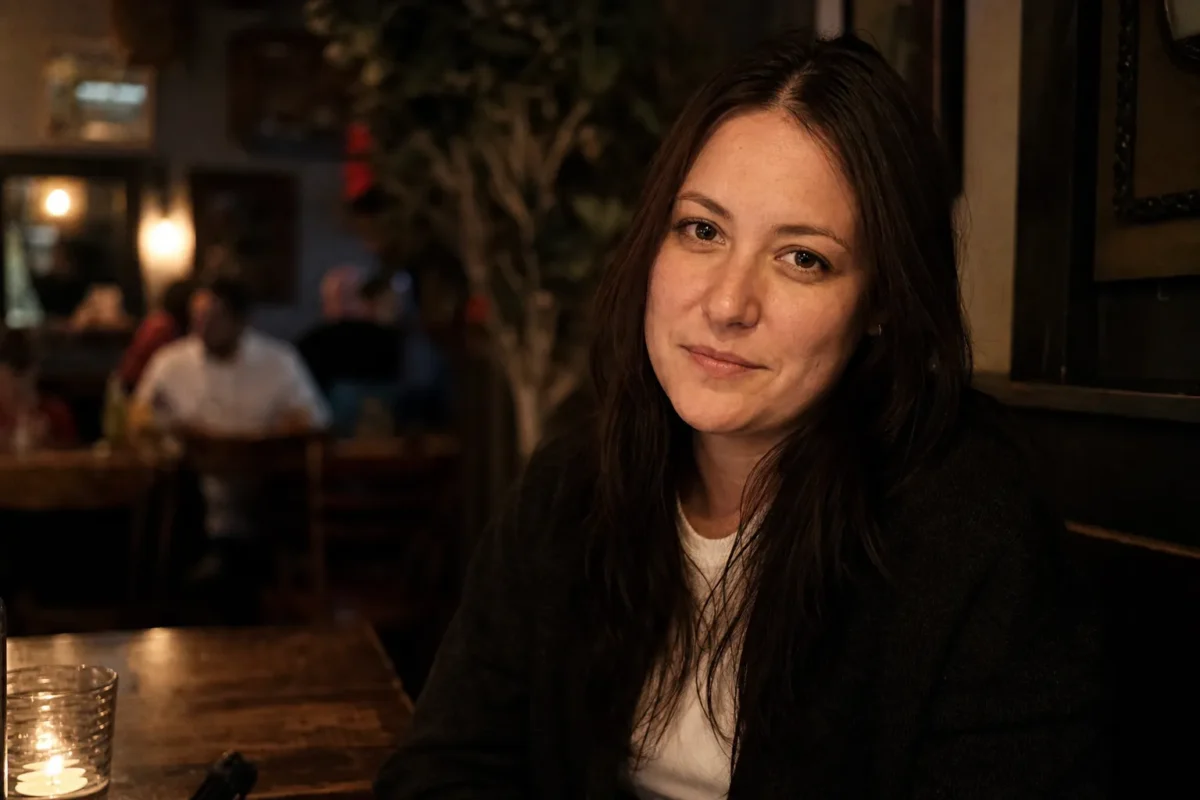
Low light is where manual mode teaches trade-offs quickly.
Start by protecting the setting that prevents failure. If the subject is moving, protect shutter speed. If the subject is still, you can slow the shutter or use a tripod. If depth of field matters, do not open the aperture too far just to make the image brighter.
Try:
- open the aperture if shallow depth of field is acceptable
- raise ISO when motion must stay sharp
- use stabilization or a tripod for still subjects
- watch for mixed light and color shifts
Do not be afraid of higher ISO when the alternative is blur.
Events and Weddings
For events, manual mode is useful when the light is consistent, such as a ceremony, reception speech, stage, or portrait setup.
When the light changes constantly, you may use manual mode with Auto ISO, or switch to aperture priority or shutter priority. Manual mode is a tool, not a badge.
The goal is consistent usable files, not proving you can do everything manually.
Common Manual Mode Mistakes
The first mistake is changing all three settings at once.
If the image is wrong, change one setting and check again. This helps you learn cause and effect.
The second mistake is protecting low ISO too aggressively.
Clean files are good, but blur can ruin the shot completely. Raise ISO when shutter speed matters.
The third mistake is using a shutter speed that is too slow for handheld work.
Even still subjects can look soft if your hands move. Watch your focal length, stabilization, and subject movement.
The fourth mistake is opening the aperture too far.
A wide aperture can look beautiful, but it can also make one eye sharp and the other soft, or leave group portraits unusable. Use enough depth of field for the job.
The fifth mistake is trusting the LCD too much.
The screen can look bright outdoors and dark indoors. Check the histogram, highlights, and actual sharpness.
How to Practice Manual Mode
Practice manual mode when the stakes are low.
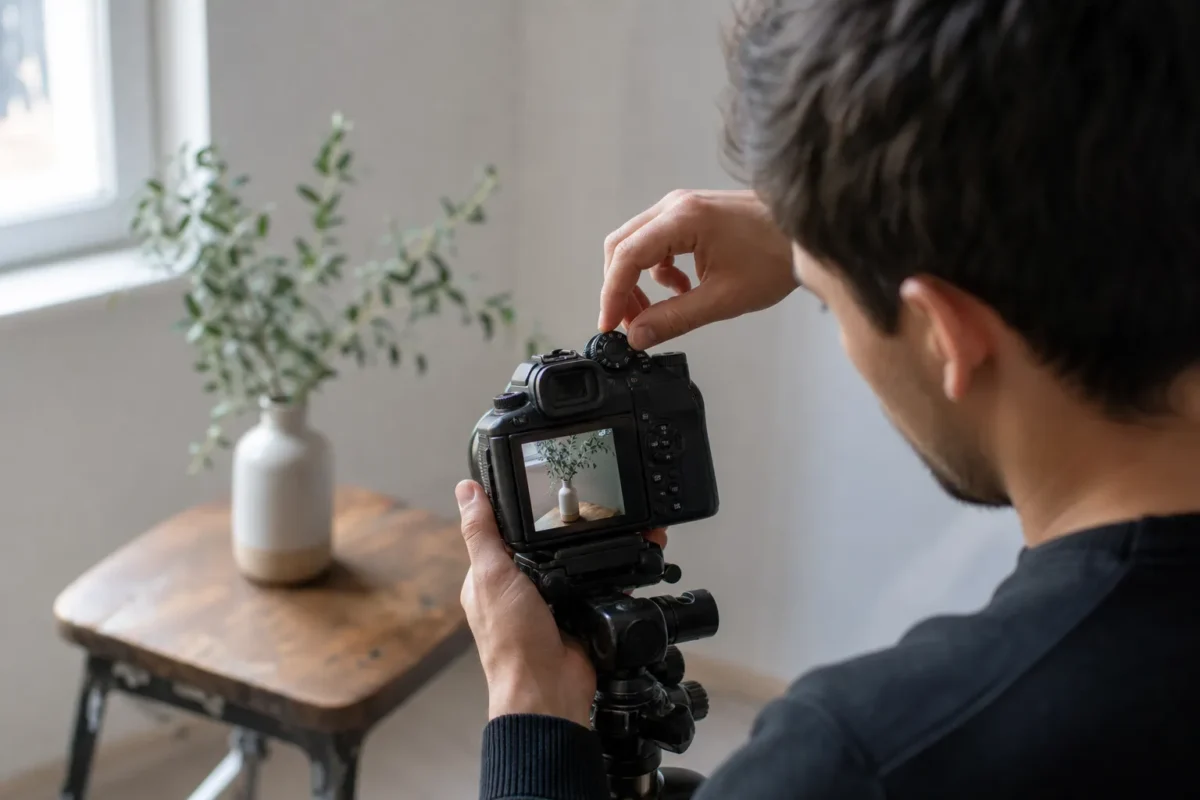
Start with a still subject near a window.
Set ISO to 400. Set aperture to f/2.8. Adjust shutter speed until the exposure looks right. Take a photo.
Then change aperture to f/5.6. Watch the image get darker. Slow the shutter or raise ISO to bring exposure back. Compare how the background changes.
Next, keep aperture the same and change shutter speed. Photograph your hand moving, water running, or someone walking. Watch how motion changes.
Then raise ISO and compare noise.
This is the fastest way to understand manual camera settings because you see the trade-offs instead of reading about them.
Editing Manual Mode Photos
Shooting in manual mode gives you control in camera. Editing helps you finish the file.
Manual exposure is not always perfect. You may still need to recover shadows, refine color, correct mixed light, clean distractions, or make a gallery feel consistent.
Start with selection.
Cull for sharpness, expression, motion, and exposure. Do not spend time editing frames where the priority failed. If the shutter speed was too slow and the subject is blurred, no editing tool can fully restore the original moment.
Then adjust exposure and color.
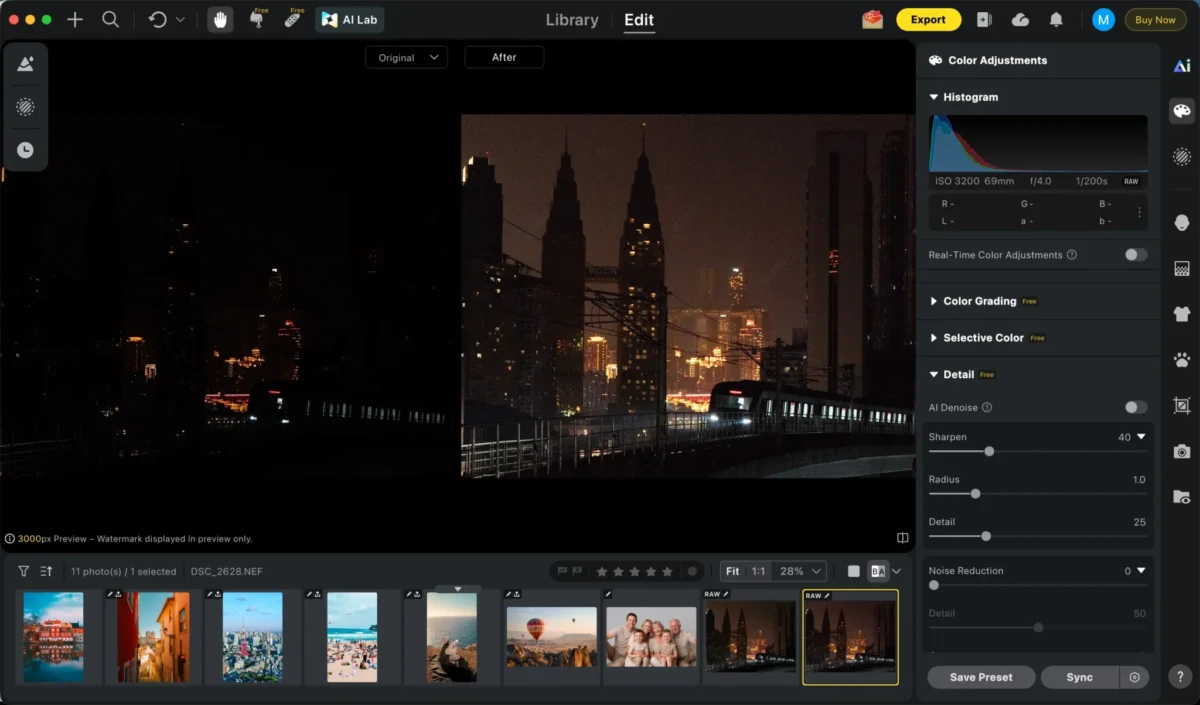
If you shot RAW, a tool like Evoto Camera RAW Photo Editor can support the post-shoot workflow by helping refine exposure, color, and tonal detail while keeping the file flexible.
For low-light images, higher ISO may leave visible noise. Evoto AI Image Denoiser can help clean grain while preserving a natural look, which matters when you raised ISO to protect shutter speed.
If you are delivering a full set, consistency becomes the next pressure point. Manual mode can keep exposure steady, but lighting and color can still vary across locations. Evoto Batch Edits can help apply a consistent direction across similar images so the final delivery feels cohesive.
For more selective corrections, Evoto’s guide to local adjustment is useful because many manual-mode files need targeted fixes: a dark face, bright corner, color cast, or background area that pulls attention.
The point is not to make the image look overprocessed. It is to finish the decision you started in camera.
Manual Mode Field Checklist
Before shooting:
- What matters most: depth of field, motion, clean file, or brightness?
- Which setting protects that priority?
- Is the shutter speed safe for the subject and lens?
- Is the aperture deep enough for the subject?
- Is ISO acceptable for the final use?
- Is the exposure meter close to where you want it?
- Are highlights clipping?
- Do you need a test shot?
After the shot:
- Is the subject sharp?
- Is motion handled the way you intended?
- Is the exposure usable?
- Is noise acceptable?
- Did the setting you prioritized actually protect the photo?
Final Thoughts
Learning how to shoot in manual mode is really learning how to make decisions.
You decide what matters most. You protect that setting. You balance exposure around it. Then you check the result and adjust.
Manual mode does not make every photo better by itself. It gives you control when control matters.
Use it to understand light, motion, depth, and trade-offs. Practice in simple scenes. Build the habit of changing one setting at a time. Over time, the numbers stop feeling random and start feeling like tools.



